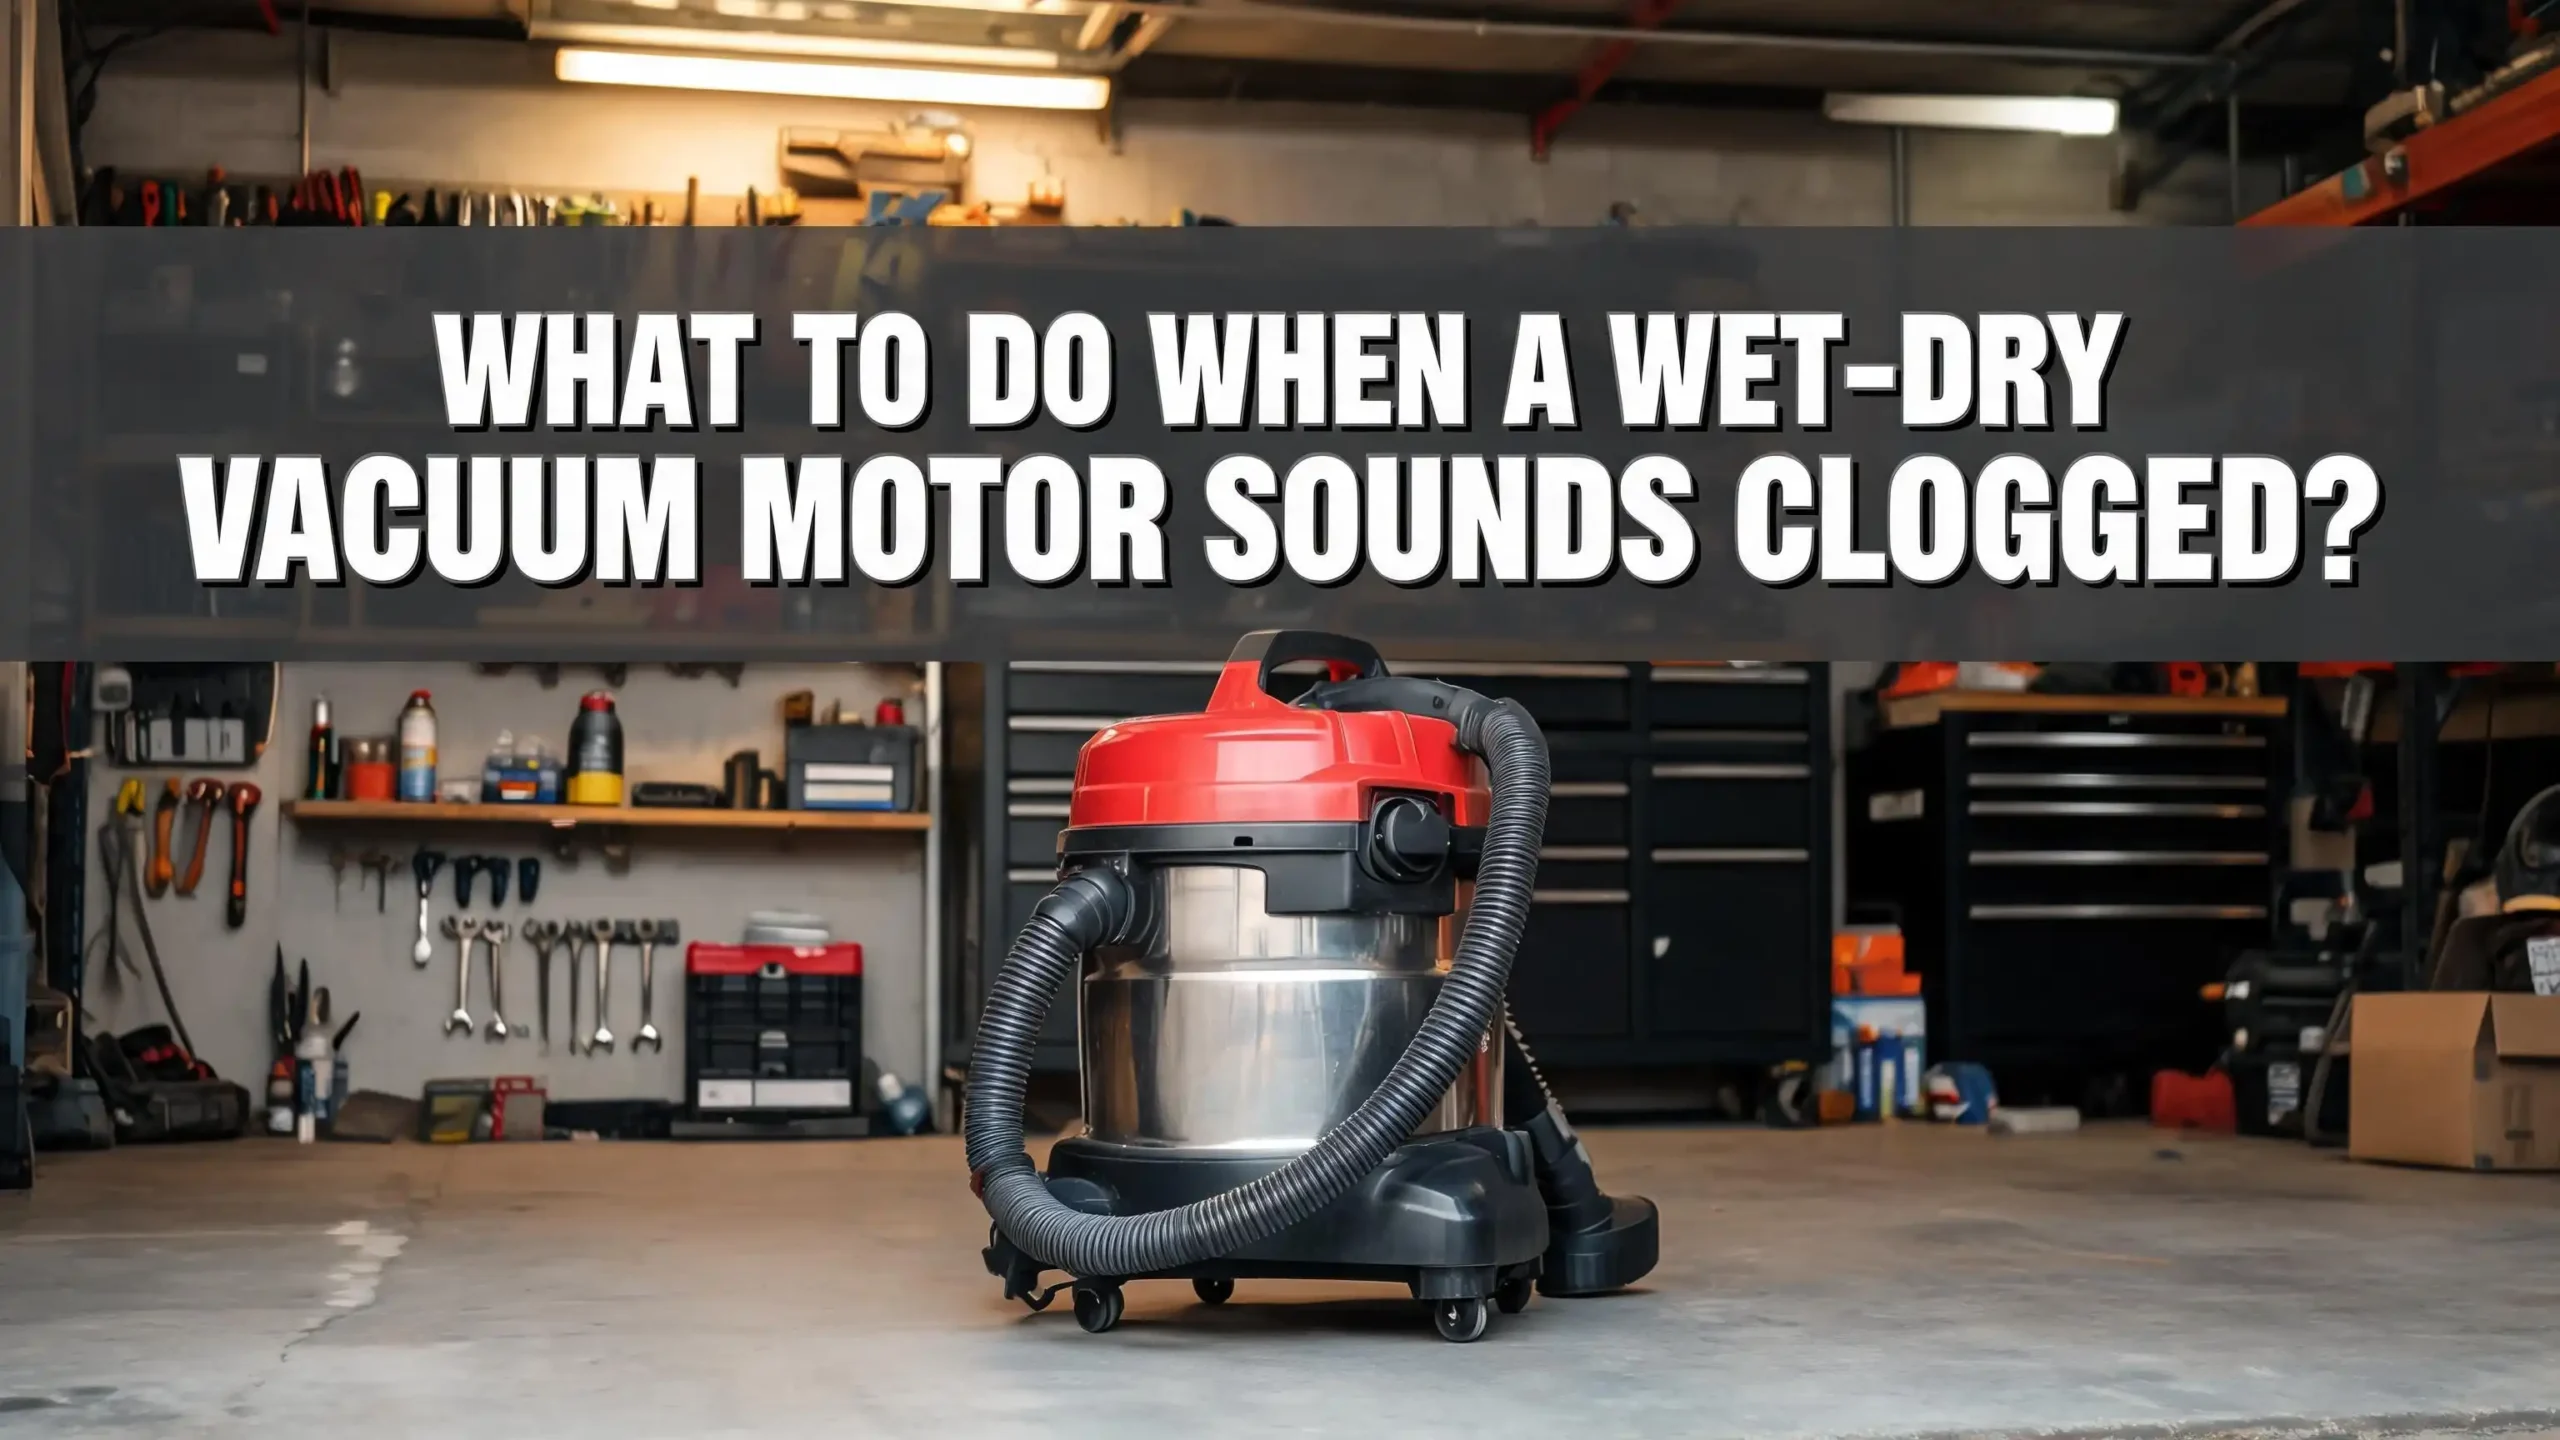
What To Do When a Wet Dry Vacuum Motor Sounds Clogged?
A clogged sounding motor does not always mean the motor itself is the problem. In most cases, something is blocking airflow before it reaches the motor. That blockage forces the motor to work harder, creating that strained, labored sound you hear. If you ignore it, you risk burning out the motor entirely.
This guide walks you through every possible cause and solution. You will learn how to inspect, clean, and restore your wet dry vacuum to full performance. Each section covers a specific area to check, with clear steps you can follow right now.
Read on to find the exact cause of that clogged motor sound and fix it in minutes.
Key Takeaways
- A clogged sounding motor usually means restricted airflow, not a broken motor. The most common culprits are a dirty filter, a blocked hose, a full tank, or a stuck float valve. Start with these areas before assuming the motor needs repair or replacement.
- Clean or replace the filter first because this is the number one cause of reduced suction and motor strain. A filter packed with fine dust forces the motor to pull air through a barrier, creating that labored sound.
- Check the hose and inlet ports for blockages since even small debris can restrict airflow enough to make the motor sound clogged. Run a broomstick or long flexible rod through the hose to clear obstructions.
- Inspect the float valve inside the drum because a stuck or raised float valve will block air from reaching the motor. This is especially common after wet pickups if the valve gets trapped in the up position.
- Overheating is a serious warning sign that the motor is under stress. If your vacuum shuts off on its own or produces a burning smell, turn it off immediately and let it cool for at least 30 minutes before troubleshooting.
- Regular maintenance prevents most clogged motor issues. Clean the filter after every use, empty the drum before it gets full, and inspect the hose for obstructions on a routine basis. A few minutes of care after each job can add years to your vacuum’s life.
Understanding Why a Wet Dry Vacuum Motor Sounds Clogged
A wet dry vacuum motor relies on steady airflow to function. Air enters through the hose, passes through the drum and filter, and exits through the motor housing. The motor spins an impeller that creates suction by pulling air through this path. Every part of that path must stay clear for the motor to run smoothly.
When something blocks the airflow, the motor has to work much harder. This extra strain causes the motor to produce a higher pitched, louder, or muffled sound. You might hear whining, whistling, or a deep rumble that was not there before. The sound varies depending on where the blockage is and how severe it is.
The blockage could be anywhere along the airflow path. It could be a clump of debris stuck in the hose, a filter packed with fine dust, or even a full drum that has nowhere left to store what you are vacuuming. In some cases, the float valve inside the drum gets stuck in the raised position, which seals off airflow to the motor entirely.
Understanding this airflow system is the key to diagnosing the problem. You do not need to take the motor apart. Instead, you work backward through the airflow path, checking each section until you find the source of the restriction. The following sections will guide you through each checkpoint.
Checking and Cleaning the Filter
The filter is the most common cause of a clogged sounding motor. Every time you use your wet dry vacuum for dry pickup, fine particles accumulate on the filter surface. Over time, these particles form a thick layer that blocks air from passing through. The motor then strains to pull air, producing that labored sound.
Start by removing the filter from the drum. Most wet dry vacuums have a cartridge style filter that sits on top of a cage inside the drum. Twist or pull it off according to your model’s design. Hold the filter up to a light source. If you cannot see light passing through the pleats, the filter is too clogged for effective use.
To clean a dry filter, take it outside or to a well ventilated area. Gently tap the filter against the inside wall of the drum to knock loose dust and debris. For a deeper clean, you can use a garden hose to rinse water through the filter from the clean side outward. Let the filter dry completely before reinstalling it. A damp filter will restrict airflow just as much as a dirty one.
If the filter is torn, warped, or heavily discolored even after cleaning, replace it. A damaged filter cannot maintain proper airflow no matter how clean it looks. Keeping a spare filter on hand is a smart move so you are never stuck waiting for a replacement while your vacuum sits idle.
Inspecting the Hose for Blockages
The hose is the second most likely spot for a blockage. Debris enters the hose at the nozzle end and can get stuck anywhere along its length. Large items like wood chips, paper clumps, or chunks of drywall are obvious offenders. But even a buildup of smaller materials can narrow the hose opening enough to restrict airflow.
Disconnect the hose from both the vacuum inlet and the nozzle end. Look through it like a telescope. If you cannot see daylight on the other end, there is a blockage inside. Even a partial blockage can reduce airflow enough to make the motor sound strained.
To clear the hose, push a broomstick or a long, sturdy dowel through it. Work slowly and feel for resistance. When you hit the clog, push firmly to break it loose. You can also try holding one end of the hose up high and pouring warm water through it to flush out stubborn buildup.
Another method is to reattach the hose to the vacuum’s exhaust port if your model allows it. Turning the vacuum on will blow air through the hose and force the clog out the other end. After clearing the blockage, reattach the hose firmly to the inlet. A loose hose connection creates an air leak that reduces suction and makes the motor sound off.
Examining the Inlet Port and Wand Connections
The inlet port is where the hose connects to the vacuum drum. Debris often collects at this junction because it is a transition point where the hose diameter meets the drum opening. Even a small piece of material wedged at the inlet can dramatically reduce airflow.
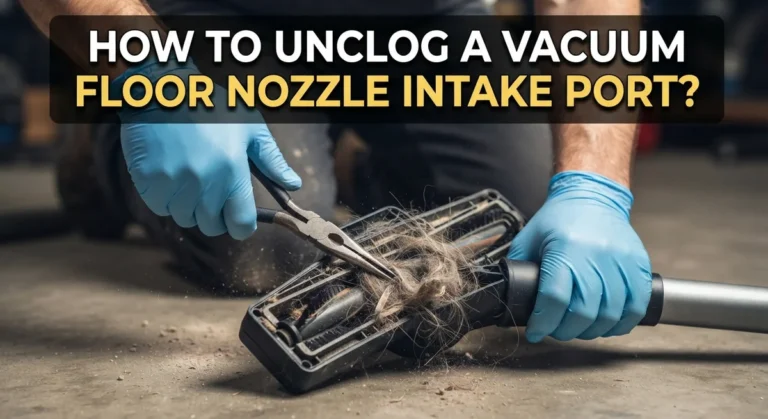
Remove the hose and visually inspect the inlet port. Use a flashlight to see inside the opening. Reach in with your fingers or a pair of pliers to pull out any visible debris. Pay attention to the edges of the port where material tends to get caught on ridges or seams.
If you use wand attachments or extension tubes, check those connections too. Each connection point is a potential spot for partial blockages. Disconnect each piece and inspect them individually. Debris can get trapped in the grooves or lips where sections join together.
After clearing the inlet and connections, make sure every piece snaps or locks into place tightly. Loose fittings create air gaps that reduce suction power. A secure, airtight connection from the nozzle all the way to the drum is essential for proper motor performance. If any fitting is cracked or no longer holds tight, replace that piece to restore full airflow.
Emptying the Drum and Checking for Obstructions
A full or nearly full drum is an easy to miss cause of motor strain. As the drum fills with debris, the available space for air to circulate shrinks. The motor has to pull harder to move air through a packed drum, and that extra effort produces the clogged sound.
Empty the drum completely before every major use session. Do not wait until it is overflowing. A good rule is to empty the drum when it reaches about two thirds full. This keeps airflow consistent and reduces stress on the motor.
While the drum is empty, look inside for any debris stuck to the walls or lodged near the bottom. Wet materials like mud, drywall paste, or sawdust mixed with moisture can harden on the drum walls and form a thick coating that narrows the interior space. Scrape off any buildup with a plastic scraper and wash the drum with warm water and mild soap.
Also check the area where the motor head meets the drum. A poor seal at this junction allows air to leak, which reduces suction and changes the motor sound. Inspect the rubber gasket or rim around the drum’s edge. If it is cracked, flattened, or missing, air will escape at this point. Clean the rim thoroughly and replace the gasket if needed.
Dealing with a Stuck Float Valve
Most wet dry vacuums have a float valve or float ball inside the filter cage. This valve serves an important safety purpose. When the water level inside the drum rises too high, the float rises and seals off the air passage to the motor. This prevents water from entering and damaging the motor.
The problem occurs when the float gets stuck in the raised position. If the float remains up after you empty the drum, it blocks airflow even though there is no water present. The motor runs but cannot pull air through the sealed passage. This creates a loud, strained sound and eliminates suction.
To fix this, remove the motor head from the drum and locate the filter cage. The float is usually a small ball or disc inside the cage. Gently push it down with your finger. If it feels sticky or does not move freely, remove it and clean it with warm water. Dry it completely before replacing it.
Check that the float is reinstalled in the correct orientation. Some floats are directional and must face a specific way to function properly. If the float is damaged, cracked, or warped, replace it. A malfunctioning float will continue to cause intermittent blockage issues that make the motor sound clogged even on dry pickup tasks.
Cleaning the Impeller
The impeller is a fan like component attached to the motor shaft. It spins at high speed to create the suction that powers your vacuum. Over time, dust, fibers, and small debris can accumulate on the impeller blades. This buildup throws the impeller off balance and reduces its ability to move air.
A dirty impeller can cause the motor to sound louder, wobble, or produce an uneven humming noise. In severe cases, debris wrapped around the impeller shaft can slow the motor down completely. This forces the motor to draw more electrical current, which leads to overheating.
To access the impeller, you typically need to remove the motor head from the drum and look at the underside. On many models, the impeller is visible behind the filter cage area. Use a flashlight to inspect the blades. Pull off any hair, string, or fiber wrapped around the shaft or blades.
For caked on dust, use a soft brush or compressed air to clean the blades. Do not use sharp tools that could chip or crack the impeller. A damaged impeller creates vibration that accelerates motor wear. If the impeller is cracked or has missing pieces, it needs to be replaced by a qualified technician. After cleaning, spin the impeller by hand to make sure it rotates freely without catching.
Addressing Motor Overheating
Motor overheating is both a symptom and a cause of problems. When airflow is restricted, the motor runs hotter because it works harder and receives less cooling air. If you notice the motor housing feels unusually hot, or if the vacuum shuts off on its own during use, overheating is the issue.
Turn off the vacuum immediately if you detect a burning smell. Unplug it from the power source. Let the motor cool for at least 30 minutes before attempting to use it again. Running an overheated motor will cause permanent damage to the windings and bearings.
The root cause of overheating is almost always restricted airflow. Go through all the checks described in the previous sections: clean the filter, clear the hose, empty the drum, and inspect the float valve. Any one of these issues can restrict airflow enough to cause overheating.
Also check the air vents on the motor housing. Many wet dry vacuums have small vents or louvers on the top or sides of the motor head. Dust and debris can clog these vents, trapping heat inside the motor compartment. Wipe them clean with a dry cloth or blow them out with compressed air. If overheating persists after you have restored proper airflow, the motor bearings may be worn and require professional service.
Recognizing Worn Motor Bearings
Motor bearings allow the motor shaft and impeller to spin smoothly at high speed. After years of use, these bearings wear down. Worn bearings produce a distinctive sound that is different from a clog related noise. You will hear a grinding, squealing, or high pitched whine that changes in pitch as the motor speeds up or slows down.
The easiest way to test for bad bearings is to listen carefully with the hose disconnected and the filter removed. If the motor still makes the noise with nothing attached, the sound is coming from inside the motor itself. This points to bearing wear rather than an airflow blockage.
Worn bearings also cause the motor to vibrate more than normal. You might feel the entire vacuum shaking during operation. This vibration accelerates wear on other components and can damage the impeller over time.
Replacing motor bearings is possible on some models, but it requires disassembly of the motor housing. This is a job best left to someone comfortable with small motor repair. In many cases, especially with lower cost wet dry vacuums, replacing the entire unit is more practical than replacing bearings. If your vacuum is still under warranty, contact the manufacturer before attempting any motor work.
Checking for Air Leaks in the System
Air leaks anywhere in the vacuum system reduce suction and force the motor to work harder. Leaks can occur at the hose connection, the drum seal, cracked hose walls, or worn gaskets. Even a small gap allows outside air to enter the system, which bypasses the intended airflow path and weakens suction.
To check for leaks, turn on the vacuum and run your hand along every connection point. You will feel cool air being pulled in at the location of the leak. Pay special attention to the hose where it meets the inlet, the drum lid where it sits on the drum, and any joints in extension wands.
A cracked hose is a common source of leaks. Flex the hose gently and look for splits or holes, especially near the ends where it connects to the vacuum and nozzle. Hose damage cannot be effectively repaired with tape for the long term. Replace a damaged hose to restore full suction.
Inspect the gasket or seal between the drum and the motor head. This seal must be clean, pliable, and seated properly. If the gasket is flattened, cracked, or missing, air will leak at this junction. Clean the sealing surfaces on both the drum rim and the motor head. Replace the gasket if it no longer provides a tight fit.
Using the Correct Filter for Your Task
Using the wrong filter type for your task can mimic the symptoms of a clogged motor. Wet dry vacuums use different filters for wet and dry applications. A standard paper cartridge filter works for dry debris. A foam sleeve or wet application filter is designed for liquid pickup.
If you use a dry paper filter to vacuum water, the filter will become saturated almost immediately. Wet paper collapses and blocks airflow completely. The motor will strain and sound clogged within seconds. Worse, a destroyed wet filter can grow mold and mildew, creating foul odors that are hard to eliminate.
For fine dust like drywall powder, concrete dust, or sawdust, a standard filter may clog very quickly. A fine dust filter or HEPA rated filter handles these materials much better because it traps fine particles without clogging as fast. Using a collection bag inside the drum along with the filter also helps keep the filter cleaner for longer.
Always match your filter to the job. Check your owner’s manual for the correct filter type for your vacuum model and application. Swap filters when you switch between wet and dry tasks. Never run the vacuum without a filter on dry jobs because unfiltered dust will coat the motor and impeller, leading to the exact problems described in this guide.
Preventing Future Clogged Motor Issues
Prevention is simpler and cheaper than repair. A few basic habits after every use will keep your wet dry vacuum running quietly and at full suction for years. The most important habit is cleaning the filter after each use. Even a quick tap against the drum wall knocks off enough dust to maintain airflow.
Empty the drum after every job. Do not leave debris or liquid sitting in the drum overnight. Standing water promotes mold growth and can cause the float valve to stick. Dry debris left in the drum can harden and become difficult to remove later.
Inspect the hose before each use. Run your hand along its length and feel for lumps or hard spots that indicate a partial blockage. Clear any obstructions before you start work. Also check that all connections are tight and secure.
Store your vacuum in a dry location with the drum lid slightly ajar. This allows air to circulate inside the drum and prevents moisture buildup. Wrap the power cord neatly around the motor head or cord hooks. Avoid kinking or bending the cord sharply, as this can damage the internal wiring over time.
Finally, keep the motor head air vents clean. Wipe them down with a dry cloth after each use. These vents allow heat to escape from the motor. Blocked vents lead to overheating, which is one of the most damaging things that can happen to a vacuum motor.
When to Call a Professional or Replace the Vacuum
Sometimes the problem goes beyond what you can fix at home. If you have checked the filter, hose, drum, float valve, impeller, and all connections but the motor still sounds clogged, the issue is likely internal. This could mean worn motor brushes, damaged windings, or failing bearings.
A burning smell that persists after cooling and cleaning is a strong indicator of motor damage. Sparking visible through the motor vents is another serious warning sign. Do not continue using the vacuum if you observe either of these symptoms. Continuing to run a damaged motor creates a fire risk.
Contact the manufacturer’s customer service line if your vacuum is still under warranty. Most brands will repair or replace the motor at no cost during the warranty period. Keep your receipt and registration information accessible for warranty claims.
For older vacuums out of warranty, compare the cost of professional motor repair against the price of a new unit. In many cases, motor repair costs more than half the price of a new vacuum. If the vacuum is more than five years old and showing multiple issues, replacing it is usually the better financial decision.
Frequently Asked Questions
Why does my wet dry vacuum motor sound like it is struggling?
The most common reason is restricted airflow. A dirty filter, blocked hose, full drum, or stuck float valve forces the motor to work harder to pull air through the system. This extra effort produces a strained, labored sound. Check each of these areas in order, starting with the filter, to find and fix the restriction.
Can a clogged filter damage the motor on a wet dry vacuum?
Yes. A clogged filter restricts airflow, which causes the motor to overheat. Prolonged overheating damages motor bearings and windings. It can also warp the impeller. Cleaning or replacing the filter regularly is the single best way to protect the motor and extend the life of your vacuum.
How often should I clean my wet dry vacuum filter?
Clean the filter after every use. For light duty jobs, a quick tap against the drum wall is enough. For heavy dust jobs involving drywall, concrete, or fine wood dust, rinse the filter with water and let it dry completely before the next use. Replace the filter entirely if it no longer passes air freely after cleaning.
What does it mean if my wet dry vacuum makes a high pitched whining noise?
A high pitched whine typically indicates either a severe airflow restriction or worn motor bearings. First, check for blockages and a dirty filter. If the whine continues with the hose removed and a clean filter installed, the motor bearings are likely the cause. Bearing replacement requires motor disassembly and may not be cost effective on older units.
Is it safe to run a wet dry vacuum without a filter?
Running a wet dry vacuum without a filter during dry pickup is not safe for the machine. Unfiltered dust enters the motor housing and coats the motor, impeller, and bearings. This causes rapid wear and overheating. Always use the correct filter for your application. For wet only pickup, some models allow operation with just a foam sleeve, but check your owner’s manual first.
How do I know if my wet dry vacuum motor needs to be replaced?
Signs that the motor needs replacement include a persistent burning smell, visible sparking, the motor failing to start, or the motor running at reduced speed even with clear airflow. If the vacuum shuts off repeatedly due to overheating after you have addressed all airflow issues, the motor is likely at the end of its service life. At that point, weigh the cost of motor replacement against buying a new unit.

Hi, I’m Ivy! I’m a smart home enthusiast and self-proclaimed clean freak who loves testing the latest cleaning tech so you don’t have to waste your money on the wrong one. I started HomeTechClean to share honest reviews and practical advice for anyone who wants a cleaner home with less effort.