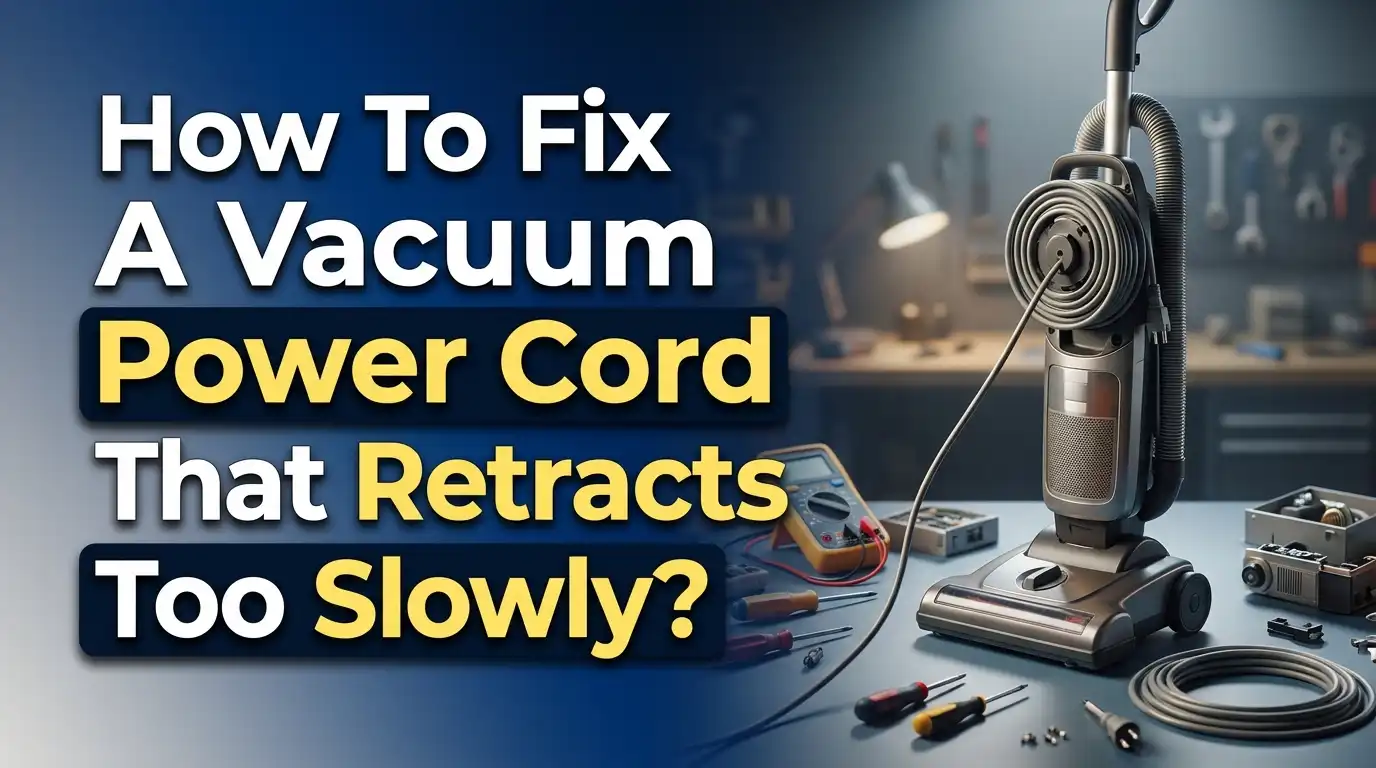
How To Fix A Vacuum Power Cord That Retracts Too Slowly?
A slow retracting vacuum cord is one of the most frustrating appliance problems you can face. You press the retract button, and the cord barely moves. It crawls back into the vacuum body at a painfully slow pace. Sometimes it stops halfway and just hangs there, lifeless.
You are not alone in this struggle. Thousands of vacuum owners deal with sluggish cord retraction every single day. The good news is that this problem is almost always fixable at home. You do not need to be a repair expert or own specialty tools.
This guide walks you through every possible cause and fix for a vacuum power cord that retracts too slowly. You will learn how the retraction mechanism works, what goes wrong inside it, and how to restore full retraction speed.
Each solution is practical and tested by real repair professionals. By the end of this post, you will have the knowledge and confidence to fix your vacuum cord yourself.
Key Takeaways
- A vacuum cord retraction system uses a coiled spring and a spool inside the vacuum body. The spring stores energy when you pull the cord out. That stored energy is what pulls the cord back in when you press the retract button. A slow retraction almost always means this spring has lost tension.
- Tangled or twisted cords inside the reel are a common cause of slow retraction. Over time, the cord can wrap unevenly on the spool, creating friction and drag that slows down the rewind process.
- Cleaning the cord reel housing can restore retraction speed in many cases. Dust, hair, and debris build up around the spool and create resistance. A simple cleaning session often solves the problem without any part replacements.
- You can manually increase the spring tension on most vacuum models by pulling the cord fully out, opening the housing, and adding extra turns to the spring spool. This is the most effective DIY fix for slow retraction.
- The retract button mechanism itself can cause slow retraction if it is worn, sticky, or partially jammed. A stuck button may not fully release the locking gear, which limits the speed of the cord rewind.
- Replacing the entire cord reel assembly is the last resort and is necessary when the spring is broken or permanently stretched. Most cord reel assemblies are available as replacement parts for popular vacuum brands.
How The Vacuum Cord Retraction System Works
Understanding the mechanism inside your vacuum helps you diagnose the problem faster. The cord retraction system has a few key parts that work together. A central spool sits inside the vacuum body and holds the power cord wound around it. A coiled flat spring connects to this spool and provides the pulling force.
When you pull the cord out of the vacuum, you rotate the spool against the spring. This action winds the spring tighter and stores mechanical energy. Think of it like winding up a toy car. The more cord you pull out, the more energy the spring stores.
A locking mechanism holds the cord in place at various lengths. This mechanism works similarly to a ratchet or a click pen. Small teeth or gears engage and prevent the spool from spinning backward. When you press the retract button, it releases these teeth and allows the spring to unwind.
The spring’s stored energy then spins the spool in reverse and pulls the cord back inside the vacuum. The speed of retraction depends on how much tension the spring can produce. A healthy spring pulls the cord back quickly and smoothly. A worn or dirty mechanism produces a slow, stuttering retraction.
Common Reasons Your Vacuum Cord Retracts Slowly
Several issues can cause a vacuum cord to lose its retraction speed. The most frequent cause is a loss of spring tension. Over months and years of use, the flat coil spring inside the reel gradually loses its elasticity. It simply cannot produce the same pulling force it once did.
Dirt and debris are the second biggest culprit. Fine dust particles, pet hair, and small fibers find their way into the cord reel housing. These particles create friction between the cord and the housing walls. They also get caught between the spool layers and slow down the rotation.
A tangled or unevenly wound cord causes drag during retraction. If the cord overlaps itself or bunches up on one side of the spool, it creates resistance. The spring then has to work harder to pull the cord back, which makes the process slower.
A worn or sticky retract button can also limit retraction speed. If the button does not fully release the locking mechanism, the spool cannot spin freely. Partial engagement of the lock creates a braking effect that slows everything down. Corrosion on the locking mechanism can produce a similar result.
Tools And Safety Steps Before You Start
Before you open up your vacuum, gather the right tools and take proper safety precautions. Always unplug the vacuum from the wall outlet before doing any repair work. This is a non negotiable step. You are working near electrical components, and safety comes first.
You will need a Phillips head screwdriver and possibly a flat head screwdriver. A pair of needle nose pliers is helpful for gripping small components. Keep a clean cloth or rag nearby to wipe away dust and debris. A can of compressed air is useful for blowing dust out of tight spaces.
Have a small container or magnetic tray ready to hold screws. Vacuum housings often use multiple screws of different lengths. Losing even one screw can make reassembly difficult. Take photos with your phone at each step of disassembly so you have a visual reference for putting everything back together.
Some vacuum models require a torx screwdriver instead of a Phillips head. Check your vacuum’s user manual or look up your specific model online before you begin. Wearing safety glasses is also a good idea because the coiled spring inside the cord reel is under tension and could release unexpectedly during the repair.
How To Access The Cord Reel Assembly
Getting to the cord reel is the first major step in your repair. Most canister vacuums house the cord reel in the main body, usually in the rear section. Upright vacuums with retractable cords typically place the reel near the base or lower housing.
Start by removing all the screws on the vacuum’s outer casing. Place your vacuum on a flat, stable surface. Flip it over and look for screws along the bottom plate and sides. Some models hide screws under labels, rubber feet, or filter covers, so inspect every surface carefully.
Once all screws are removed, gently separate the two halves of the vacuum body. Use a flat tool to carefully pry apart any clips holding the housing together. Do not force anything apart. If a section feels stuck, look for a hidden screw or clip you may have missed.
The cord reel assembly is usually a large circular component with the power cord wrapped around it. You should see the spool, the spring housing, and the electrical contacts. In some models, the cord reel lifts out easily. In others, you may need to disconnect a wire harness or remove additional screws to free it.
Cleaning The Cord Reel Housing
Cleaning is the simplest fix and should be your first attempt. Years of vacuuming send fine particles of dust and debris into the cord reel area. This buildup creates friction that directly slows down cord retraction.
Use compressed air to blow out loose dust from around the spool and inside the housing. Pay close attention to the gap between the cord layers and the housing walls. This is where debris accumulates the most. Use a dry cloth to wipe down the spool surface and the interior walls of the housing.
Check for any hair or string wrapped around the spool axle. Even a single strand of hair around the axle can create noticeable drag. Use needle nose pliers or small scissors to carefully remove any wrapped fibers. Pull gently to avoid damaging the axle or spring connection.
If the housing has sticky residue or heavy grime, use a slightly damp cloth with mild soap to wipe it down. Make sure everything is completely dry before reassembly. Moisture and electrical components do not mix well. After cleaning, manually rotate the spool to check that it spins freely without resistance.
How To Untangle And Straighten The Cord On The Reel
A tangled or twisted cord inside the reel is a surprisingly common problem. Over time, the cord can fold over itself, bunch up on one side, or develop twists. Each of these issues creates uneven resistance that slows retraction.
Pull the entire cord out of the vacuum. Lay it flat on the floor and inspect it for kinks, twists, or damage. Run the cord through your hands from end to end to straighten out any twists. A twisted cord does not lay flat on the spool and creates bunching during retraction.
Now feed the cord back into the vacuum slowly and evenly. Guide it with your hand so it wraps neatly around the spool in even layers. Do not let the cord pile up on one side or overlap itself. Even winding is critical for smooth retraction.
If your cord has permanent kinks or bends, you can sometimes straighten them by gently warming the kinked section with a hair dryer on low heat. Do not use high heat, and never apply direct flame to the cord. The goal is just enough warmth to relax the plastic insulation so the cord returns to a straight shape. Test the retraction after rewinding the cord to see if the speed has improved.
How To Increase Spring Tension On The Cord Reel
This is the most effective fix for a cord that retracts too slowly. The flat coil spring inside the cord reel loses tension over time. You can restore this tension by manually adding extra turns to the spring.
First, pull the cord fully out of the vacuum. Then carefully remove the cord reel from the vacuum body. Look for a retaining clip or cap on the center of the spool that holds the spring in place. Remove this cap carefully because the spring is under tension beneath it.
With the cap removed, you can access the spring. Manually rotate the spool to add two or three extra turns of tension to the spring. Hold the spool firmly while you do this so it does not snap back. Each additional turn increases the retracting force.
Replace the retaining cap while holding the spool in its new, tighter position. Make sure the cap locks securely so the added tension stays in place. Feed the cord back into the vacuum and test the retraction. If it is still slow, repeat the process and add one or two more turns. Be careful not to over tighten the spring, as this can cause the cord to retract too aggressively or damage the spring.
Fixing A Sticky Or Jammed Retract Button
The retract button plays a critical role in the cord rewind system. When you press it, it releases the locking mechanism that holds the cord in place. If this button is sticky, worn, or partially jammed, it may not fully disengage the lock.
Remove the vacuum housing to access the retract button from the inside. Inspect the button for visible dirt buildup, cracks, or misalignment. Dust and grime can accumulate around the button and prevent it from pressing down fully. Clean around the button with compressed air and a small brush.
Check the spring beneath the retract button. This small spring is what pushes the button back up after you press it. If this spring is weak or missing, the button will not function properly. You can sometimes stretch a weak button spring slightly to restore its push force, but replacement is the better long term solution.
Look at the locking teeth or ratchet mechanism that the button controls. These teeth should be clean and free of debris. If the teeth are worn smooth, they may not release properly when you press the button. Applying a tiny amount of silicone lubricant to the ratchet mechanism can help it release more smoothly. Never use oil based lubricants because they attract dust and make the problem worse over time.
How To Lubricate The Cord Reel Mechanism
Proper lubrication can dramatically improve cord retraction speed. The spool axle and the ratchet mechanism both benefit from light lubrication. However, you must use the right type of lubricant to avoid creating new problems.
Silicone based spray lubricant is the best choice for this repair. It reduces friction without attracting dust or leaving sticky residue. Apply a small amount to the spool axle where it contacts the housing. Spin the spool a few times to distribute the lubricant evenly.
Apply a light spray to the ratchet teeth and the locking mechanism as well. These moving parts develop friction over time, especially in dusty environments. The lubricant helps them engage and disengage smoothly, which improves the speed and consistency of cord retraction.
Avoid using WD 40, cooking oil, or petroleum based products inside the cord reel. These substances attract dust particles and can create a gummy buildup over time. This gummy residue will eventually make the retraction problem worse than before. Stick with dry silicone spray or PTFE based lubricants for the best long term results. After lubricating, test the retraction several times to confirm that the cord moves smoothly and at a good speed.
Checking The Cord For Damage Or Wear
A damaged cord can cause slow retraction even when the mechanism is in good condition. Frayed spots, cracks in the insulation, or areas where the cord has swollen make it thicker and harder to wind. These damaged sections create friction against the housing walls.
Pull the full length of cord out and inspect every inch of it. Look for cuts, exposed wires, melted spots, or areas where the outer jacket has worn thin. Run your fingers along the cord to feel for bulges or rough patches that your eyes might miss.
Pay special attention to the section of cord near the vacuum body entry point. This area experiences the most stress from repeated pulling and retracting. It is the most likely spot for wear and damage. Also check the plug end of the cord for any damage that could prevent smooth winding.
If you find exposed wires, do not use the vacuum until the cord is repaired or replaced. Exposed wires create a serious electrical hazard. Minor insulation damage can sometimes be repaired with electrical tape as a temporary measure. However, significant cord damage means you need a new cord reel assembly. A damaged cord is not just a retraction issue. It is a safety concern that deserves immediate attention.
When To Replace The Entire Cord Reel Assembly
Sometimes cleaning, adjusting, and lubricating are not enough. If the spring inside the cord reel is broken, cracked, or permanently stretched beyond recovery, replacement is the only option. A broken spring cannot be repaired effectively at home.
Signs that you need a full replacement include a cord that will not retract at all even after tension adjustment, a spring that makes grinding or snapping sounds, or visible cracks in the spool itself. If the electrical contacts on the cord reel are corroded or damaged, replacement is also necessary. These contacts carry power from the cord to the vacuum motor and must be in good condition.
To find the right replacement cord reel, note your vacuum’s brand and exact model number. Search for the cord reel assembly specific to your model. Most major vacuum brands sell replacement cord reels through their official parts departments or authorized dealers.
Installing a new cord reel is usually straightforward. Remove the old one, disconnect any wire connectors, and install the new assembly in the same position. Reconnect the wires, secure the reel with its mounting screws, and close the vacuum housing. Test the new cord reel before fully reassembling to make sure it retracts smoothly and at the correct speed.
Tips To Prevent Slow Cord Retraction In The Future
Prevention is always easier than repair. A few simple habits can keep your vacuum cord retracting smoothly for years. These practices protect both the spring and the cord from premature wear.
Always pull the cord out gently and steadily. Yanking the cord hard puts extra stress on the spring and the cord entry point. This stress accelerates spring fatigue and can damage the cord insulation. Pull with a smooth, even motion each time you use the vacuum.
Never pull the cord past the red or maximum marking. Most vacuums have a colored tape marker on the cord that shows the safe limit. Pulling beyond this mark overextends the spring and stretches it beyond its designed range. This is one of the fastest ways to lose spring tension.
Press the retract button and guide the cord back with your hand occasionally. Letting the cord snap back at full force can cause it to tangle or pile up unevenly on the spool. Guiding it in gently ensures even winding. Also make a habit of cleaning or dusting around the cord entry point on your vacuum regularly. This simple step prevents debris from entering the cord reel housing and keeps the mechanism running smoothly for much longer.
Troubleshooting Cord Retraction By Vacuum Type
Different vacuum designs have slightly different cord reel setups. Canister vacuums typically have the most accessible cord reels because the entire mechanism sits in the round body unit. You can usually access it by removing four to six screws on the bottom plate.
Upright vacuums with retractable cords are less common but do exist in several budget and mid range models. The cord reel in an upright is usually located near the base or inside the lower body panel. These reels tend to be smaller and may have shorter cords, which means less spring tension to work with.
Robotic vacuums and stick vacuums do not use retractable cords, so this guide does not apply to those types. If you have a handheld vacuum with a retractable cord, the mechanism is similar to a canister vacuum but on a smaller scale. The same cleaning and tension adjustment techniques apply.
For any vacuum type, the core repair steps remain the same. Clean the housing, check for tangles, adjust the spring tension, lubricate moving parts, and replace the assembly if needed. The biggest variable is how you access the cord reel, which depends on your specific vacuum’s design. Always consult your model’s service manual or look up disassembly videos for your exact model before starting.
Frequently Asked Questions
Why does my vacuum cord stop retracting halfway?
A cord that stops halfway usually means the spring has lost significant tension. The spring can only pull the cord back as far as its remaining force allows. Try adding extra turns of tension to the spring by following the steps in this guide. If that does not help, the cord may be tangled or bunched up inside the reel, which creates a physical block. Open the housing and check for cord overlaps or debris jams. A halfway retraction can also happen when the locking ratchet partially engages before the cord is fully retracted.
Can I fix a broken cord reel spring at home?
A completely broken spring is very difficult to repair at home. The flat coil springs used in vacuum cord reels are made from tempered steel. If the spring has snapped, you cannot effectively weld or glue it back together. Replacement is the best option. However, if the spring is simply loose or has lost tension without breaking, you can restore it by manually adding turns. This is a common and effective home repair that does not require a new part.
How often should I maintain my vacuum cord reel?
A good practice is to inspect and clean the cord reel area once every six to twelve months. If you have pets or vacuum frequently, increase this to every three to four months. Pet hair is one of the biggest contributors to cord reel problems because it wraps around the axle and enters the housing easily. Regular cleaning prevents buildup and keeps the retraction smooth. You should also periodically pull the full length of cord out and guide it back in evenly to prevent tangling.
Is it safe to open my vacuum and repair the cord reel myself?
Yes, it is safe as long as you follow basic precautions. Always unplug the vacuum before opening any part of the housing. The cord reel spring is under tension, so wear safety glasses and handle it carefully. Most vacuum cord reel repairs require only a screwdriver and basic mechanical skills. If you encounter anything that involves rewiring or electrical connections you are not comfortable with, stop and consult a professional repair technician.
Why does my cord retract fast at first then slow down?
This pattern indicates that the spring has enough tension for the initial pull but loses force as the cord winds tighter on the spool. The spring produces the most force when it is wound tightly and the least force at the end of retraction. Dirt and debris inside the housing add resistance that the weakening spring cannot overcome. Cleaning the housing and adding a few extra turns of spring tension usually solves this specific pattern of slow retraction.
Does pulling the cord out too far damage the retraction mechanism?
Yes, pulling the cord past the maximum mark damages the mechanism over time. Overextending the cord stretches the spring beyond its designed range. Each overextension permanently reduces the spring’s ability to snap back with full force. It also puts stress on the cord at the entry point, which can cause fraying and insulation damage. Always stop pulling when you reach the colored warning tape on the cord to protect both the spring and the cord.
Hi, I’m Ivy! I’m a smart home enthusiast and self-proclaimed clean freak who loves testing the latest cleaning tech so you don’t have to waste your money on the wrong one. I started HomeTechClean to share honest reviews and practical advice for anyone who wants a cleaner home with less effort.