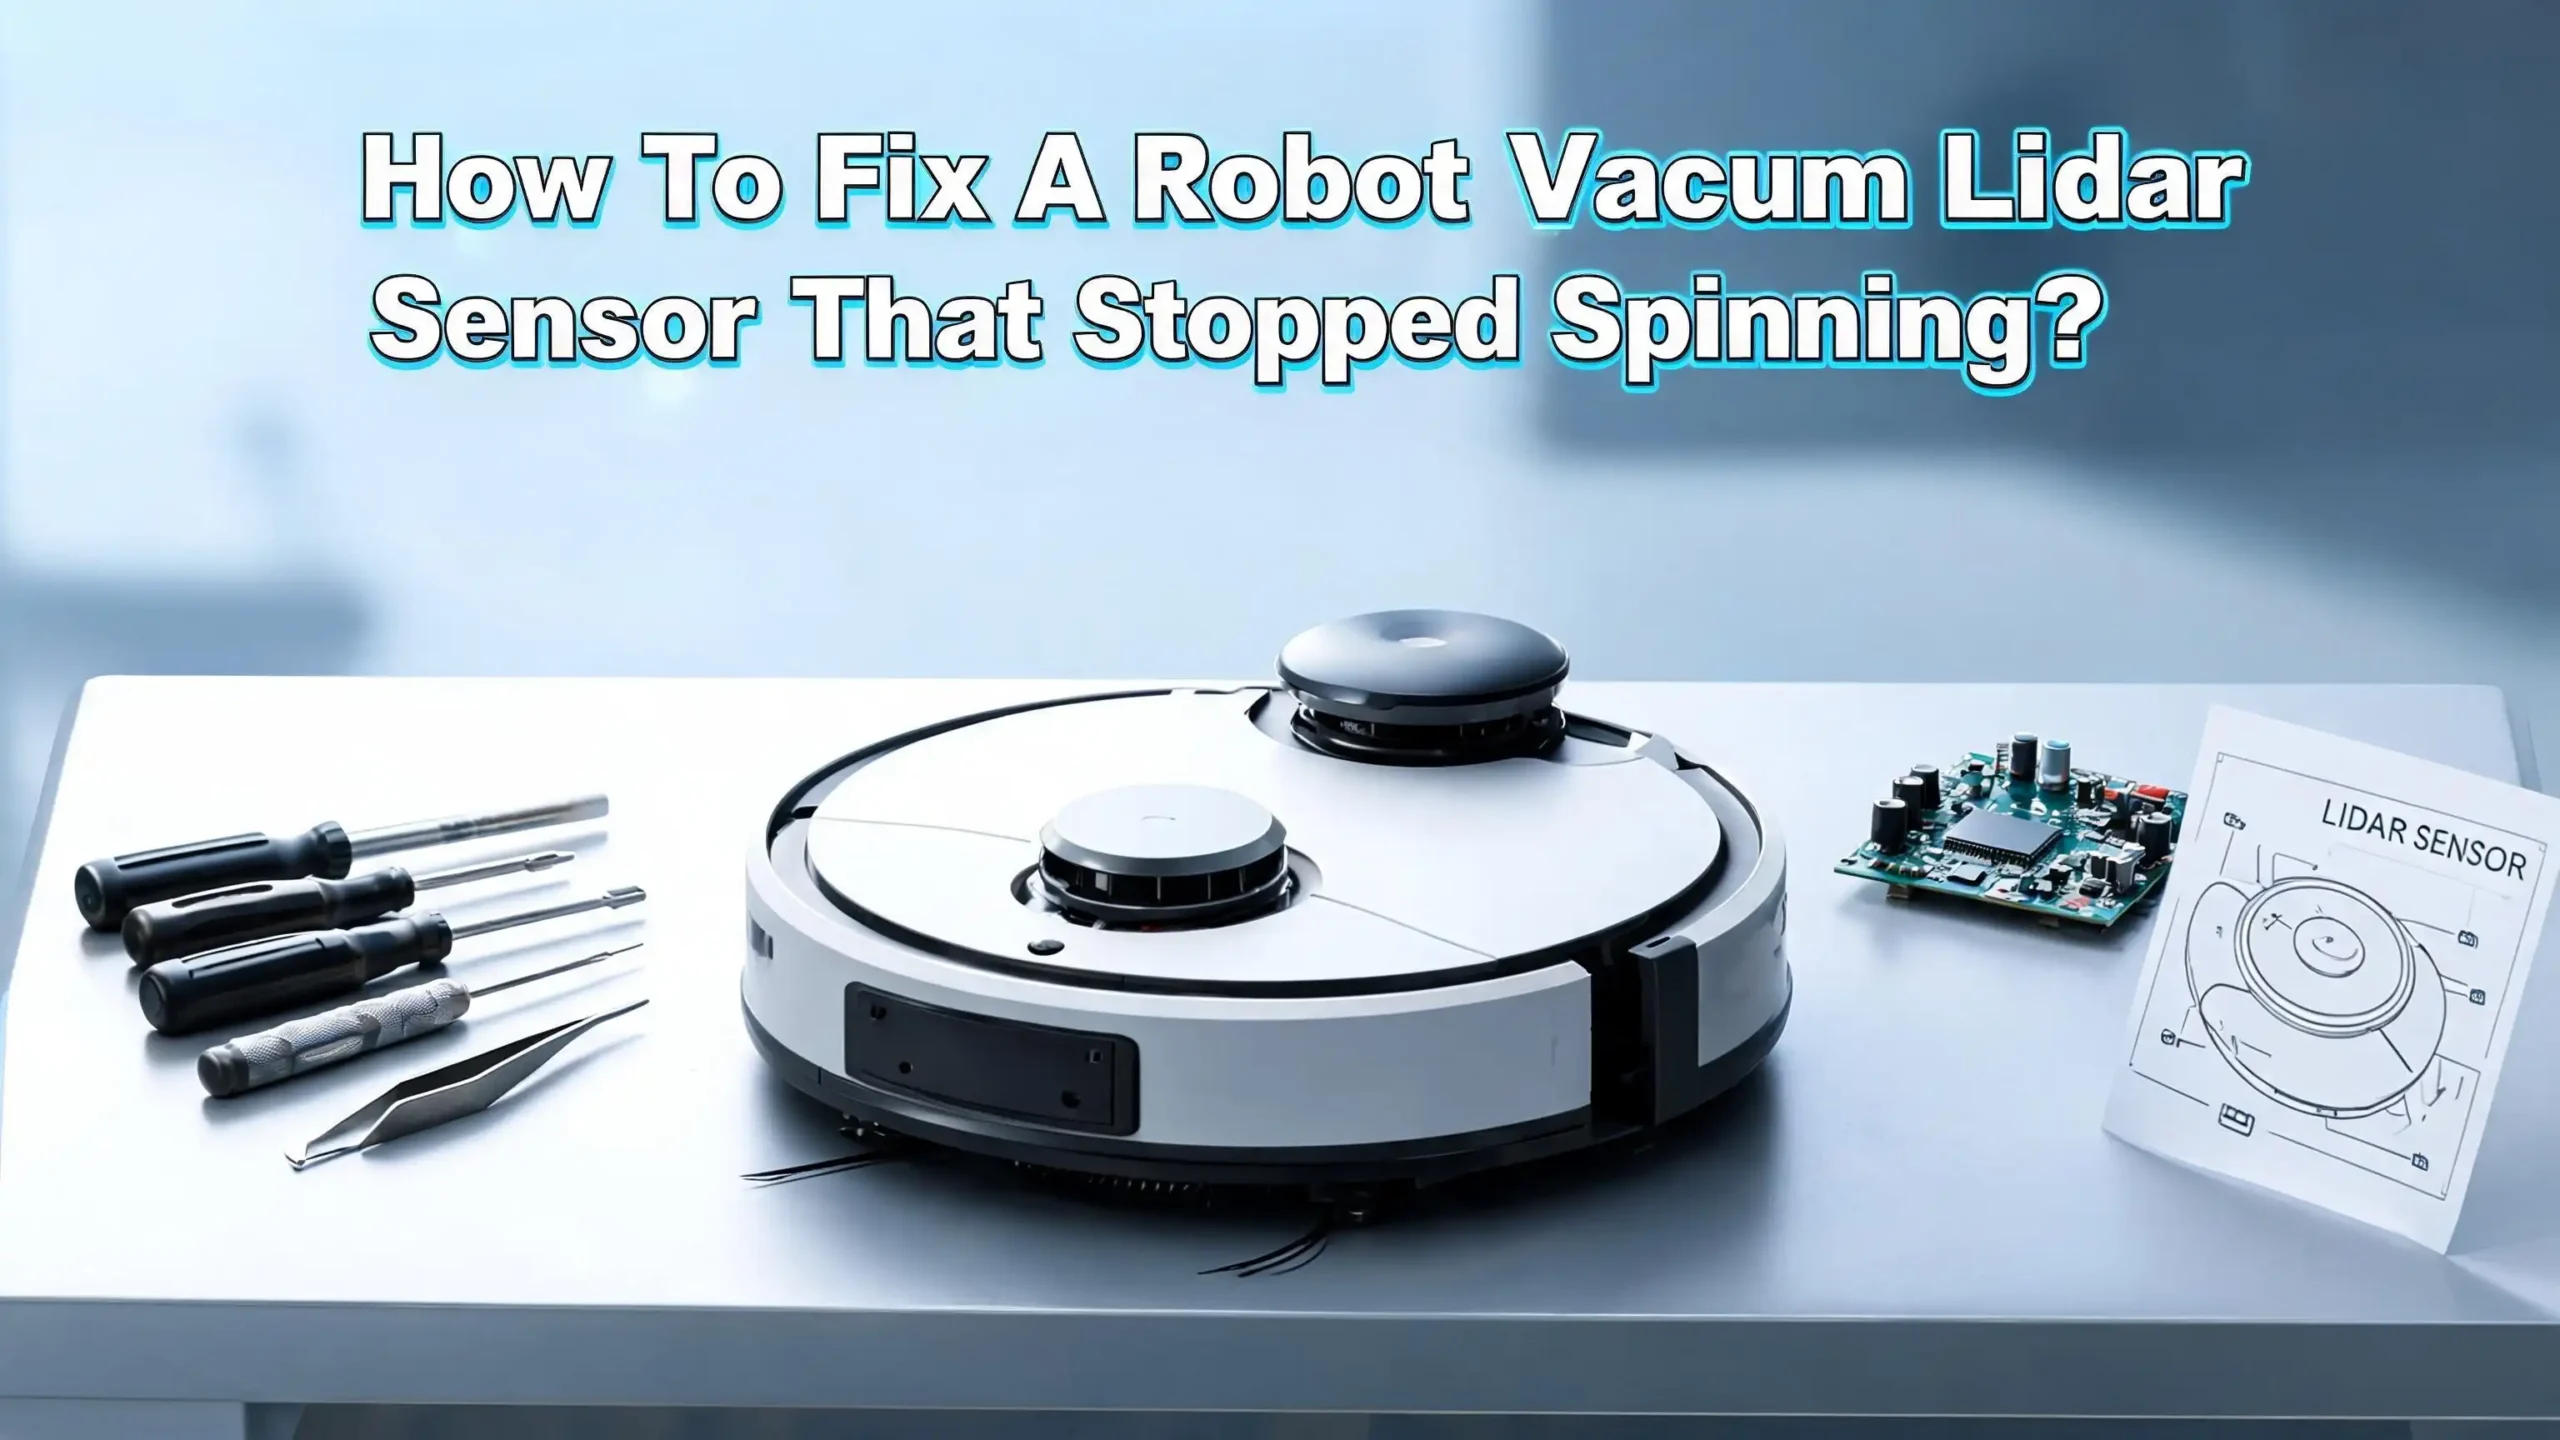
How to Fix a Robot Vacuum Lidar Sensor That Stopped Spinning?
A robot vacuum with a Lidar sensor that stopped spinning can feel useless in seconds. One day it maps rooms with ease. The next day it spins in circles, stops after a few feet, or throws a sensor error before it can clean anything. The good news is that this problem is often fixable at home.
In many cases, the cause is simple. Dust, hair, paper bits, a stuck top cover, or a jammed turret can stop the sensor from turning. In other cases, the issue goes deeper and points to a worn belt, a weak motor, a bad bearing, loose wiring, or a failing Lidar module.
This guide gives you a clear path from the easiest fix to the more advanced repair. You will learn how to test the sensor, clean it the right way, inspect the moving parts, and decide if a repair is worth your time. If your robot suddenly lost its sense of direction, you are in the right place. Let’s fix it step by step and bring your cleaner back to life.
Key Takeaways
- Start with the simple checks first. A robot vacuum Lidar sensor often stops spinning because dust, hair, paper bits, or debris got inside the turret area. A careful clean and a restart can solve the issue in minutes. Do not open the robot too early if the problem might be small.
- Test the turret by hand before doing anything major. Gently rotating the top sensor can tell you a lot. If it feels smooth, the issue may be software or a light obstruction. If it feels stiff, gritty, or uneven, the problem is more likely mechanical. That quick test saves time.
- Look at the floating cover and optical window. Some robots fail because the top cover does not move freely, or the laser opening is dirty. The sensor may still spin poorly even if the problem is outside the motor itself. A blocked window can act like a failed sensor.
- If cleaning does not help, inspect the drive parts. Many robot vacuums use a small belt, ring, or internal drive part to spin the Lidar assembly. If that part slips, stretches, or falls out of place, the robot may show a Lidar error even though the rest of the machine works. This is a common hidden cause.
- Know when to stop and choose replacement. If the belt, motor, bearing, or board is damaged, a full Lidar module swap may be faster than part by part repair. That is often the better choice for older units. If the robot is still under warranty, service support is usually the safest move.
Why a Robot Vacuum Needs a Spinning Lidar Sensor
The Lidar sensor is the robot’s main way to read the room. It sends out laser signals while the turret spins. Then it measures how those signals bounce back from walls, furniture, and open floor. That spinning action is what builds the map.
If the sensor stops turning, the robot loses its sense of place. It may leave the dock, move a short distance, then stop. It may spin in circles, bump into objects, or fail to start a cleaning cycle. Some models also give a voice warning or an app alert about Lidar, radar, or navigation.
A stopped sensor can happen for a few reasons. Dust and hair often work their way into the moving parts. Small paper scraps can get under the top cover. The floating cap may stick and press on the turret. Inside the robot, a belt may slip, a bearing may wear out, or the motor may no longer start well.
Software can play a role too. A bad update, a mapping fault, or a sensor error stored in memory can make the robot act like the Lidar failed even when the hardware is mostly fine. That is why a smart repair starts with the least risky test first.
Pros: Understanding the root cause helps you avoid random repairs and wasted time.
Cons: The same symptoms can come from more than one fault, so you may need to test a few things before you find the true cause.
Signs the Lidar Sensor Is Really the Problem
Before you grab a screwdriver, make sure the Lidar is the actual issue. Many robot vacuums show similar behavior for wheel errors, bumper issues, dirty cliff sensors, or map confusion. A quick diagnosis keeps you from fixing the wrong part.
The clearest sign is this: the top turret does not spin when the robot starts a cleaning cycle. Put the robot on the floor, press clean, and watch the sensor for the first few seconds. If it stays still, slows badly, or starts then stops, the Lidar system likely needs attention.
Other signs also point in the same direction. The robot may clean for a minute, then stop with a sensor message. It may wander without a clear path. It may spin in place because it cannot build a map. Some users notice that the robot docks fine and powers up fine, yet fails only when it tries to scan the room.
Listen closely too. A healthy Lidar unit often makes a soft spinning sound. If you hear clicking, scraping, or no motion at all, that tells you something useful. Strange sound often means friction or a loose drive part.
Pros: This step is fast, safe, and costs nothing.
Cons: A few models hide the turret motion well, so it can be hard to see whether the sensor is turning at full speed.
Safety Checks Before You Start the Repair
A calm setup makes this repair easier. Power off the robot first. Remove it from the charging dock. If your model has a removable battery, disconnect it before opening the shell. This lowers the chance of shorting a wire or starting the motor by accident.
Next, move to a bright table with a towel under the robot. The towel protects the shell and stops screws from rolling away. Keep a small cup or tray nearby for screws. Many robot vacuums use several screw sizes, so mix ups can slow reassembly later.
You do not need a huge tool set. In most cases, a soft cloth, cotton swabs, a small brush, tweezers, and a precision screwdriver are enough for early checks. Some repairs may also need a plastic pry tool and compressed air. Use air with care. A short, light burst is enough. Too much force can push dirt deeper.
Take photos as you go. That one habit saves a lot of frustration during reassembly. If you remove covers or unplug wires, photograph the exact order. Also check your warranty status before opening the body. A simple clean from the outside is usually safe. Full disassembly may void coverage on some brands.
Pros: Safe prep reduces mistakes and helps you stay organized.
Cons: It adds a few minutes before repair starts, but those minutes usually prevent bigger trouble later.
First Fix to Try: Restart the Robot and Test the Turret by Hand
Start with the least invasive fix. Turn the robot off completely. Wait about one minute. Then turn it back on and begin a cleaning cycle. If your model allows a soft reset through the app, do that too. A reset can clear a temporary sensor fault or startup glitch.
Now do the hand test. With the robot powered off, gently rotate the top turret or sensor cap. Do not force it. You are only checking how it feels. A healthy unit usually turns with light, even resistance. If it feels stuck, jerky, or gritty, something is blocking the motion.
If the turret was only lightly stuck, a few gentle turns may free it. After that, restart the robot and see if the sensor begins spinning on its own. Some brands even suggest a careful manual turn as an early troubleshooting step. This can help a motor catch and start again.
Pay attention to what happens after restart. If the turret now spins smoothly, your problem was likely minor. If it starts for a second and stops, you may have a weak motor, slipping belt, or a friction problem inside. If nothing changes at all, move on to cleaning and inspection.
Pros: This method is quick, free, and low risk. It often solves light jams.
Cons: It will not fix worn parts. Forcing the turret can also cause damage, so keep your touch gentle.
Clean the Turret, Optical Window, and Sensor Openings
Dirt is one of the most common reasons a Lidar sensor stops spinning or starts failing. Dust builds up around the turret. Hair wraps around the moving base. Tiny paper pieces can slip under the top cover. Even a small blockage can slow the spin enough to trigger an error.
Start outside. Use a dry microfiber cloth to wipe the top sensor cover. Then clean the optical window and any visible laser openings. A soft brush works well around seams. If you see hair or lint packed into the gap under the turret, pull it out with tweezers. Go slowly and avoid poking deep inside.
If your model has a floating Lidar cap, press it lightly from different sides. It should move and spring back. While cleaning, look for sticky grime around that moving ring. Dirt there can press down on the spinning part and create drag.
For deeper dust, use a cotton swab or a short burst of compressed air from a safe distance. Keep the nozzle angled so debris blows out, not deeper in. After cleaning, rotate the turret gently by hand again. If it now feels smoother, restart the robot and test it.
Pros: Cleaning is cheap, safe, and often fixes the problem without opening the robot.
Cons: It may miss hidden faults like a slipped belt, worn bearing, or weak motor. Too much air pressure can also make things worse.
Check Whether the Top Cover Is Pressing on the Sensor
Some robot vacuums have a Lidar cover that floats. It moves a little when pressed. That small movement protects the sensor and helps the robot detect obstacles around the turret. If that cover gets stuck, it can press against the spinning assembly and stop it from turning well. This is easy to miss.
Press the cover down gently from the front, back, left, and right. It should move freely and return to center. If it sticks on one side, inspect the edge for lint, paper dust, pet hair, or a warped trim piece. Clean around the base with a soft brush and cloth.
Look for signs that the cover rubs while the robot is trying to start. A light scrape mark or rubbing sound can point to the problem. If the cover sits too low, the spinning part underneath may be fine, but it simply has no room to move.
On some models, the sensor cap may also shift after a drop or impact. If the robot hit a chair leg hard or fell down a step, the cover may have gone out of line. That can create friction every time the unit tries to map.
Pros: This check is simple and does not require full disassembly.
Cons: If the cover is bent or the mount is damaged, cleaning alone may not fix it, and parts may need adjustment or replacement.
Open the Top Shell and Inspect the Lidar Belt or Drive Ring
If outside cleaning did not help, the next step is internal inspection. Many Lidar robot vacuums use a small belt, ring, or drive part to spin the turret. If that part snaps, slips, stretches, or falls off its track, the sensor will not rotate correctly. This is a very common repair point.
Open the shell only if your warranty is over or you are comfortable with basic repair. Remove the dust bin and brush area if needed. Then follow the screw path for your model and lift the top cover carefully. Watch for hidden clips and short wire harnesses.
Once inside, locate the Lidar assembly. Look for a small motor beside the turret and a thin drive belt or ring around the moving part. Check for a belt that has broken, come loose, or turned glossy from wear. If it looks slack, it may slip under load. That can make the turret start, slow down, and stop with an error.
Also inspect for a belt that jumped out of place because of dust or paper fibers. If you reseat it, spin the turret gently by hand and see whether it tracks correctly. If the belt is clearly damaged, replacement is the better move.
Pros: This step often reveals the true fault and can lead to a low cost fix.
Cons: Disassembly takes patience. There is also some risk of breaking clips or unplugging a wire by mistake.
Inspect the Motor, Bearing, and Wiring for Hidden Damage
If the belt looks fine, the motor system deserves a close look. A Lidar motor can weaken with age. It may try to start, hesitate, then stop. Some units work only after a gentle manual nudge. That usually points to a motor or bearing issue, not simple dirt.
Check the motor shaft area first. Look for hair wound around the shaft, wobble in the pulley, or dark dust that suggests friction. Spin the turret by hand and feel for grinding. A rough feel can mean the bearing is worn. A worn bearing creates drag, and the motor may not overcome it.
Now inspect the wires and small plugs leading to the Lidar module. A loose connector can make the sensor fail on and off. If the robot was dropped or opened before, a wire may be partly seated. Press connectors gently into place, but never force them. Look for pinched wires under plastic edges too.
In some robots, the motor starts fine when tested alone but fails during a cleaning run. That can happen if the board cannot control speed well, if the motor is weak under load, or if power delivery is unstable. Intermittent faults are harder to catch, so watch for patterns.
Pros: This step helps you separate a jam from a true hardware failure.
Cons: Testing motors and wiring takes more skill, and replacing tiny internal parts is less beginner friendly.
Update Firmware and Clear Possible Software Errors
A Lidar that stopped spinning is often a hardware issue, but software still matters. Some brands recommend checking firmware before deeper repair. A glitch in startup logic, a stored error, or bad map data can make the robot behave oddly. Software fixes are easy, so they are worth trying.
Open the robot’s app and check for updates. Install the latest firmware if one is available. Then remove the current map if it looks corrupted and create a fresh one after repair. If your app offers a reset for navigation or a full reboot, use it.
Why does this help? The robot needs clean communication between the main board and the sensor system. If the software thinks the Lidar failed during an earlier run, it may keep throwing errors. A reset can clear that state and let the robot test the sensor again from scratch.
Do this after cleaning and basic mechanical checks, not before every other step. If the turret is physically jammed, no update will solve that. Still, if the sensor spins freely by hand and no major damage is visible, software becomes a stronger suspect. This is especially true after a recent update or app issue.
Pros: Firmware updates and resets are simple and safe. They can fix false errors and mapping problems.
Cons: They do not repair broken belts, worn motors, or stuck bearings, so results may be limited if hardware is failing.
Decide Whether to Repair One Part or Replace the Full Lidar Module
There comes a point where part by part repair stops making sense. If you found a damaged belt, weak motor, noisy bearing, or unreliable sensor board, you have two paths. You can repair the single fault, or you can replace the whole Lidar module. The better option depends on time, cost, and confidence.
Single part repair is usually cheaper. If the only issue is a slipped belt or dirty bearing, fixing that one problem can bring the robot back quickly. This route suits people who enjoy repair and already have the robot open. It is a good choice when the rest of the machine is in strong condition.
A full module replacement is simpler in another way. You swap one assembly instead of chasing several small faults. This often helps when the robot has repeated Lidar errors, strange startup behavior, or damage that is hard to isolate. It can also save time if the motor, sensor board, and housing all show wear.
If your robot is newer or still covered, contact support before replacing anything. Warranty service may save money and protect you from making the issue worse. If the robot is old and the repair cost is close to the price of a new unit, replacement may be the smarter path.
Pros: Module replacement is direct and often more reliable for stubborn faults.
Cons: It costs more than cleaning or a single belt fix, and part quality can vary if you choose the wrong source.
How to Prevent the Lidar Sensor From Stopping Again
Once your robot is working again, a few habits can keep the Lidar healthy. Start with simple cleaning. Wipe the sensor cover weekly if you have pets or a dusty home. Pull away hair and lint before it works into the turret gap. Small care steps prevent bigger repairs later.
Keep shredded paper, sewing thread, glitter, and lightweight packing scraps off the floor before running the robot. These tiny materials often slip into places that larger debris cannot reach. If your robot works in a home office or craft room, check the top sensor more often.
Do not lift the robot by the turret. Avoid pressing down on the top sensor cap. Also keep the machine away from drops, hard impacts, and rough storage. A bent cover or shifted sensor can start a slow chain of friction problems. Many Lidar issues begin after a bump that seemed minor at the time.
It also helps to clean filters, wheels, and brushes on schedule. A robot that struggles in general may draw more power and stop mid cycle more often, which can make diagnosis harder. Update firmware from time to time, and pay attention to new sensor warnings instead of ignoring them for weeks.
Pros: Prevention is easy, cheap, and helps the robot map better over time.
Cons: It does take routine effort, and even well cared for robots can still develop motor or bearing wear as they age.
When It Is Best to Stop and Get Professional Help
Home repair is useful, but there is a limit. If the robot is still under warranty, support service is usually the first move after basic cleaning and restart steps. Opening the shell too far can remove that safety net. That matters more with newer and costly models.
You should also pause if you see burn marks, damaged connectors, broken clips around the sensor mount, or signs of liquid damage. Those problems often spread beyond the Lidar alone. A failed board or short circuit can mimic a simple spin issue, yet require deeper testing.
Professional help is also smart if the robot keeps showing the same error after you cleaned the turret, checked the cover, reset the software, and inspected the belt. At that stage, the fault may sit in the motor control path, the sensor board, or a hidden internal crack. Those repairs are harder without tools and experience.
There is no shame in stopping early. A careful diagnosis already saves time because you can explain the symptoms clearly. Tell the repair shop whether the turret spins at all, whether it needs a manual nudge, and whether the cover or belt looked normal. That information makes service faster.
Pros: Professional repair can confirm the exact fault and reduce trial and error.
Cons: It costs more, and older robots may not be worth the bill if several parts are already worn.
FAQs
Why is my robot vacuum spinning in circles after the Lidar stopped working
A robot that spins in circles often cannot map the room. The Lidar may be blocked, jammed, dirty, or unable to turn at the correct speed. The robot keeps trying to locate itself, but the scan never completes. Start by cleaning the turret, checking the floating cover, and testing whether the sensor turns freely by hand.
Can I manually spin the Lidar sensor to fix it
Yes, but only gently and only with the robot powered off. A light manual turn can help you check resistance and sometimes free a light jam. Do not force it. If the turret feels rough or stuck, stop and inspect for hair, dust, paper, or an internal drive problem.
Is a Lidar error always caused by a bad motor
No. A bad motor is one cause, but it is not the only one. Dirt, a blocked optical window, a stuck top cover, a slipped belt, a worn bearing, loose wiring, or a software fault can cause the same warning. That is why the best repair order starts with cleaning and easy checks before part replacement.
Should I replace the whole robot if the Lidar sensor stops spinning
Not right away. Many Lidar faults are repairable. If the robot is fairly new, support service or a module replacement may be worth it. If the unit is old and several parts are wearing out, replacing the robot may make more sense than spending money on repeated repairs.
Hi, I’m Ivy! I’m a smart home enthusiast and self-proclaimed clean freak who loves testing the latest cleaning tech so you don’t have to waste your money on the wrong one. I started HomeTechClean to share honest reviews and practical advice for anyone who wants a cleaner home with less effort.