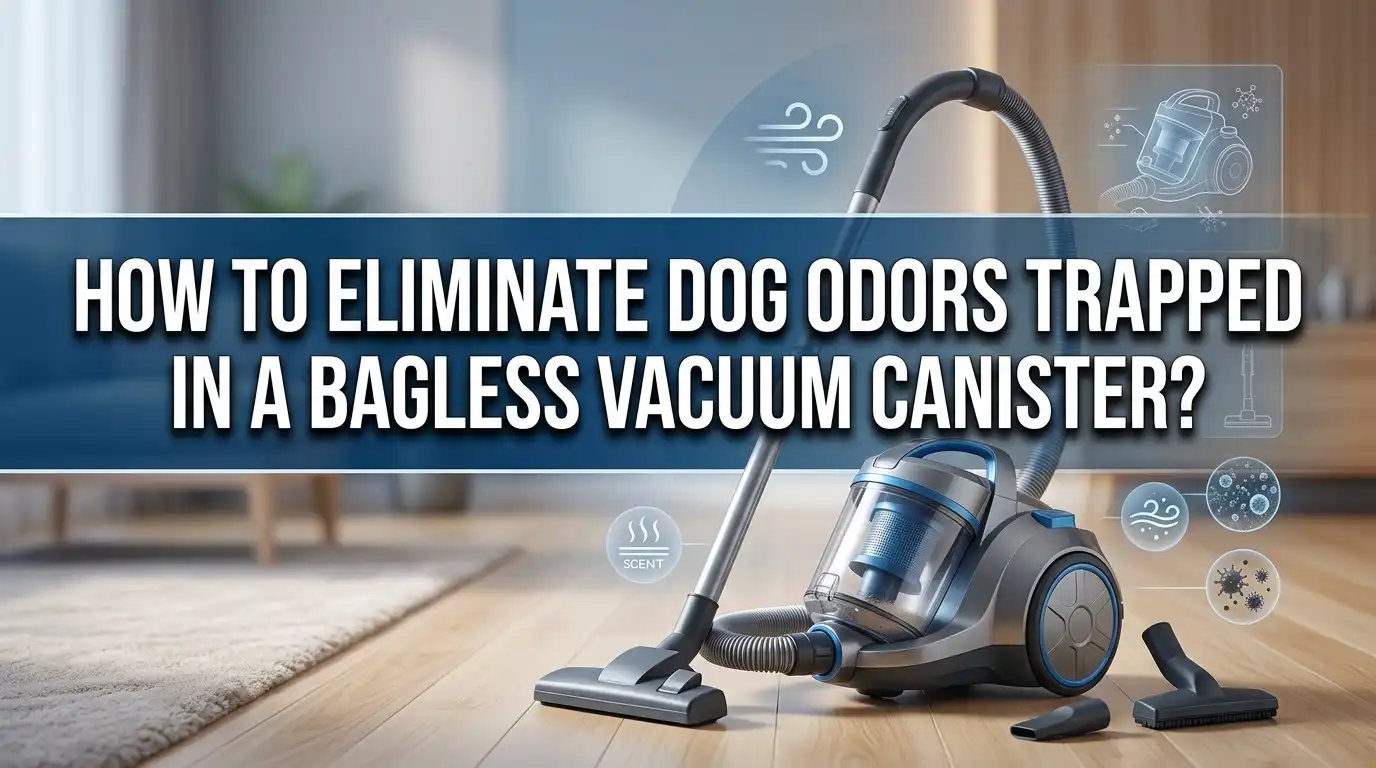
How To Eliminate Dog Odors Trapped In A Bagless Vacuum Canister?
Does your bagless vacuum smell like your dog after every clean? You are not alone.
Pet hair and dander build up fast. They settle deep into the canister and filter. Soon, that musty odor spreads through your whole house.
Bagless vacuums trap everything they pick up. Without a bag, dirt and smells cling to the plastic walls. Dog odors are especially stubborn. They soak into every corner of the bin.
The good news? You can fix this problem quickly. Simple cleaning habits make a big difference. You do not need fancy tools or harsh chemicals.
This article shows you exactly how to eliminate dog odors from your vacuum canister. We will cover filter cleaning, the right way to wipe down your bin, and smart drying techniques.
By the end, your vacuum will smell fresh again. Regular maintenance keeps those doggy smells away for good. Let’s get started on making your bagless vacuum odor free.
In a Nutshell
- Clean the filter first. This is the main source of bad smells. A dirty filter holds onto dog odor even after you empty the bin.
- Wipe the dustbin after every use. Use a damp towel with soapy water. This stops odor from building up over time.
- Remove all leftover debris. Small bits of hair and dust get stuck in corners. Clear them out completely.
- Let the canister dry fully before reuse. Never reassemble a wet bin. Trapped moisture creates mold and worse smells.
- Try detergent powder for tough smells. Add it directly to the bin or vacuum a small amount through the hose.
- Empty the canister often. Do not wait until it is full. Regular emptying keeps odors from settling in.
Why Bagless Canisters Trap Dog Odors
Bagless vacuum canisters trap dog odors because they hold everything your vacuum picks up in one enclosed space. Unlike bagged vacuums, the air and particles stay inside the bin until you empty it. This creates a perfect environment for bad smells to develop and linger.
Dog hair and dander are the main culprits. When you vacuum your dog, loose fur and skin flakes get sucked into the canister. These materials break down over time and release unpleasant odors. The problem gets worse if moisture gets trapped inside the bin.
The filter is where most odors hide. Filters collect fine particles like dander and dust. As these particles sit on the filter, bacteria grow and create smells. A dirty filter can make your entire vacuum smell like a dog even after you empty the bin.
Moisture is another major factor. If you vacuum wet dog fur or clean up spills, water gets trapped in the canister. This moisture creates the perfect conditions for mold and mildew to grow. These fungi produce strong, unpleasant smells that spread throughout your vacuum.
Small debris hides in corners and crevices. Bits of hair stick to the sides of the dustbin. They accumulate over weeks and months. This buildup becomes a source of constant odor.
The canister design itself makes the problem worse. Air cannot circulate well inside a sealed bin. Odors get trapped and concentrated. Each time you vacuum, you add more dog hair and dander to the existing smell.
Understanding these causes helps you tackle the problem effectively. You now know exactly why your bagless vacuum smells like your dog.
Tools and Supplies You’ll Need
You need several basic items to clean your bagless vacuum canister properly. Start with a damp cloth or towel. Use this to wipe down the inside and outside of your dustbin after each use. A soft cloth works best because it won’t scratch the plastic canister.
Soapy water is essential. Mix warm water with a small amount of dish soap. This solution cuts through odors and removes stuck on debris. Keep a bucket nearby for dipping your cloth.
Get a soft brush or old toothbrush. Use this to scrub corners and crevices where hair gets trapped. Small brushes reach tight spots that cloths cannot access. This prevents debris from sitting and creating smells.
Detergent powder helps neutralize tough odors. You can sprinkle this directly into your empty canister or vacuum a small amount through the hose. Regular laundry detergent works fine for this purpose.
A dry towel or paper towels are necessary for drying your canister completely. Never reassemble a wet bin. Moisture causes mold growth and makes odors worse. Pat everything dry before putting the canister back together.
Consider having a trash bag or waste container nearby. Empty your vacuum canister into this when cleaning. This keeps debris contained and makes cleanup faster.
Finally, keep clean rags or microfiber cloths handy. These last longer than paper towels and work better for repeated cleaning. Store them in a convenient location near where you vacuum.
Having these supplies ready makes the cleaning process quick and easy. You won’t need expensive equipment. Most items already exist in your home.
Step-by-Step Guide to Deep Cleaning the Canister
Start by unplugging your vacuum. Safety comes first. Remove the canister from the vacuum unit and carry it to a trash bin or outdoor area where you can empty it completely.
Empty all debris into the trash. Tap the sides gently to loosen stuck hair and dust. You want the bin as empty as possible before washing.
Next, fill a sink or bucket with warm water and add dish soap. Use your soft brush or old toothbrush to scrub the inside walls of the canister thoroughly. Pay special attention to corners and crevices where dog hair collects. These hidden spots trap odors.
Rinse the canister completely under running water. Make sure all soap residue is gone. Leftover soap can cause smells and affect vacuum performance.
Now tackle the filter, which is your biggest odor source. Rinse it under cool water. Do not use hot water as this can damage the filter material. Gently tap it to remove trapped particles. For stubborn odors, soak the filter in soapy water for 15 minutes, then rinse again.
For tough smells, sprinkle detergent powder directly into the damp canister. Let it sit for a few minutes, then rinse thoroughly.
Dry everything completely before reassembly. Use clean towels to wipe down the canister interior. Stand the filter upright and let it air dry for at least two hours. Never reassemble a wet canister as moisture creates mold and worse odors.
Once completely dry, add a small amount of detergent powder to the clean bin for extra freshness. Reassemble your vacuum and test it.
How to Properly Clean and Deodorize the Filter
Your vacuum filter is the primary source of dog odors. It traps fine particles like dander and dust that create that stubborn smell. Cleaning it properly makes a huge difference.
Start by removing the filter from your vacuum. Tap it gently over a trash can to release loose debris. This simple step removes a lot of trapped particles before you even wet it.
Rinse the filter under warm running water. Let the water flow through the filter material to wash away accumulated dog hair and dander. Use your fingers or a soft brush to gently loosen stubborn particles stuck to the surface.
For tough odors, soak the filter in warm soapy water for 15 to 20 minutes. This allows the soap to break down oils and odor causing particles. After soaking, rinse it again under clean running water until the water runs clear.
Never scrub the filter harshly. The delicate material can tear, which ruins the filter. Instead, use gentle motions with a soft brush on problem areas.
Let the filter air dry completely before putting it back in your vacuum. Place it upright in a well ventilated area. This usually takes several hours. Never reassemble your vacuum with a damp filter. Moisture trapped inside creates mold and makes odors worse.
Once the filter is completely dry, you can add a small amount of detergent powder to the clean canister for extra freshness. This helps neutralize any remaining odors.
Clean your filter regularly, ideally after every few uses. This prevents odors from building up in the first place and keeps your vacuum working at peak performance.
Using Detergent Powder and Soapy Water for Odor Removal
Detergent powder and soapy water work together to eliminate stubborn dog odors from your bagless vacuum canister. This method is simple and uses items you likely already have at home.
Start by mixing warm water with dish soap in a bucket or sink. The soapy water breaks down odor causing particles stuck to the canister walls. Dip a soft cloth into the mixture and wipe down the entire interior of your dustbin. Pay special attention to corners and crevices where dog hair and debris accumulate.
For extra odor fighting power, sprinkle detergent powder directly into the damp canister after you’ve wiped it with soapy water. The powder works by neutralizing smells rather than just masking them. Let the powder sit for a few minutes to absorb odors from the canister surfaces.
Next, rinse the canister thoroughly under running water to remove all soap residue and detergent powder. Any leftover cleaning products can affect your vacuum’s performance. Use a clean cloth to wipe away excess water.
Complete drying is absolutely critical before you reassemble your vacuum. Moisture trapped in the canister creates new odors and damages internal components. Set the canister upright in a well ventilated area for several hours or overnight.
Once completely dry, add a small amount of detergent powder to the clean bin for ongoing freshness. This powder will distribute through the canister as you vacuum.
Use this soapy water and detergent powder method every two to three weeks for homes with dogs. Regular cleaning prevents odors from building up in the first place. This simple routine keeps your vacuum smelling fresh and working effectively.
Common Mistakes That Cause Odors to Return
Many people make mistakes that cause dog odors to return quickly. Understanding these errors helps you keep your vacuum fresh longer.
Reassembling too soon is a major problem. You must let your canister dry completely before putting it back together. Moisture trapped inside creates the perfect environment for odor causing bacteria to grow. Even a slightly damp canister will smell bad within days. Always wait until everything is bone dry.
Neglecting your filter is another common mistake. The filter collects most of the dog hair and dander that create odors. If you skip filter cleaning, odors will return no matter how clean your canister is. Clean your filter regularly between deep cleaning sessions. This simple step prevents odor buildup from getting worse.
Not emptying your bin frequently enough causes problems too. A full or overstuffed canister traps moisture and debris. This combination breeds odors quickly. Empty your bin after each use, especially when vacuuming pet hair. A partially full bin still holds enough material to cause smells.
Some people forget to wipe down the canister after emptying it. Dust and pet hair stick to the sides and bottom. These particles decompose and create odors over time. A quick wipe with a damp cloth after each use prevents this issue.
Skipping the drying step before storage is critical. Never store your vacuum with a damp canister. The enclosed space traps moisture and creates musty smells. Always ensure your canister is completely dry before putting your vacuum away.
Avoiding these mistakes keeps your vacuum smelling fresh. Consistency matters most. Regular maintenance prevents odors from returning and keeps your home smelling clean.
Ongoing Maintenance Routine to Prevent Future Smells
Keeping your bagless vacuum fresh requires consistent habits. The key is establishing a routine that stops odors before they start.
Empty your canister frequently, ideally after every use or when it reaches three quarters full. A full bin traps moisture and creates the perfect environment for dog smells to develop. When you wait too long between emptying, bacteria grows and odors become harder to remove later.
Wipe down your dustbin with a damp cloth right after emptying it. This simple step removes residual pet hair and dust that cling to the sides. Use warm soapy water and dry the bin thoroughly with a clean towel before reusing your vacuum.
Check your filter every time you vacuum. Pet hair wraps around filter fibers and holds odors. A quick visual inspection tells you if cleaning is needed. Clean your filter at least every two weeks, or more often if you have multiple pets or a shedding dog.
Store your vacuum with the canister completely empty and dry. Never put your vacuum away with debris still inside. Moisture trapped in a full bin creates musty smells that spread throughout your machine.
Keep your vacuum in a dry location. Basements and damp garages make odor problems worse. A cool, dry closet or garage corner works better.
Add a small amount of detergent powder to your clean canister weekly. This prevents odors from building up between deep cleanings. The powder absorbs smells naturally as you vacuum.
These habits take just minutes each week but prevent major odor problems. Consistency matters more than occasional deep cleaning. When you maintain your vacuum regularly, dog odors stay away.
Troubleshooting Persistent or Recurring Odors
When dog odors keep returning to your bagless vacuum despite cleaning efforts, you likely have a deeper issue. The problem usually stems from moisture trapped inside the canister or filter fibers holding onto stubborn smells.
Check your filter first. Pet hair wraps tightly around filter material and traps odor molecules deep within the fibers. A quick visual inspection often reveals pet hair matted against the surface. If you see buildup, your filter needs more aggressive cleaning than a simple tap over the trash can provides.
Run your filter under warm water and gently rub the material with your fingers. For persistent odors, soak the filter in warm soapy water for 15 to 20 minutes. This breaks down oils and bacteria causing the smell. Rinse thoroughly until water runs clear.
Moisture is another culprit. If you’re reassembling your canister before it completely air dries, trapped moisture creates a breeding ground for odor causing bacteria. Set all parts in a warm, dry location for at least 24 hours after washing.
Check your canister seals and gaskets too. Cracks or worn seals allow moisture to settle in crevices where you cannot easily reach. Moisture pooling in these spots produces foul smells that return quickly after cleaning.
Empty your bin more frequently. Many people wait until the canister is completely full. Packed debris compresses and creates an oxygen poor environment where bacteria thrive. Emptying at three quarters full prevents this problem.
If odors still persist after these steps, your filter may need replacement. Filters have a limited lifespan, and worn filters cannot trap odors effectively anymore. Regular replacement prevents recurring smell issues.
Final Thoughts
Dog odors in a bagless vacuum canister don’t have to be a permanent problem. With the right habits, you can keep your vacuum smelling clean every time you use it.
The filter is your biggest ally here. Clean it often and let it dry fully before each use. This simple step solves most odor issues on its own.
Consistency matters more than intensity. A quick wipe down after every use beats a deep clean once a month. Small efforts add up to big results over time.
Remember to empty your canister before it gets too full. A packed bin traps moisture and debris against the filter, creating the perfect environment for smells to grow.
Detergent powder is a handy tool for keeping things fresh between cleanings. A small sprinkle in the bin or a quick vacuum through the hose can neutralize odors fast.
Drying time is not optional. Always let every part dry completely before you put your vacuum back together. Trapped moisture is one of the fastest ways odors return.
If smells keep coming back, look closer at your seals and gaskets. These small parts can hold onto moisture and debris just as easily as your filter does.
Your vacuum works hard to keep your home clean. Give it a little care in return, and it will reward you with fresher air and better performance.
A few minutes of maintenance each week is all it takes. With steady care, your bagless vacuum can stay odor free, even in a home full of dog hair and daily messes.
Frequently Asked Questions
Why does my bagless vacuum smell like dog even after emptying it?
The filter is likely the problem. Pet hair wraps around filter fibers and traps odor molecules deep inside. You need to clean your filter regularly under warm water. Gently rub the material with your fingers to release trapped hair and odors.
Moisture can also cause smells. If you reassemble your canister before it completely air dries, trapped moisture creates a breeding ground for odor. Always let everything dry fully before putting it back together.
How often should I clean the canister to prevent dog odors?
Clean your canister after every use or when it reaches three quarters full. A quick wipe with a damp cloth takes just minutes. This prevents odors from building up over time.
For deeper cleaning, use soapy water and wipe down the entire dustbin. Let it air dry completely before reassembling. Weekly maintenance beats monthly deep cleaning every time.
Can I use detergent powder to freshen my vacuum canister?
Yes, detergent powder works well for neutralizing odors. Add a small amount directly to your clean, dry canister. You can also vacuum a small amount of detergent powder through the hose.
This keeps things fresh between regular cleanings. It’s a simple step that takes seconds but makes a real difference in odor control.
What should I check if dog smells keep returning?
First, inspect your filter again. It’s the primary odor source. Next, check your canister seals and gaskets for damage or poor fit. Broken seals let odors escape and moisture get trapped inside.
Also empty your bin more frequently. Many people wait until the canister is completely full, which allows odors to build up. More frequent emptying prevents this problem entirely.

Hi, I’m Ivy! I’m a smart home enthusiast and self-proclaimed clean freak who loves testing the latest cleaning tech so you don’t have to waste your money on the wrong one. I started HomeTechClean to share honest reviews and practical advice for anyone who wants a cleaner home with less effort.