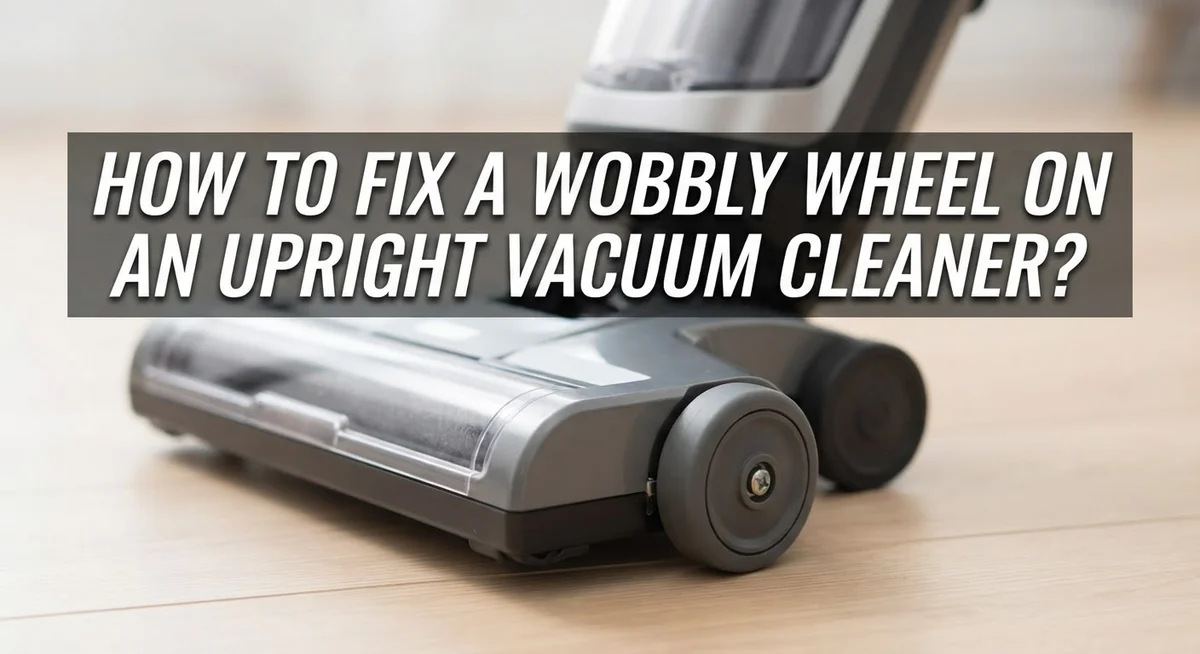
How To Fix A Wobbly Wheel On An Upright Vacuum Cleaner?
A wobbly wheel can turn a simple cleaning job into a frustrating chore. Your vacuum might pull to one side. It could even leave uneven marks on your floor.
This annoying problem has a few common causes. Hair and debris often tangle around the wheel axle. Sometimes the plastic axle itself wears down over time.
The good news? You can often fix this issue yourself. No professional repair visit is needed in most cases.
This guide walks you through the entire process. You will learn how to spot the real cause of the wobble. We cover simple cleaning steps that fix many wobbly wheels instantly.
By the end of this article, you will know exactly what your vacuum needs. You can save money on repairs. Your vacuum will roll smoothly again in no time.
In a Nutshell
- Check for tangled hair first. Debris buildup is the most common cause of wobbly wheels. Cleaning the wheel often solves the problem right away.
- Remove the wheel carefully. Every model has a slightly different process. Take your time to avoid breaking small clips or pins.
- Inspect the axle closely. A worn or cracked axle causes ongoing wobbling. This part cannot be repaired, only replaced.
- Decide between cleaning and replacing. If the axle looks fine, cleaning should fix things. If it’s damaged, you need a new wheel or base.
- Check both wheels, not just one. A single bad wheel can cause a circular cleaning pattern. Comparing both sides helps you spot the real issue.
- Know your replacement options. You can often swap just the wheel. In severe cases, replacing the entire base restores smooth movement.
Why Upright Vacuum Wheels Start Wobbling
Upright vacuum wheels start wobbling for several clear reasons. Understanding these causes helps you fix the problem faster.
Debris and hair tangled around the wheel is the most common culprit. As you vacuum, hair wraps around the axle and wheel assembly. This buildup prevents the wheel from spinning freely. Over time, the wheel rocks back and forth instead of rolling smoothly.
Worn plastic axles cause another major issue. The axle is the rod that holds the wheel in place. Constant use wears down this plastic piece. Once damaged, the axle no longer grips the wheel tightly. This looseness creates that annoying wobble.
Damaged or cracked wheels also lead to problems. The wheel itself can crack from hitting obstacles or from age. A cracked wheel won’t sit evenly on the floor. Your vacuum then pulls to one side.
A single failing wheel creates a specific pattern. When only one wheel wobbles badly, your vacuum moves in circles instead of straight lines. You end up cleaning the same spot repeatedly. This happens because the bad wheel throws off your vacuum’s balance.
Loose wheel fasteners sometimes play a role too. The bolt or clip holding the wheel can loosen from vibration during use. A slightly loose wheel rocks side to side.
The good news? Most of these problems are fixable. Cleaning often solves debris issues completely. Replacing a wheel is straightforward on most models. Even a full base replacement is possible if the axle damage is severe.
Identifying which cause affects your vacuum helps you choose the right fix.
Tools You’ll Need Before You Start
Before you start fixing your wobbly wheel, gather the right tools. Having everything ready makes the job faster and easier.
You will need a screwdriver set with both Phillips and flathead options. Different vacuum models use different screw types, so having both ensures you can open your machine. A basic set covers most situations.
A pair of pliers helps remove stubborn clips or fasteners holding the wheel in place. Some vacuums use simple clips instead of screws. Pliers give you better grip and control when removing these parts.
Needle nose pliers work well for reaching into tight spaces around the wheel assembly. They help you grab small debris or detangle hair wrapped around the axle. This tool makes cleaning much easier.
You should have scissors or a seam ripper ready. Hair gets tightly wound around wheels and axles. These tools let you safely cut away tangled fibers without damaging the plastic parts underneath.
A flashlight or headlamp helps you see inside the vacuum base clearly. Wheel assemblies sit in dim areas. Better lighting lets you spot cracks, debris, and wear on the axle.
Keep a damp cloth or old toothbrush nearby for cleaning. You will remove dirt, hair, and grime from the wheel and axle. A clean surface helps you see damage more clearly.
A measuring tape is optional but useful. If you need to order a replacement wheel, measurements help ensure you get the right size. Your vacuum manual may list these specs, but measuring yourself prevents ordering errors.
Finally, have your vacuum manual handy. It shows exactly how your specific model comes apart. This saves time and prevents accidental damage during disassembly.
Step-by-Step: Removing the Wheel and Inspecting It
Start by unplugging your vacuum from the electrical outlet. Safety comes first when working on any appliance. Wait a few minutes to ensure the motor has stopped completely.
Look at your vacuum’s base to find where the wheel connects. Most upright models have wheels mounted on the front or sides. Check your user manual or look online for your specific model number to find the exact removal process.
Many wheels are held with a single bolt or clip. Use your screwdriver to loosen the bolt by turning it counterclockwise. If your model uses a clip, gently pry it away with a flathead screwdriver. Work slowly to avoid stripping the fastener.
Once the fastener is loose, pull the wheel straight out from the axle. Some wheels slide off easily, while others require a slight wiggle. If it feels stuck, apply a small amount of penetrating oil around the axle and wait five minutes before trying again.
Set the wheel on a clean work surface. Examine the entire wheel surface for cracks, flat spots, or chunks missing from the rubber. Look at the center hole where the axle connects. Check for wear marks or damage to the plastic.
Now inspect the axle itself. The axle is the metal or plastic rod sticking out from the vacuum base. A good axle looks smooth and straight. A worn axle shows visible cracks, bending, or rough spots where the wheel spins.
Take photos of any damage you find. This helps you decide whether cleaning alone will work or if you need replacement parts. Write down what you observe so you remember the details later.
Cleaning Hair and Debris From the Wheel Assembly
Hair and debris wrapped around your wheel assembly is the most common reason vacuums wobble. This buildup prevents the wheel from spinning freely and causes the uneven movement you notice.
Start by examining the wheel closely. Look for hair wrapped tightly around the axle shaft. You’ll often see dark, matted clumps that have collected over time. Lint and pet hair stick to the wheel area easily.
Use scissors or a seam ripper to cut away tangled hair carefully. Work slowly to avoid damaging the wheel itself. Cut parallel to the axle rather than against it. Remove all visible debris from the wheel surface and the surrounding assembly.
Next, clean the entire wheel thoroughly. Use an old toothbrush or damp cloth to scrub away dirt and dust. Pay special attention to grooves where debris hides. Spin the wheel by hand as you clean to reach all sides.
Check the axle shaft where the wheel connects. Look for hair wrapped around this central post. This wrapping is a major culprit behind wobbling. Remove every strand you find.
Inspect the wheel opening and the base around it. Debris accumulates in these spots regularly. Wipe out any lint or hair you discover. A flashlight helps you see into darker corners.
Once everything is clean, spin the wheel by hand several times. It should rotate smoothly without resistance. If it still wobbles after cleaning, the axle may be worn or damaged. If it spins freely, you’ve likely solved the problem.
Reinstall the wheel and test your vacuum on a small area first. Most wobbling issues disappear after a thorough cleaning.
Checking Axles for Wear and Deciding on Replacement
Axles are the metal or plastic rods that your wheel spins around. Over time, these axles wear down and develop damage. When an axle becomes worn, your wheel wobbles even after cleaning.
Start by examining the axle closely. Remove the wheel completely and look at the shaft where it connects. A healthy axle looks smooth and straight. Worn axles show visible grooves, cracks, or bending. Plastic axles are more prone to damage than metal ones.
Spin the wheel by hand while watching the axle. Does the wheel move side to side? This side to side movement means the axle has wear. A good axle holds the wheel centered and stable.
Take photos of any damage you find. This helps you decide what to do next. Compare your photos to your vacuum’s manual if possible.
Deciding on replacement is straightforward. If the axle looks intact and smooth, cleaning usually fixes your wobble. If you see cracks, grooves, or bending, the axle needs replacement.
Many vacuums allow you to replace just the wheel. However, some models require you to replace the entire base or wheel assembly if the axle is damaged. Check your vacuum’s manual to see what parts are available separately.
Attempting to repair a worn axle rarely works. Metal axles cannot be straightened safely at home. Plastic axles cannot be filed smooth effectively. Replacement is your best option.
If replacing individual parts seems complicated, mounting your vacuum on a plywood platform with new caster wheels is an alternative solution. This approach works when axle replacement parts are unavailable or expensive.
Reassembling and Testing for Smooth Rolling
Once you’ve cleaned and inspected everything, it’s time to put your wheel back together. Start by sliding the wheel back onto the axle shaft. Make sure it sits flush against the base. You should hear or feel a slight click when it’s positioned correctly.
Next, reattach your fastener. If you removed a bolt, thread it back in by hand first. Then tighten it firmly with your wrench, but don’t overtighten. A bolt that’s too tight can crack the plastic wheel or base. If your wheel uses a clip, snap it back into place until you hear it lock.
Before you declare victory, spin the wheel by hand several times. It should rotate smoothly without wobbling side to side. The wheel shouldn’t touch the vacuum body at any point. If it still wobbles, the axle may be damaged and need replacement.
Now test your vacuum on a small carpet area. Plug it in and run it for about one minute. Watch how it moves. Your vacuum should go straight without pulling to one side. It should not make unusual noises or vibrate excessively.
Pay attention to the cleaning pattern. If your vacuum still circles or favors one direction, the wheel may still have issues. Stop immediately and recheck your work.
If everything runs smoothly, you’ve successfully fixed the problem. Your vacuum should now move evenly across your floors. The wobble should be completely gone. Take a moment to enjoy your properly functioning machine before tackling your full cleaning job.
Common Mistakes That Make Wobbling Worse
Many people make mistakes that actually make their vacuum’s wobbling problem worse. Understanding these errors helps you avoid them and fix the issue properly.
The most common mistake is ignoring debris buildup around the wheel assembly. People assume wobbling means the wheel is broken, so they skip cleaning entirely. Debris wrapped around the axle prevents the wheel from spinning freely. This creates the wobbling sensation you feel. Cleaning often solves the problem completely, so always start here first.
Another frequent error is attempting to repair a damaged axle instead of replacing it. Axles are metal or plastic rods that hold the wheel. Once they wear down or bend, they cannot be fixed. Trying to straighten or patch them wastes time and money. Replacement is the only real solution when axles are damaged.
People also make the mistake of checking only one wheel. Your vacuum has multiple wheels working together. If you inspect just the front wheel and miss a problem with the back wheel, the wobbling continues. Always examine all wheels on your vacuum carefully.
Rushing through reassembly creates additional problems. After cleaning and inspecting, people quickly snap the wheel back on without checking the fastener is tight. A loose bolt or clip causes the wheel to wobble all over again. Take time to secure everything properly.
Finally, some people skip the hand spin test before reinstalling. Spinning the wheel by hand reveals whether your cleaning actually worked. This simple check saves you from discovering the problem still exists after you’ve already put everything back together.
Troubleshooting Persistent Wobble After Repair
When your vacuum still wobbles after you’ve cleaned and inspected the wheels, the problem likely lies deeper. Persistent wobbling means your repair didn’t fully address the root cause.
Start by checking if you cleaned both wheels completely. Debris can hide on the inner wheel or the axle shaft. Remove each wheel again and inspect the entire assembly with a flashlight. Look for hair wrapped around the axle or stuck in the wheel bearing.
If both wheels are clean but wobbling continues, examine the axle itself more carefully. Spin the wheel by hand and watch for any grinding, resistance, or movement that feels uneven. A damaged axle won’t spin smoothly even when clean.
The axle determines whether you can fix this or need replacement. If the axle is bent, cracked, or severely worn, cleaning won’t help. You’ll need to replace either the wheel assembly or the entire base unit. Attempting to straighten or repair a damaged axle rarely works and wastes your time.
Check if your vacuum model allows individual wheel replacement. Many units have wheels that come off easily and can be purchased separately. This is often cheaper than replacing the full base.
If replacement seems complicated, consider an alternative solution. You can mount your vacuum on a plywood platform and attach new caster wheels underneath. This creative approach works well for older models where parts are hard to find.
Document what you find during inspection. Take photos of any damage. This information helps you order the correct replacement parts or decide if professional repair makes sense for your specific model.
Final Thoughts
Fixing a wobbly wheel is a task most people can handle at home. You don’t need special tools or expert skills for this job.
Start simple. Clean your wheels first before you assume the worst. Debris buildup causes most wobbling problems, so a good cleaning often solves everything.
If cleaning doesn’t work, check your axles carefully. This step tells you whether you need a quick fix or a bigger repair.
Worn axles mean replacement. Don’t waste time trying to repair a damaged axle. Buy a new wheel or base instead, since this saves you time and frustration.
Remember to test your vacuum after every fix. Spin the wheel by hand first. Then run your vacuum on carpet to check its cleaning pattern.
Both wheels deserve your attention. One good wheel and one bad wheel still creates that annoying wobble and uneven cleaning.
If individual parts seem hard to find, think about the plywood platform trick. This alternative works well when official replacement parts feel out of reach.
Patience matters here. Rushing through cleaning or reassembly often creates new problems instead of solving old ones.
Take your time with each step, and your vacuum will thank you with smooth, quiet operation.
Regular maintenance prevents future wobbles. Clean your wheels every few months to avoid this problem altogether. A little upkeep now saves you a bigger headache later.
Your vacuum should roll straight and clean evenly once you finish these steps. A wobbly wheel doesn’t mean your vacuum is done. Most times, it just needs a little care and attention to work like new again.
Frequently Asked Questions
Why does my upright vacuum wheel wobble even after cleaning?
If your wheel still wobbles after cleaning, the axle itself may be damaged. Debris buildup causes most wobbling problems, but worn or bent axles create wobbling that cleaning alone cannot fix. Spin the wheel by hand and feel for grinding or resistance. A damaged axle needs replacement, not repair.
Can I replace just one wheel instead of both?
Yes, you can replace a single wheel on most vacuum models. However, check your axle condition first. If the axle is bent or cracked, replacing only the wheel won’t solve your problem. Both wheels should spin freely with equal ease. Inspect both axles before deciding to replace just one.
What should I do if the wheel won’t spin after cleaning?
A wheel that refuses to spin after cleaning points to axle damage. Hair may still be wrapped tightly around the axle shaft. Use a small tool to carefully pick away any remaining debris. If the wheel still won’t budge, the axle is likely bent. Replacement becomes your only option at this point.
Is there an alternative if wheel replacement seems too difficult?
Yes. Some people mount their vacuum on a plywood disc fitted with new caster wheels. This solution works when finding replacement parts proves challenging. The plywood platform lifts your vacuum slightly off the floor. New caster wheels attached underneath provide smooth movement. This method requires basic tools and takes about an hour to complete.
How often should I check my vacuum wheels to prevent wobbling?
Check your wheels every few months during regular maintenance. Clean them thoroughly to remove hair and debris. Spin each wheel by hand to ensure smooth rotation. Monthly checks during heavy use seasons prevent most wobbling issues before they start.

Hi, I’m Ivy! I’m a smart home enthusiast and self-proclaimed clean freak who loves testing the latest cleaning tech so you don’t have to waste your money on the wrong one. I started HomeTechClean to share honest reviews and practical advice for anyone who wants a cleaner home with less effort.