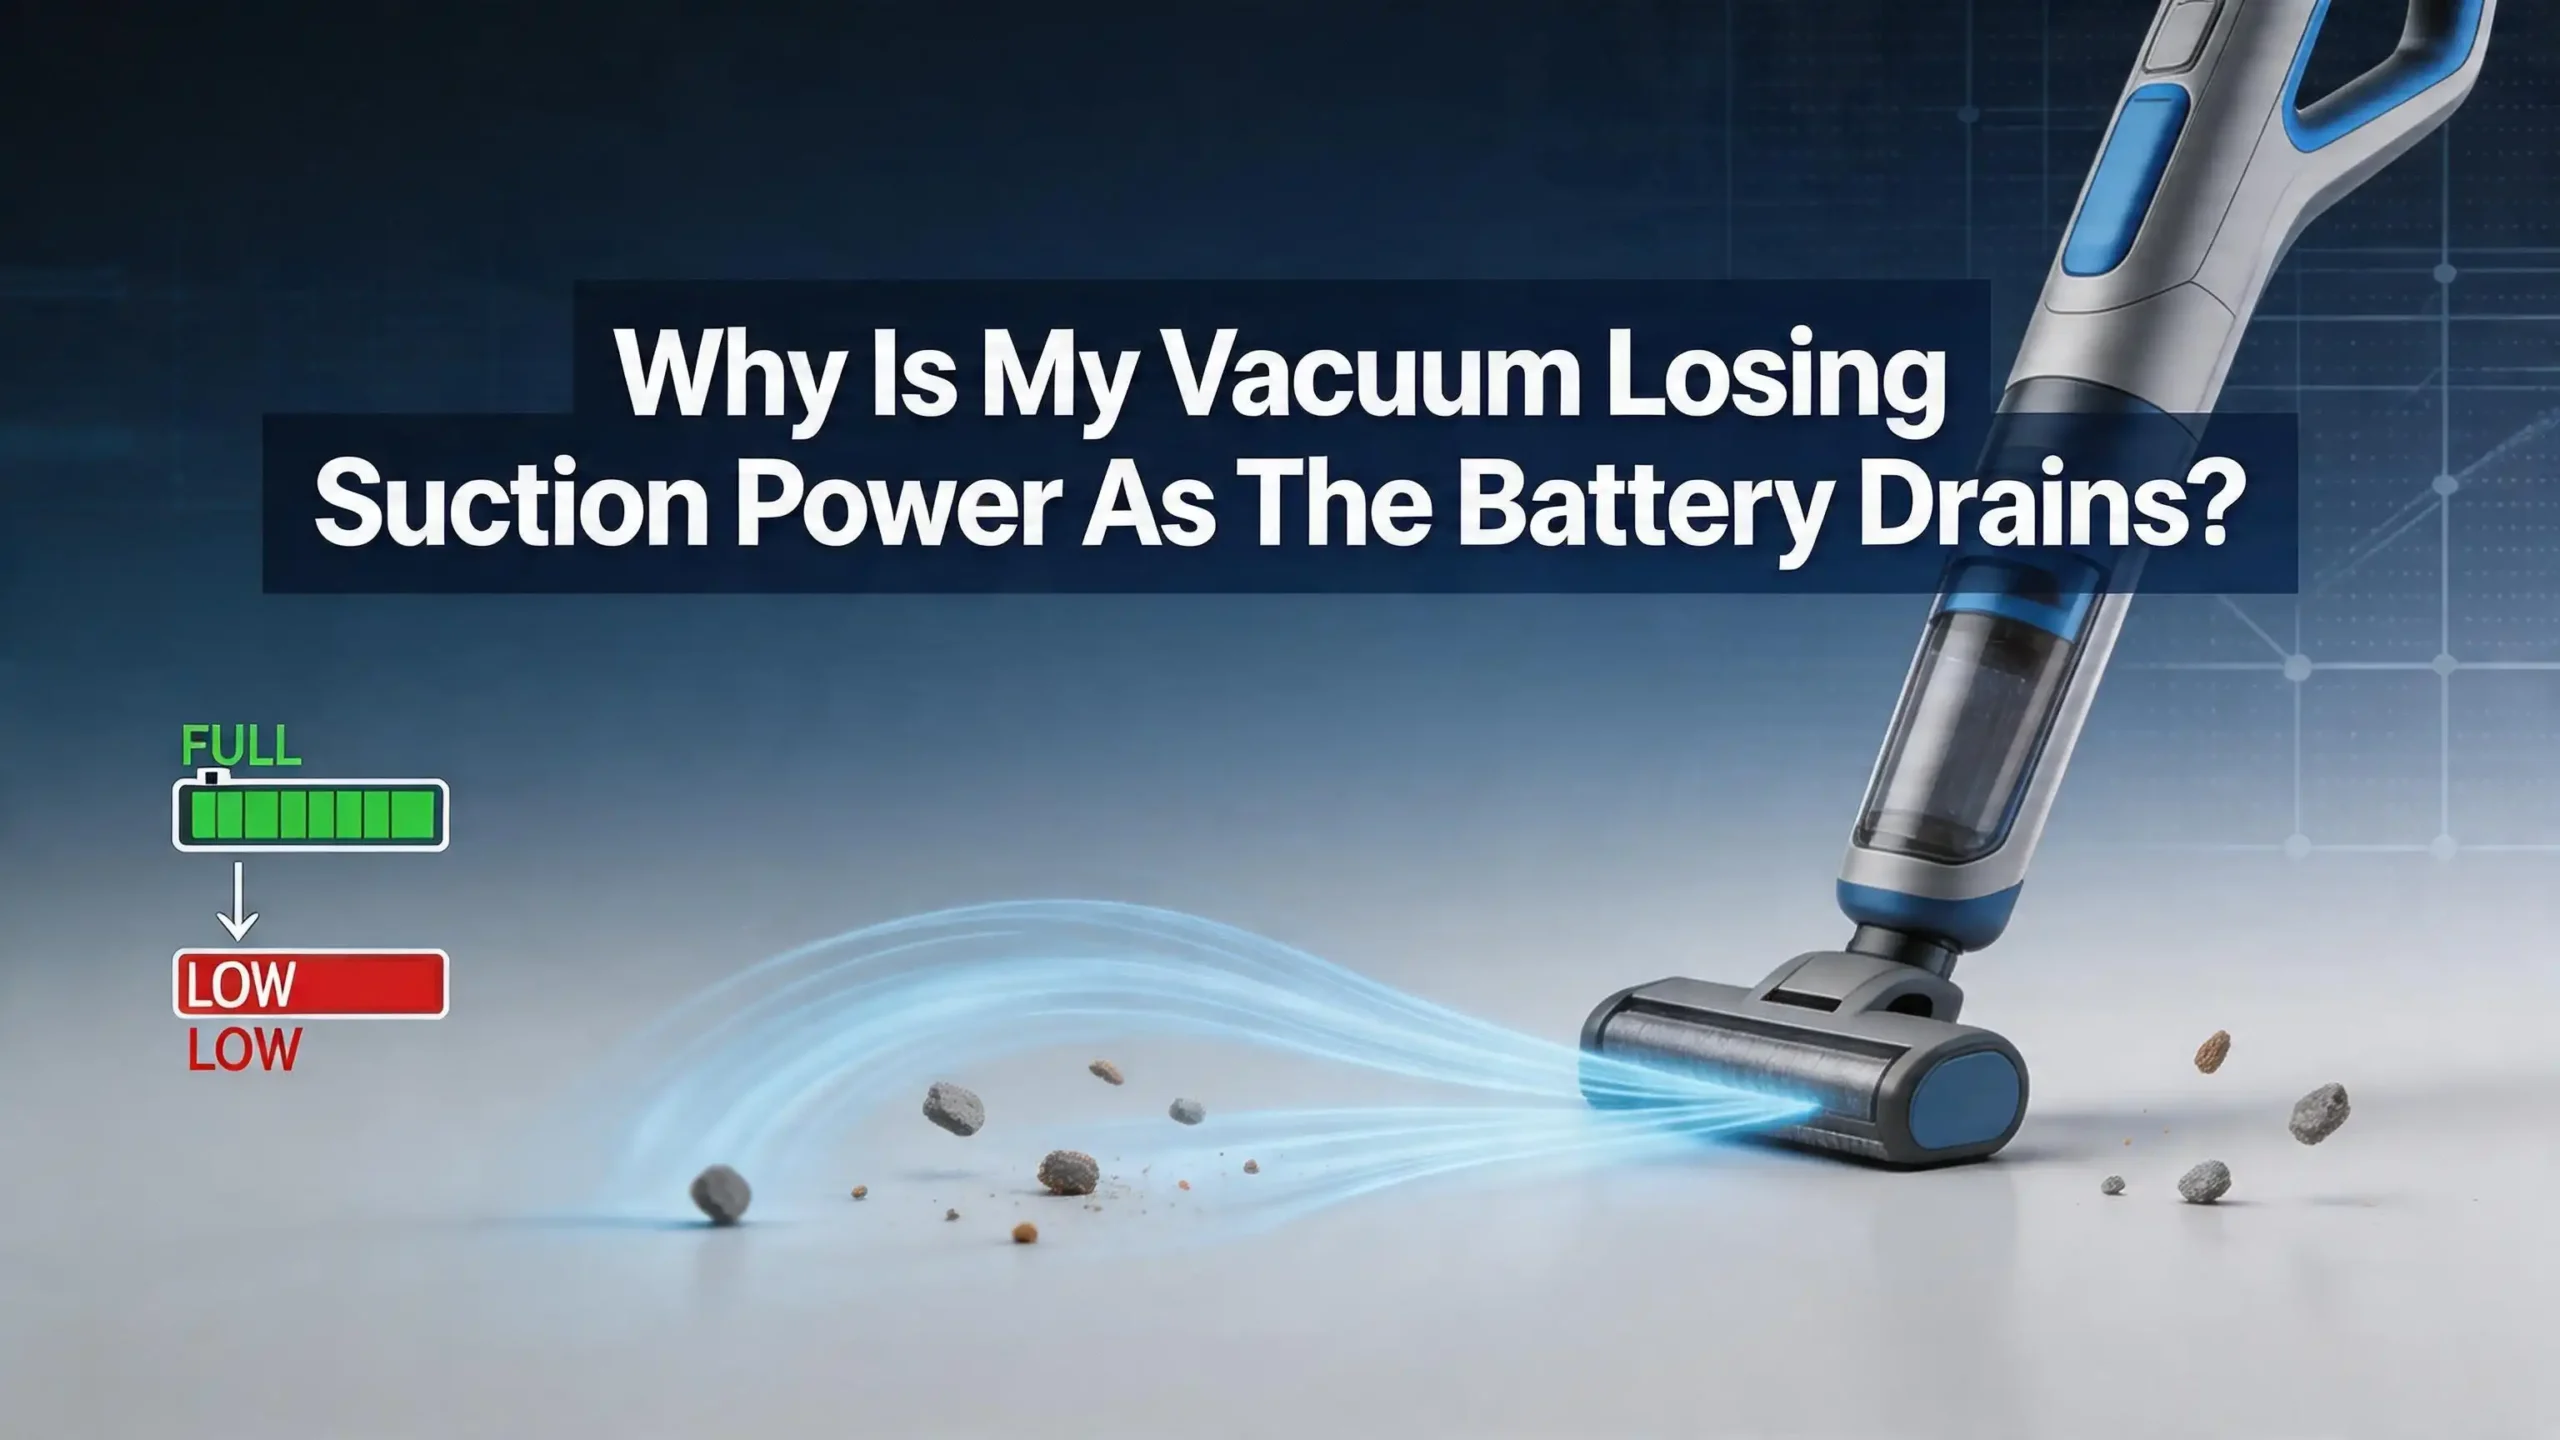
Why Is My Vacuum Losing Suction Power As The Battery Drains?
You are halfway through vacuuming your living room, and suddenly the dirt just stops disappearing. The motor still hums, but the vacuum glides over crumbs and pet hair like they are invisible. You glance at the battery indicator and notice it is dropping fast. Sound familiar?
This is one of the most common frustrations cordless vacuum owners face. The vacuum starts strong but fades quickly as the battery level drops. The loss of suction is not random or mysterious.
It is a direct result of how battery powered motors work, combined with a few maintenance issues you can fix yourself. The good news? Most of the causes are simple and the solutions cost little or nothing.
In this post, you will learn exactly why your vacuum loses suction as the battery drains, what is happening inside the motor and battery cells, and what practical steps you can take to restore full cleaning power.
In a Nutshell
- Battery voltage directly controls motor speed. As your lithium ion battery discharges, its voltage drops. Lower voltage means the motor spins slower, and slower spin equals weaker suction. This is normal physics, but excessive suction loss signals a problem.
- Clogged filters are the silent killer of suction. A dirty filter forces the motor to work harder, draining the battery faster and reducing airflow at the same time. Cleaning or replacing filters is the single most effective fix.
- A full or overfilled dust bin compounds the problem. When the bin is packed, air cannot move through the vacuum efficiently. The motor struggles more, the battery drains faster, and suction drops even sooner.
- Battery degradation happens over time. After 300 to 500 charge cycles, lithium ion cells lose capacity. They hold less charge and deliver lower voltage under load, which directly reduces suction power during use.
- Your cleaning mode matters more than you think. Running on max or boost mode constantly burns through the battery in minutes. Strategic use of normal mode preserves battery life and maintains consistent suction for longer cleaning sessions.
- Simple maintenance habits can prevent most suction problems. Regular filter cleaning, proper charging practices, and keeping airways clear will keep your cordless vacuum performing at peak power for years.
How Battery Voltage Affects Your Vacuum Motor
Your cordless vacuum uses a lithium ion battery to power an electric motor. That motor creates suction by spinning a fan at high speeds. The speed of the fan depends directly on the voltage the battery delivers.
A fully charged lithium ion cell sits at about 4.2 volts. As you use the vacuum, that voltage gradually drops. Most of the usable energy sits between 4.2 volts and about 3.0 volts per cell. The motor receives this declining voltage in real time.
When the voltage drops, the motor spins slower. A slower motor generates less airflow. Less airflow means weaker suction. This is basic electrical engineering, and it affects every cordless vacuum on the market.
Some higher end vacuums use electronic controllers that regulate voltage output to keep suction consistent until the battery is nearly empty. Budget models often lack this feature and deliver raw battery voltage straight to the motor. If your vacuum fades gradually from start to finish, it likely does not have voltage regulation. If it stays strong and then suddenly dies, it probably does have a controller.
Pros of voltage regulated vacuums: Consistent suction throughout the cleaning session. Better user experience and more predictable performance.
Cons of voltage regulated vacuums: They cost more. The controller adds complexity and can fail over time.
Understanding this relationship between voltage and motor speed is the first step. Once you know why suction drops, you can take action to slow down that voltage decline and keep your vacuum cleaning effectively.
Clogged Filters Are the Most Common Cause
If your vacuum loses suction faster than it used to, check the filters first. This is the number one cause of premature suction loss in cordless vacuums. It is also the easiest problem to fix.
Vacuum filters trap fine dust particles and allergens before air exits the machine. Over time, these filters become clogged with trapped debris. A clogged filter restricts airflow significantly. The motor must work harder to pull air through the blocked filter, which draws more current from the battery.
More current draw means the battery drains faster. And because the airflow is restricted, you get less suction even when the battery is full. The combination of faster battery drain and reduced airflow creates a double problem. Your vacuum seems to lose suction much more quickly than it should.
Most cordless vacuums have two filters: a pre motor filter and a post motor filter. Both need regular cleaning. Many manufacturers recommend washing foam and mesh filters with cold water every month. Let them dry completely for at least 24 hours before reinstalling them. Using a damp filter can damage the motor.
Pros of regular filter cleaning: Free, easy, and dramatically improves suction. Extends battery runtime by reducing motor strain.
Cons of regular filter cleaning: Requires planning ahead since filters need drying time. Filters still wear out and need replacement every 6 to 12 months even with regular washing.
If you cannot remember the last time you cleaned your filters, do it today. You may be shocked by how much suction your vacuum recovers.
A Full Dust Bin Creates Airflow Resistance
The dust bin or canister in your cordless vacuum is part of the airflow path. Air enters through the cleaning head, carries dirt into the bin, passes through the filter, and exits out the back. Every part of this pathway must be clear for proper suction.
When the dust bin is full or overfilled, it blocks this airflow. The motor must generate more force to pull air through compacted debris. This puts extra strain on the battery and reduces the effective suction at the cleaning head.
Many users wait until the bin is completely stuffed before emptying it. This is a mistake. Experts recommend emptying the dust bin when it reaches about two thirds full. Waiting until it is packed creates a noticeable drop in cleaning performance, especially as the battery level falls below 50 percent.
The shape of the bin matters too. Cyclonic vacuums separate dust using spinning air currents. If the cyclone chamber is clogged with compacted dust or hair, the separation process fails. This forces more debris onto the filter, clogging it faster and creating a chain reaction of declining performance.
Pros of emptying the bin frequently: Maintains consistent suction. Reduces filter clogging. Extends battery runtime per session.
Cons of emptying the bin frequently: Slightly more inconvenient. You may need to empty mid session for large cleaning jobs.
Make it a habit to check the bin before every vacuuming session. A quick empty takes five seconds and can save you from a frustrating loss of suction halfway through your home.
Blockages in the Hose and Wand
Sometimes the problem is not the filter or the bin. It is a physical blockage somewhere in the hose, wand, or cleaning head. Even a small clump of hair, a sock, or a buildup of dust can restrict airflow enough to reduce suction noticeably.
Blockages force the motor to work against resistance. Just like a clogged filter, this extra resistance draws more power from the battery. The battery drains faster, voltage drops sooner, and suction decreases earlier in your cleaning session.
To check for blockages, detach the wand from the main body and look through it. You can also drop a small coin through the tube to see if it passes freely. Check the connection points between the wand, hose, and cleaning head. Debris often accumulates at these joints.
For stubborn blockages, use a long, thin object like a broom handle to gently push the debris out. Avoid using sharp tools that could puncture flexible hoses. Some users run water through rigid tubes to flush out packed dirt, but make sure the tube is completely dry before reattaching it.
Pros of checking for blockages regularly: Fixes suction issues instantly when a blockage is the cause. Prevents motor strain and battery drain.
Cons of checking for blockages regularly: Can be time consuming if you need to disassemble multiple parts. Some blockages in hard to reach areas may require professional help.
The brush roll on the cleaning head is another common trouble spot. Hair and string wrap around the roller and reduce its effectiveness. Trim away tangled hair with scissors every few weeks to keep the brush spinning freely.
Battery Degradation Over Time
Lithium ion batteries do not last forever. Every time you charge and discharge the battery, it loses a tiny fraction of its total capacity. After 300 to 500 full charge cycles, most lithium ion batteries retain only about 70 to 80 percent of their original capacity.
This means a battery that once gave you 40 minutes of runtime might only deliver 28 to 32 minutes after a year or two of regular use. But the problem goes deeper than just shorter runtime. A degraded battery also delivers lower voltage under load. The internal resistance of the cells increases as they age.
Higher internal resistance means the voltage drops more sharply when the motor demands current. So not only does the battery die sooner, but the suction also decreases more rapidly during each use. You notice the vacuum getting weaker much earlier in the session.
Signs of a degraded battery include significantly shorter runtime, the vacuum cutting out unexpectedly, the battery getting noticeably warm during use, or any visible swelling of the battery pack. A swollen battery is a safety hazard and should be replaced immediately.
Pros of replacing a degraded battery: Restores original suction power and runtime. Much cheaper than buying a new vacuum.
Cons of replacing a degraded battery: Replacement batteries can be expensive depending on the brand. Some models have non removable batteries that require professional service.
If your vacuum is more than 18 months old and performance has declined despite clean filters and an empty bin, the battery is likely the culprit.
Why Boost Mode Drains Your Battery So Fast
Most cordless vacuums offer multiple power modes. Normal or auto mode balances suction with battery life. Boost or max mode delivers maximum suction but drains the battery three to five times faster.
On boost mode, the motor spins at its highest speed and draws maximum current from the battery. A vacuum that lasts 40 minutes on normal mode might last only 8 to 12 minutes on max. This rapid discharge also causes the battery voltage to drop more steeply, which means suction decreases faster in the final minutes.
Many users default to boost mode for every cleaning session. This is unnecessary for most surfaces. Normal mode handles hard floors, low pile carpet, and light dust with ease. Boost mode is useful for deep cleaning thick carpet, picking up pet hair from upholstery, or tackling heavy messes.
Using boost mode constantly also accelerates battery degradation. Frequent deep discharges put more stress on lithium ion cells and reduce their overall lifespan. Your battery will lose capacity faster if you run on max power every time.
Pros of using boost mode sparingly: Extends battery runtime. Maintains consistent suction for longer. Preserves battery health over time.
Cons of using boost mode sparingly: Some messes genuinely need maximum power. Thick carpet may not get fully cleaned on normal mode alone.
A smart approach is to start on normal mode and switch to boost only for specific spots that need extra power. This simple habit can double your effective cleaning time per charge.
Proper Charging Habits That Protect Battery Life
How you charge your vacuum battery affects how long it retains its full capacity. Poor charging habits accelerate degradation and contribute to the suction loss problem over time.
Lithium ion batteries perform best when kept between 20 and 80 percent charge. Regularly draining the battery to zero or leaving it on the charger at 100 percent for extended periods both put stress on the cells. However, most modern vacuums have built in charge management that reduces this risk.
Avoid leaving your vacuum on the charger continuously for weeks or months. If you use the vacuum regularly, charging after each session and removing it from the charger once full is a good practice. If you store the vacuum for an extended period, charge it to about 50 percent first.
Extreme temperatures also affect battery health. Storing your vacuum in a hot garage or cold shed can degrade the cells. Room temperature storage is ideal. Do not charge the battery immediately after heavy use. Let it cool down for 15 to 30 minutes first.
Pros of following proper charging practices: Extends the total lifespan of your battery by months or years. Maintains higher voltage output for longer, preserving suction power.
Cons of following proper charging practices: Requires you to pay attention to charging times. Less convenient than just leaving the vacuum docked permanently.
Some newer models manage charging intelligently and will stop drawing power once the battery is full. Check your vacuum’s manual to see if this applies to your model.
How to Clean Your Vacuum Filters Step by Step
Since clogged filters are the most common cause of suction loss, here is a clear step by step process for cleaning them properly. This applies to most cordless stick vacuums.
Step 1: Turn off the vacuum and remove it from the charger. Remove the dust bin from the main body.
Step 2: Locate the filters. Most vacuums have a pre motor filter near the dust bin and a post motor filter near the exhaust. Check your manual if you are unsure.
Step 3: Remove the filters carefully. Tap them gently over a trash can to remove loose dust.
Step 4: Rinse the filters under cold or lukewarm running water. Do not use soap unless the manufacturer specifically says it is safe. Gently squeeze foam filters to push out trapped dirt. Do not wring or twist them aggressively.
Step 5: Shake off excess water and place the filters in a warm, dry spot. Let them air dry for at least 24 hours. Never reinstall a damp filter. Moisture can damage the motor and encourage mold growth.
Step 6: Once fully dry, reinstall the filters and secure them properly. A loose filter can let dust bypass the filtration system and reach the motor.
Pros of washing filters: Completely free. Restores airflow immediately. Can be done monthly for optimal performance.
Cons of washing filters: Requires 24 hour drying time, which means your vacuum is out of service. Filters degrade with repeated washing and eventually need replacement.
Keep a spare set of filters on hand so you can rotate them and never be without your vacuum while filters dry.
Checking and Maintaining Seals and Gaskets
Your vacuum relies on a network of rubber seals and gaskets to maintain airtight connections between parts. If any seal is cracked, loose, or missing, air leaks into the system. These leaks reduce suction at the cleaning head because the motor is pulling air from the wrong places.
Over time, rubber seals dry out and lose their flexibility. Frequent assembly and disassembly of parts can wear them down. Even a small gap can cause a significant drop in performance.
Inspect the seals at every connection point on your vacuum. Check where the dust bin meets the body, where the wand connects, and around the filter housing. Look for cracks, flat spots, or gaps. If a seal looks damaged, contact the manufacturer for a replacement part.
You can test for air leaks by running the vacuum with your hand near the connection points. If you feel air escaping anywhere other than the exhaust, you have found a leak. Some users apply a thin layer of silicone grease to rubber seals to keep them supple and improve the seal.
Pros of maintaining seals: Restores full suction without replacing major parts. Low cost and straightforward.
Cons of maintaining seals: Small seals can be hard to inspect without disassembling the vacuum. Finding exact replacement parts can take time for older models.
This is an often overlooked maintenance step that can make a real difference, especially if your vacuum is more than a year old.
When to Replace the Battery
You have cleaned the filters, emptied the bin, checked for blockages, and inspected the seals. If suction still drops rapidly as the battery drains, it is time to consider a battery replacement.
A clear sign is when runtime has decreased by 30 percent or more compared to when the vacuum was new. If the vacuum used to run for 40 minutes and now dies at 25 minutes even on normal mode, the battery has degraded significantly.
Another telltale sign is the vacuum dying suddenly instead of fading gradually. As batteries age, their voltage can drop sharply once they reach a certain discharge level. The battery management system then cuts power to protect the cells from over discharge.
Before buying a replacement, check if your vacuum is still under warranty. Many manufacturers offer battery warranties of one to two years. If the battery has failed prematurely, you may be eligible for a free replacement.
When purchasing a new battery, buy from the original manufacturer or a certified third party supplier. Off brand batteries may not have proper safety circuitry and can pose fire risks or damage your vacuum.
Pros of battery replacement: Restores original performance. Cheaper than buying a new vacuum. Easy to install on most models.
Cons of battery replacement: Can cost between $30 and $100 depending on the brand. Some vacuums have built in batteries that are difficult to replace without professional help.
After installing a new battery, follow proper charging practices from the start to maximize its lifespan.
The Role of Motor Wear in Suction Loss
While battery and airflow issues cause most suction problems, the motor itself can degrade over time. Carbon brushes wear down, bearings lose lubrication, and internal components accumulate fine dust that made it past the filters.
Motor wear typically becomes noticeable after several years of regular use. The symptoms include unusual sounds like grinding or squealing, a burning smell, or reduced suction even with a fully charged new battery and clean filters.
Unfortunately, motor repair is not a DIY job for most people. The motors in cordless vacuums are compact and tightly integrated. Replacing a motor often costs more than replacing the battery and may not be economical depending on the age and value of the vacuum.
If your vacuum is relatively new and you suspect motor issues, contact the manufacturer. Motor failure within the first two years may be covered under warranty. If the vacuum is older, compare the cost of motor repair against the price of a new vacuum.
Pros of addressing motor wear: Can fully restore vacuum performance. Makes sense for high end models where the vacuum cost justifies the repair.
Cons of addressing motor wear: Expensive compared to other fixes. Often requires professional service. May not be worthwhile for budget models.
Preventing motor wear starts with keeping filters clean. Clean filters stop fine dust from reaching the motor, which is the primary cause of premature motor failure.
Preventive Maintenance Schedule for Maximum Performance
The best way to avoid suction loss is to stay ahead of problems with a regular maintenance schedule. Here is a practical routine that keeps your cordless vacuum performing at its best.
After every use: Empty the dust bin. Check the brush roll for tangled hair or debris. Remove any visible blockages from the cleaning head.
Every two weeks: Inspect the wand and hose for blockages. Wipe down the exterior of the dust bin to prevent residue buildup.
Once a month: Remove and wash all washable filters. Let them dry completely for 24 hours before reinstalling. Check seals and gaskets for wear or damage.
Every three to six months: Replace any filters that show signs of wear, discoloration, or damage that washing cannot fix. Deep clean the brush roll and remove all wrapped material. Inspect the battery for swelling or damage.
Once a year: Evaluate overall battery performance. If runtime has decreased by more than 30 percent, plan for a battery replacement.
Pros of following a maintenance schedule: Prevents most suction problems before they start. Extends the life of the vacuum and battery. Saves money on repairs.
Cons of following a maintenance schedule: Requires time and consistency. Some users find monthly maintenance tedious.
Write the schedule on a sticky note and attach it near your vacuum’s charging station. A few minutes of maintenance each month can save you from a frustrating loss of suction and expensive repairs down the road.
Quick Troubleshooting Checklist for Sudden Suction Loss
If your vacuum suddenly loses suction, run through this checklist before assuming the worst. Most problems have simple solutions.
First, check the dust bin. Is it full or nearly full? Empty it and try again. This alone fixes the problem in many cases.
Second, inspect the filters. Pull them out and look at them. If they are visibly gray or clogged, they need cleaning. Tap them over a trash can to dislodge loose debris for a quick temporary fix.
Third, look for blockages. Detach the wand, hose, and cleaning head. Look through each piece and remove any stuck debris.
Fourth, check the battery level. If the battery is below 20 percent, charge it fully and test again. Suction loss at very low battery levels is normal.
Fifth, inspect the seals. Make sure all parts are clicked in securely. A loose dust bin or improperly seated filter can cause air leaks.
Sixth, listen to the motor. Unusual sounds may indicate a problem beyond simple maintenance.
Pros of using a checklist approach: Systematic and fast. Helps you identify the problem without guessing. Works for any brand or model.
Cons of using a checklist approach: Does not address deep battery degradation or motor wear. Some problems require professional diagnosis.
If the checklist does not solve your issue, the battery or motor may need attention. But in most cases, one of these six steps will restore your vacuum’s suction.
Long Term Tips to Keep Suction Strong
Beyond regular maintenance, a few habits will help your vacuum maintain strong suction for years. These tips address both battery health and overall vacuum performance.
Store your vacuum at room temperature. Extreme heat or cold damages lithium ion batteries and can warp plastic components. A closet inside your home is the ideal storage spot.
Do not overuse boost mode. Save maximum power for heavy duty cleaning tasks. Normal mode is sufficient for 80 percent of daily cleaning jobs and puts far less strain on both the battery and motor.
Replace filters on schedule. Even with regular washing, filters lose their effectiveness over time. Plan to buy new filters every 6 to 12 months depending on usage.
Keep the brush roll clean. A tangled brush roll increases resistance, which makes the motor work harder and drains the battery faster. Trim away hair and thread after every few uses.
Charge smart. Do not leave the vacuum on the charger for days at a time. Charge it before cleaning sessions and remove it from the charger once it is full.
Pros of adopting long term habits: Maximizes the total lifespan of your vacuum. Ensures consistent suction session after session. Saves money on premature replacements.
Cons of adopting long term habits: Requires discipline and consistency. Easy to forget when life gets busy.
Think of your vacuum like a car. A little regular maintenance prevents big, expensive problems later. The effort is small, but the payoff in consistent cleaning performance is enormous.
Frequently Asked Questions
Is it normal for a cordless vacuum to lose suction as the battery drains?
Yes, some suction loss at low battery levels is normal. As the battery discharges, it delivers lower voltage to the motor, which reduces fan speed and suction. However, a dramatic drop in suction early in the session or at moderate battery levels usually indicates a clogged filter, a full dust bin, or a degraded battery. Clean your filters and empty the bin first to see if the problem improves.
How often should I clean my cordless vacuum filters?
Most manufacturers recommend washing reusable filters once a month. If you vacuum frequently or have pets, every two weeks may be better. Always let filters dry completely for at least 24 hours before reinstalling them. Replace disposable filters or heavily worn washable filters every 6 to 12 months.
Can I replace the battery in my cordless vacuum myself?
Many cordless vacuums have removable battery packs that are easy to swap at home. You simply slide or click the old battery out and insert the new one. However, some models have internal batteries that require disassembly. Check your vacuum’s user manual for specific instructions before attempting a replacement.
Why does my vacuum work fine on the charger but lose suction quickly off it?
This suggests the battery is not holding a proper charge. The charger may supply steady voltage that keeps the motor running at full speed, but the battery cannot maintain that voltage on its own. This is a classic sign of battery degradation. Try a battery recalibration by fully charging and then fully discharging once. If the problem persists, the battery likely needs replacement.
Does running my vacuum on max mode damage the battery?
Running on max mode does not directly damage the battery in a single session. However, frequent use of max mode accelerates battery degradation over time. Deep discharges and high current draw put more stress on lithium ion cells. Using normal mode for routine cleaning and reserving max mode for tough jobs is the best strategy for long term battery health.
How do I know if my vacuum motor is failing?
Signs of motor failure include unusual grinding or squealing noises, a burning smell, reduced suction even with a new fully charged battery and clean filters, or the vacuum overheating during use. If you notice any of these symptoms, stop using the vacuum and contact the manufacturer or a repair professional for evaluation.
Hi, I’m Ivy! I’m a smart home enthusiast and self-proclaimed clean freak who loves testing the latest cleaning tech so you don’t have to waste your money on the wrong one. I started HomeTechClean to share honest reviews and practical advice for anyone who wants a cleaner home with less effort.