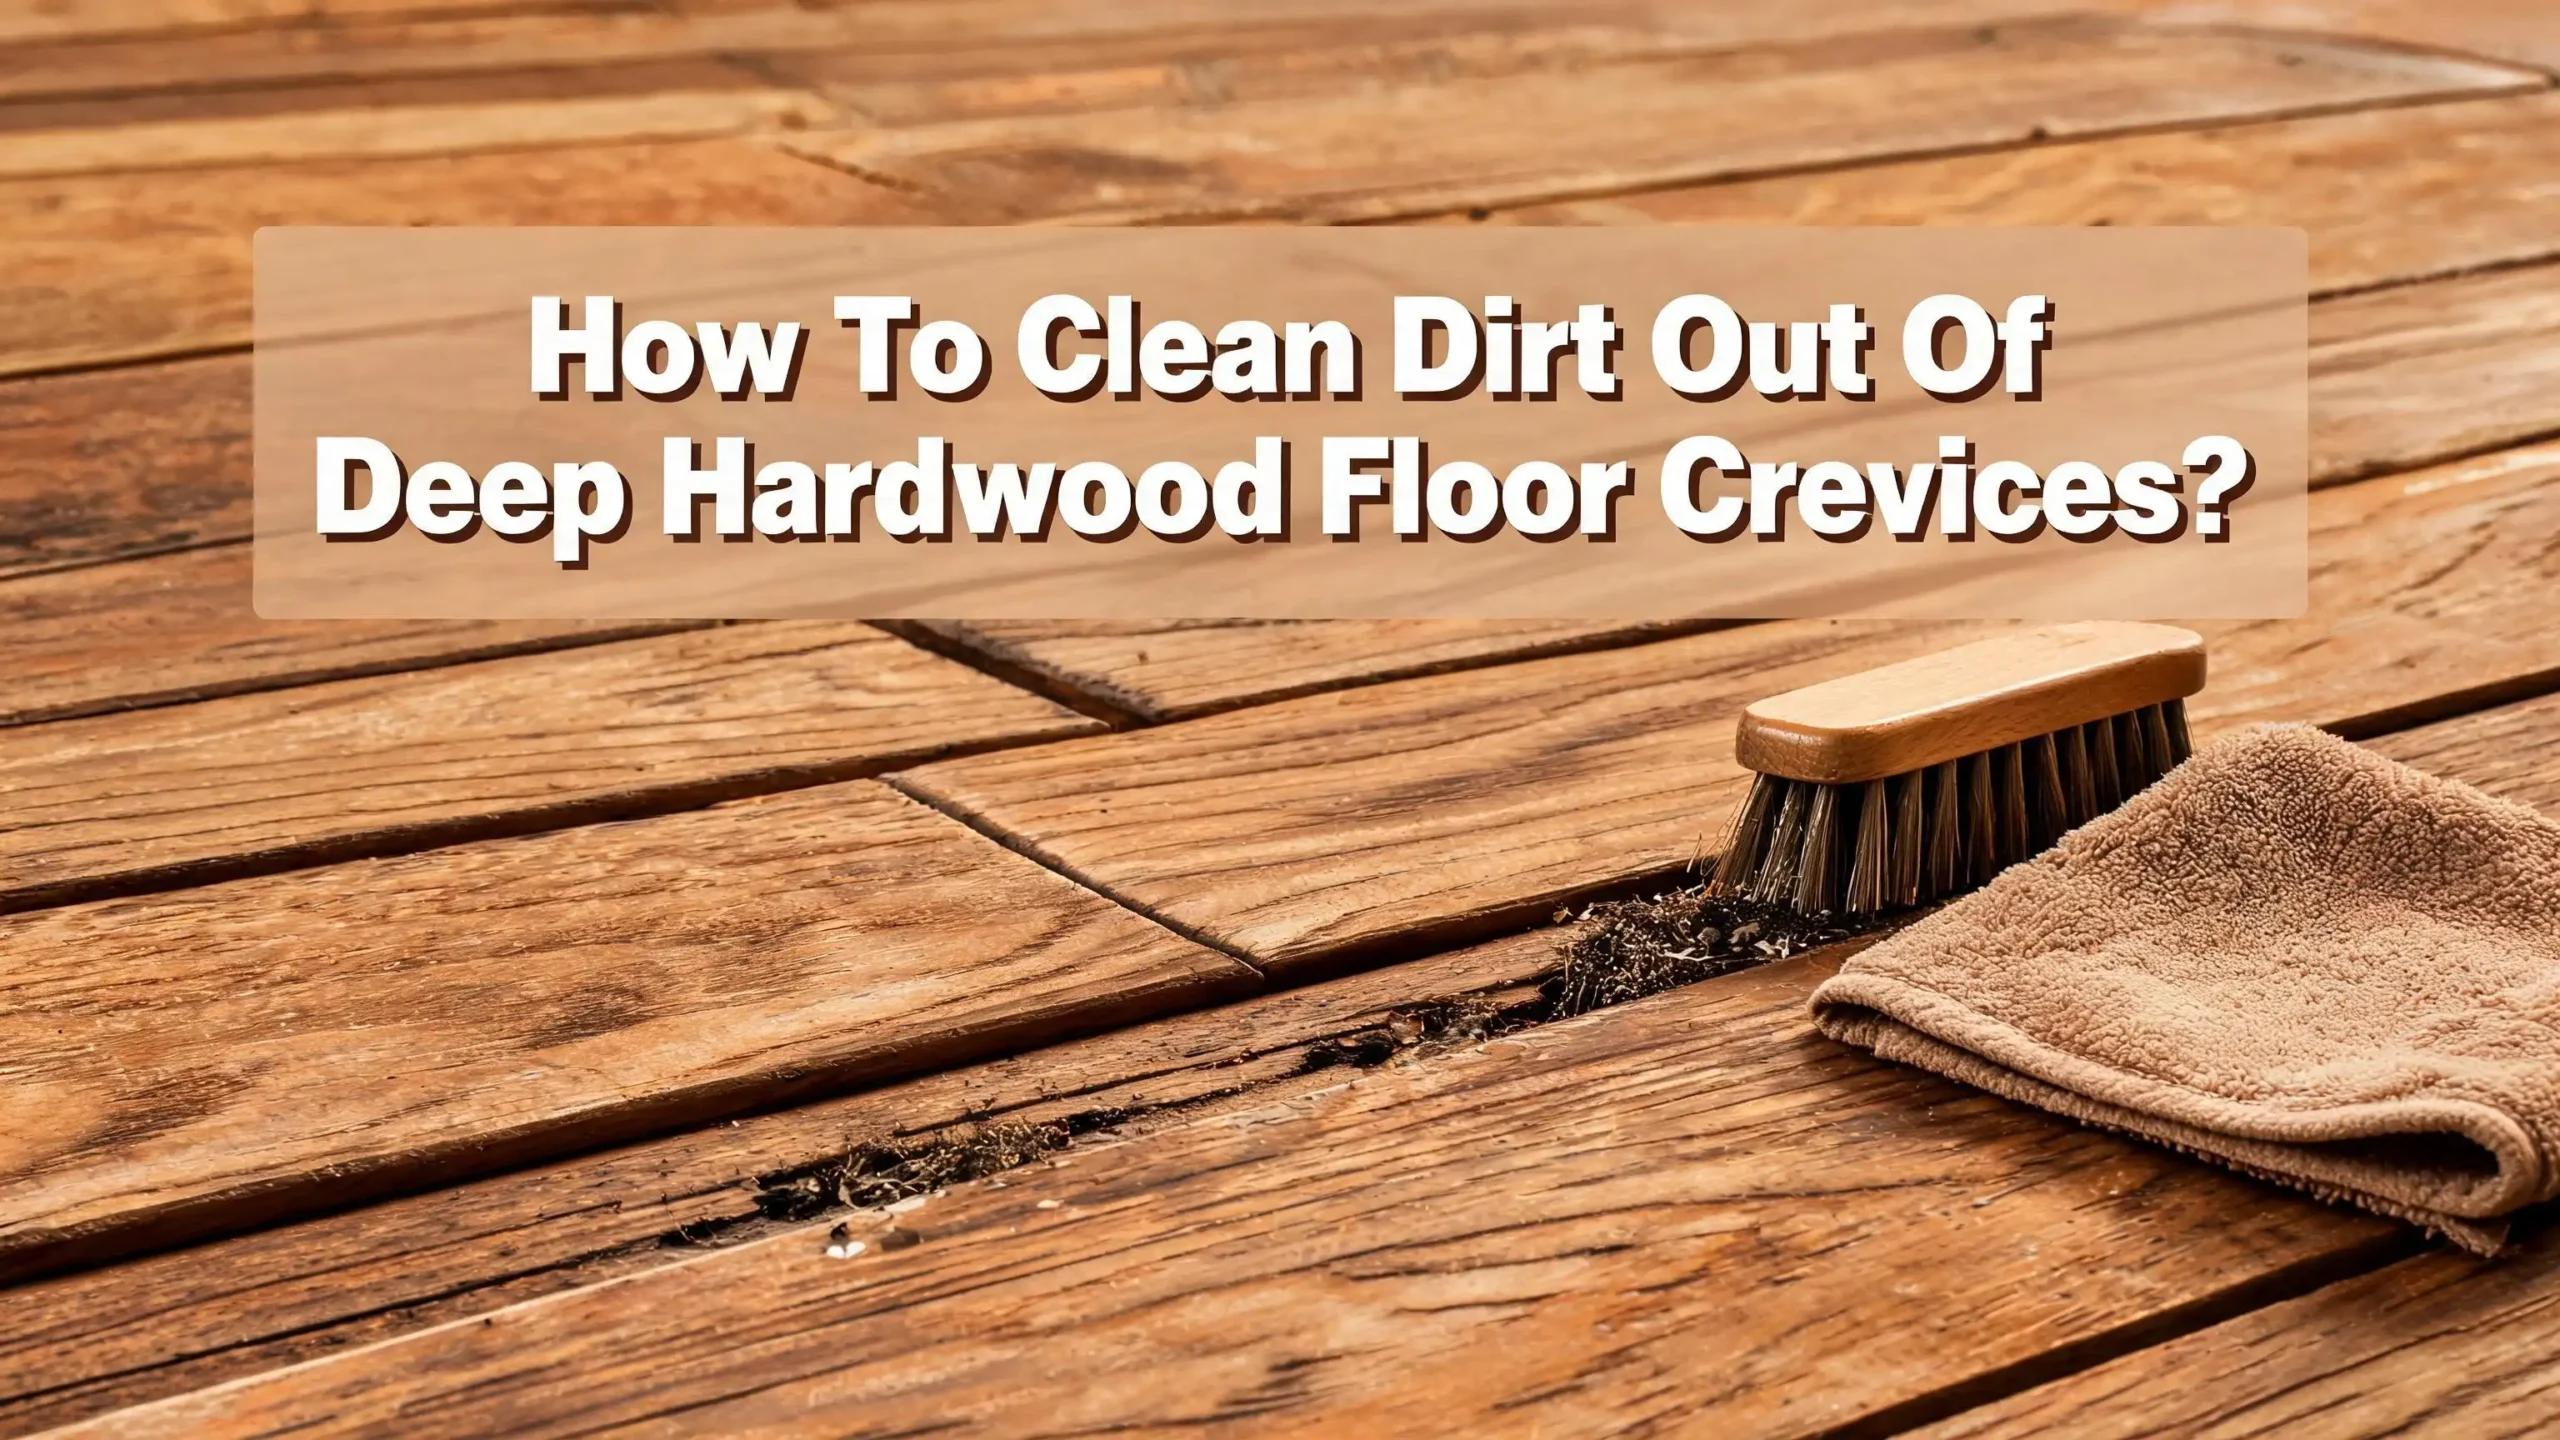
How To Clean Dirt Out Of Deep Hardwood Floor Crevices?
You love your hardwood floors. They add warmth, character, and value to your home. But over time, you notice something frustrating. Dark lines of grime have settled into the crevices between the planks, and your regular mop just pushes dirt around without getting it out.
Dust, pet hair, food crumbs, and outdoor debris all find their way into those tiny cracks. Once they settle in, they compact and harden, creating a stubborn buildup that regular cleaning cannot touch.
The good news? You can remove that deeply embedded dirt without damaging your floors. This guide walks you through every method, tool, and solution you need.
From simple DIY fixes you can do this afternoon to long term prevention strategies, you will find a clear path to cleaner, healthier hardwood floors.
Key Takeaways
- A powerful vacuum with a crevice attachment is the single most effective starting tool for pulling loose dirt and debris from hardwood floor gaps. Standard household vacuums often lack the suction needed, so a shop vacuum or a high suction model works much better for deep crevices.
- Avoid using excessive water or steam in hardwood floor gaps. Moisture can seep below the surface and cause warping, swelling, or mold growth. Always use damp methods rather than wet ones, and dry the area immediately after cleaning.
- A butter knife wrapped in a thin cloth is a surprisingly effective manual tool for scraping compacted grime from between floorboards. Follow up with vacuuming to catch loosened particles.
- pH neutral cleaners between 6.8 and 7.2 are the safest choice for any wet cleaning on hardwood floors. Harsh chemicals, undiluted vinegar, and bleach can strip the finish and discolor the wood.
- Prevention saves hours of future work. Placing doormats at every entrance, switching from sweeping to vacuuming, and controlling indoor humidity between 35% and 45% will drastically reduce the amount of dirt that reaches your floor crevices.
- Filling gaps with flexible wood filler or oakum rope after a deep clean provides a long term solution that stops dirt from accumulating again while allowing natural wood movement with seasonal temperature changes.
Why Dirt Builds Up In Hardwood Floor Crevices
Hardwood floors are a natural material, and natural materials move. Wood expands in humid conditions and contracts in dry ones. This seasonal movement creates gaps between planks that widen and narrow throughout the year. These gaps act as tiny collection traps for everything from fine dust to pet hair and sand particles.
Gravity plays a constant role in this process. Every time you walk across the floor, vibrations push loose particles toward the nearest gap. Sweeping with a broom is one of the worst offenders because it actively forces dirt sideways and downward into crevices. Over weeks and months, this debris compacts into a hard, dark layer that bonds to the wood surface.
Older homes face this problem more severely. Original hardwood floors from decades past often have wider gaps due to years of wood shrinkage. High traffic areas like kitchens, hallways, and entryways accumulate grime faster because they receive more foot traffic and exposure to outdoor debris. Homes with pets deal with additional challenges as fur, dander, and litter granules settle into every available crack.
The longer dirt stays compacted in a crevice, the harder it becomes to remove. Moisture from spills or mopping can turn dust into a paste that dries and hardens like cement. Understanding this process helps you choose the right cleaning strategy and, more importantly, prevents you from making the problem worse with the wrong approach.
Gather The Right Tools Before You Start
Having the correct tools on hand before you begin makes the entire process faster and more effective. The wrong tools can scratch your finish, push dirt deeper, or damage the wood itself. Start by assembling a basic kit that covers both the loosening and removal stages of the job.
A shop vacuum or a vacuum with strong suction is your most important tool. Standard household vacuums often lack the power to pull compacted debris from narrow gaps. A shop vacuum with a narrow crevice attachment provides the concentrated suction you need. If you do not own one, many hardware stores offer affordable models that work perfectly for this task.
For manual loosening, gather a few old toothbrushes, a grout brush, and a butter knife or plastic putty knife. These tools help you scrape and agitate packed dirt before vacuuming. Wrap the butter knife in a thin, damp cloth to avoid scratching the wood while you work.
You will also need microfiber cloths, a spray bottle, and a pH neutral hardwood floor cleaner. Microfiber material traps particles instead of spreading them around. A spray bottle gives you precise control over how much moisture you apply, which is critical for protecting your floors.
Optional but helpful additions include thin bottle brushes, pipe cleaners, and compressed air cans. Bottle brushes can reach into deeper crevices and pull debris upward. Compressed air blasts loose particles out of tight spaces before you vacuum. Having all these tools ready means you can move through each cleaning stage without stopping.
The Dry Cleaning Method: Your Essential First Step
Always start with dry cleaning before introducing any moisture. Wet cleaning a crevice full of compacted dirt creates mud that is harder to remove. The dry method loosens and lifts the bulk of debris so you can handle any remaining grime with minimal moisture.
Begin by running a stiff bristled brush or old toothbrush along each crevice to break up the compacted layer. Use short, firm strokes and work in one direction along the length of the gap. This agitation lifts the top layer of dirt and separates it from the wood surface. Move slowly and be thorough, spending a few seconds on each inch of the crevice.
Immediately follow the brushing with your vacuum and crevice attachment. Hold the nozzle close to the gap as you vacuum in the same direction you brushed. This one two approach of loosening then suctioning removes a surprising amount of debris on the first pass. Repeat the brushing and vacuuming cycle two or three times for heavily soiled areas.
Pros of the dry cleaning method: It is safe for all hardwood finishes, requires no special cleaners, carries zero risk of water damage, and removes the majority of loose dirt effectively. It also prepares the crevice for deeper cleaning if needed.
Cons of the dry cleaning method: It may not remove sticky or hardened grime. Very compacted dirt in deep gaps may require additional techniques. The process can be slow and physically tiring for large floor areas, especially if you are working on your hands and knees.
For best results, avoid sweeping the loosened debris. Sweeping spreads particles to other crevices. Always vacuum as you go to capture everything you dislodge.
The Damp Cloth And Butter Knife Technique
This is one of the most popular and effective hands on methods recommended by homeowners and cleaning professionals. It works particularly well for stubborn, caked on grime that dry brushing alone cannot remove. The concept is simple: use a thin tool to physically scrape compacted dirt out of the crevice while a damp cloth catches the debris and wipes the surface clean.
Wrap a thin, slightly damp microfiber cloth tightly around a butter knife or plastic putty knife. The cloth should be just moist enough to pick up particles but not dripping wet. Press the wrapped tool into the crevice at a slight angle and draw it along the length of the gap. Apply steady, even pressure. The edge of the knife provides the scraping force while the cloth absorbs and traps the loosened dirt.
Work in sections of about two to three feet at a time. After each section, unwrap the cloth, rinse it, wring it thoroughly, and rewrap it around the knife. This prevents you from simply redistributing dirty material back into the crevices. Follow each section with a quick pass of the vacuum to pick up anything the cloth missed.
Pros of this method: It is inexpensive, requires no special equipment, gives you precise control, and works extremely well on compacted grime. Many homeowners report that this technique produces the most visible improvement of any method.
Cons of this method: It is very time consuming, especially in larger rooms. Working on your hands and knees for extended periods is hard on your body. The moisture from the cloth, even when minimal, should be dried immediately to prevent water from seeping below the surface and causing damage to the wood.
Using A Shop Vacuum With Crevice Attachments
A shop vacuum is arguably the most powerful tool you can use for deep hardwood floor crevice cleaning. Unlike standard household vacuums, shop vacuums generate significantly stronger suction that can pull deeply embedded particles out of narrow gaps. The concentrated airflow through a crevice attachment targets dirt precisely where it hides.
Choose a narrow crevice attachment that fits your gap size. Most shop vacuums come with a basic crevice tool, but you can find thinner aftermarket attachments designed for detailed work. Some homeowners tape a drinking straw or paper towel tube to the end of the vacuum hose to create an even narrower opening that focuses suction into tight spaces.
Run the crevice tool slowly along each gap with the vacuum at full power. Speed is not your friend here. A slow pass gives the suction time to grip and extract debris that a quick swipe would miss. For especially stubborn areas, use a toothbrush or thin brush to agitate the dirt just ahead of the vacuum nozzle. This combined technique mimics professional cleaning approaches.
Pros of the shop vacuum method: Extremely effective at removing both loose and partially compacted debris. No moisture is involved, so there is zero risk of water damage. The powerful suction reaches deeper into gaps than any other consumer tool. It also works well for pet hair, sand, and food particles.
Cons of the shop vacuum method: Shop vacuums can be loud, bulky, and inconvenient to maneuver in tight spaces or furnished rooms. If the vacuum’s exhaust is not filtered well, it can blow fine dust back into the air. Some models may be too powerful for delicate or damaged flooring, so use the lowest effective power setting to avoid loosening planks.
DIY Cleaning Solutions Safe For Hardwood
Commercial hardwood floor cleaners work well, but you can also make effective and safe cleaning solutions at home. The key requirement is that any solution you use must stay close to a neutral pH, ideally between 6.8 and 7.2, to protect the wood’s finish. Solutions that are too acidic or too alkaline will strip protective coatings and damage the wood over time.
One of the safest homemade options is a diluted castile soap solution. Mix one tablespoon of liquid castile soap with one gallon of warm water. This creates a gentle, plant based cleaner that cuts through grime without leaving residue. Spray it lightly into the crevices, let it sit for one to two minutes, then scrub with a soft brush and wipe clean.
A very diluted vinegar solution can be used sparingly on sealed hardwood floors, but proceed with caution. Mix one cup of white vinegar with one gallon of water to reduce the acidity. Never use undiluted vinegar on hardwood, as it will eat through the finish over time. Many flooring professionals recommend avoiding vinegar entirely and sticking with pH neutral options.
Hydrogen peroxide at a 3% concentration is another option that some homeowners use for tough stains in crevices. It can lighten discolored grime and kill bacteria. However, test it on an inconspicuous area first because it may bleach certain wood finishes.
Pros of DIY solutions: They are inexpensive, use common household ingredients, and avoid harsh chemical exposure. You control exactly what goes on your floors.
Cons of DIY solutions: They may not be as effective as professional grade cleaners for heavy buildup. Incorrect ratios or ingredients can cause damage. Each wood finish reacts differently, so testing in a hidden spot is always necessary.
The Cleaning Slime Hack That Actually Works
This unconventional method has gained popularity online and among homeowners with wide floorboard gaps. Homemade cleaning slime works by pressing a sticky, rubbery substance into crevices where it grabs onto dirt, hair, and debris and pulls them out cleanly. It sounds odd, but it produces impressive results.
To make cleaning slime, mix white glue with a small amount of warm water and baking soda, then add contact lens solution containing boric acid until the mixture firms up. Knead it by hand until it becomes rubbery and slightly tacky but not sticky enough to leave residue behind. The finished consistency should pull away from surfaces cleanly.
Press the slime firmly into each crevice and then lift it straight up. The embedded dirt transfers onto the slime. Fold the slime over to expose a clean surface and repeat. You can reuse the same batch across multiple crevices until it becomes saturated with debris. At that point, discard it and make a fresh batch.
Pros of the slime method: It reaches into irregular shaped crevices that brushes and vacuums miss. It requires no moisture, so it is completely safe for all wood finishes. The process is satisfying because you can see the dirt being pulled out in real time. It also works well in corners and along baseboards.
Cons of the slime method: Making the slime takes extra preparation time. If the mixture is too soft or sticky, it can leave residue in the crevices that creates a new cleaning problem. The method is not practical for very narrow gaps where the slime cannot penetrate. It also works best as a supplement to vacuuming rather than a standalone solution for heavy buildup.
Why Steam Cleaning Can Damage Your Hardwood Floors
Steam cleaners seem like a perfect solution for dirty floor crevices. They promise chemical free, deep sanitization using only water. However, most flooring professionals strongly advise against using steam on hardwood floors, and the reasons are significant.
Steam operates at temperatures above 200 degrees Fahrenheit and produces concentrated moisture. When that steam enters the gaps between hardwood planks, it penetrates below the surface finish and reaches the raw wood underneath. Wood absorbs moisture rapidly, and the heat accelerates this absorption. The result is swelling, warping, cupping, and in severe cases, permanent structural damage to the planks.
Even on floors labeled as “sealed,” the seal rarely extends into the crevices themselves. The edges and undersides of planks are often unprotected, making them extremely vulnerable to steam penetration. Over time, repeated steam exposure breaks down adhesives, loosens the finish, and creates an environment where mold and mildew can grow between the subfloor and the hardwood.
Pros of steam cleaning (in general): Kills bacteria and allergens without chemicals. Effective on hard, non porous surfaces like tile and sealed stone.
Cons of steam cleaning on hardwood: High risk of warping and swelling. Moisture penetration through crevices damages unfinished wood edges. Can delaminate engineered hardwood. Voids many manufacturer warranties. The damage is often invisible at first and worsens over time, making it a particularly deceptive problem.
If you want sanitization without chemicals, consider using a very lightly damp cloth with a small amount of hydrogen peroxide rather than introducing pressurized steam into your floor gaps. This approach provides cleaning power without the structural risks.
Dealing With Extremely Wide Or Deep Gaps
Some floors, especially in older homes, have gaps wide enough to see through to the subfloor below. These gaps present a unique challenge because dirt does not just sit in the crevice. It falls all the way through. Standard crevice cleaning methods may not be enough when you can fit a coin between your floorboards.
For gaps wider than about 3 millimeters, start with a thorough dry cleaning using a shop vacuum and a thin brush. Remove every visible piece of debris from the gap. Once the crevice is completely clean, you have the opportunity to address the gap itself so dirt cannot accumulate again.
Oakum rope is a traditional and effective material for filling wide floorboard gaps. It is a flexible, oil treated fiber that compresses into the gap and moves with the wood as it expands and contracts seasonally. Push the oakum into the cleaned gap with a putty knife until it sits just below the surface of the floor. It creates a barrier that prevents debris from falling through while still allowing the wood to breathe and move naturally.
Flexible wood filler is another option for moderate gaps. Choose a product that specifically states it remains flexible after drying, as rigid fillers will crack when the wood moves. Apply the filler after cleaning and smooth it level with the floor surface.
Pros of gap filling after cleaning: Provides a long term solution that reduces future cleaning effort dramatically. Improves insulation and reduces drafts from below. Gives the floor a cleaner, more uniform appearance.
Cons of gap filling: Requires proper material selection to avoid cracking. Rigid fillers like epoxy or standard wood putty will fail as the wood moves. Oakum and flexible fillers may need to be replaced every few years. The filling process adds time and cost to the initial cleaning project.
How To Prevent Dirt From Returning To Clean Crevices
After spending time and effort cleaning your hardwood floor crevices, the last thing you want is for the dirt to return quickly. Prevention is the most effective long term strategy, and a few simple changes to your routine can reduce crevice buildup by as much as 75%.
Stop sweeping and start vacuuming. Brooms push dirt into crevices. A vacuum with a hardwood floor attachment lifts particles up and away from gaps. Make vacuuming your primary floor cleaning method, and use it at least twice a week in high traffic areas.
Place high quality doormats at every exterior entrance and encourage everyone in your household to remove shoes at the door. Studies show that up to 80% of household dirt enters through doorways on the bottoms of shoes. A good doormat and a shoe free policy eliminate the largest source of floor debris.
Control your indoor humidity between 35% and 45% using a humidifier in winter and a dehumidifier in summer. Stable humidity keeps wood planks from expanding and contracting excessively, which minimizes the size of gaps where dirt can collect. A digital hygrometer helps you monitor levels accurately.
Use microfiber dust mops for daily or every other day maintenance. Microfiber attracts and holds fine dust particles that would otherwise drift into crevices. A quick pass with a microfiber mop takes just a few minutes and makes a significant difference over time.
If you have pets, groom them regularly to reduce the amount of loose fur and dander that ends up on your floors. Place mats under food and water bowls to catch spills before they reach the hardwood.
Creating A Routine Maintenance Schedule
Consistency is the secret to keeping hardwood floor crevices clean long term. A structured maintenance routine removes dirt before it has a chance to compact and harden in the gaps. The effort required is much less than a deep clean, and the results compound over time.
Daily maintenance should include a quick pass with a microfiber dust mop across all main living areas. This takes five to ten minutes and captures surface dust, pet hair, and light debris before it migrates into crevices. Focus extra attention on high traffic zones like entryways, kitchens, and hallways.
Weekly, vacuum all hardwood floors with a soft brush attachment. Pay particular attention to the areas along walls, under furniture edges, and in doorways where debris tends to accumulate. Run the crevice attachment along the most visible gaps to catch anything the dust mop missed.
Monthly, do a detailed inspection of your floor crevices. Get down to eye level and check for darkening or buildup in the gaps. If you spot accumulation, address it immediately with a toothbrush and vacuum before it compacts. This monthly check prevents small problems from becoming big cleaning projects.
Every six months, perform a more thorough deep clean using the damp cloth and butter knife method or your preferred technique from this guide. This semiannual deep clean catches anything that has slipped through your regular routine and keeps your crevices looking fresh year round.
Adjust this schedule based on your household. Homes with pets, children, or heavy foot traffic may need more frequent vacuuming and monthly deep cleans rather than semiannual ones. The goal is to catch dirt early before it bonds to the wood inside the gaps.
When To Call A Professional Floor Cleaner
Sometimes a DIY approach is not enough. If your floor crevices have years or decades of compacted buildup, or if the wood itself shows signs of damage, a professional floor cleaner may save you time, effort, and potentially the cost of replacing damaged planks.
Consider calling a professional if the dirt in your crevices has hardened to the point where no amount of brushing and vacuuming removes it. Professional cleaners use specialized equipment including commercial grade vacuums, oscillating detail tools, and floor safe extraction machines that homeowners typically do not have access to.
If you notice discoloration, staining, or an unpleasant odor coming from your floor crevices, the problem may go beyond dirt. Pet urine, mold, and moisture damage beneath the surface require professional assessment and treatment. Attempting to clean these issues with consumer products can make them worse by driving contaminants deeper into the wood.
Professional floor cleaning services often include a sealant application after the deep clean. This protective layer fills micro gaps and creates a barrier that prevents future dirt accumulation. While the upfront cost is higher than a DIY clean, the results last longer and reduce the need for frequent deep cleaning sessions.
Pros of professional cleaning: Access to commercial grade tools and products. Expert knowledge of different wood types and finishes. Faster completion time for large areas. Ability to address hidden issues like mold or moisture damage.
Cons of professional cleaning: Higher cost compared to DIY methods. Scheduling may not be convenient. Some companies use overly aggressive techniques that can damage older or delicate floors, so research and choose a reputable provider with specific hardwood floor experience.
Common Mistakes That Make Crevice Dirt Worse
Many well intentioned cleaning habits actually push more dirt into floor crevices or create conditions that make buildup worse. Avoiding these common mistakes will make your cleaning efforts more effective and protect your hardwood floors from unnecessary damage.
Using a broom as your primary cleaning tool is the most common mistake. Broom bristles sweep debris sideways and directly into the nearest gap. Every sweeping session pushes a fresh layer of dirt into your crevices. Switch to a vacuum or microfiber dust mop for daily cleaning.
Mopping with too much water is the second most damaging habit. Excess water flows into crevices and mixes with existing dirt, creating a paste that dries into a cement like layer. It also reaches the unfinished sides and undersides of planks, causing swelling and warping. Always use a barely damp mop and dry the floor immediately afterward.
Using harsh or acidic cleaners can strip the protective finish from your floor surface and from the edges of planks inside the crevices. Once the finish is compromised, the bare wood absorbs dirt, moisture, and stains much more easily. Stick to pH neutral products specifically formulated for hardwood.
Ignoring gaps during routine cleaning is another common error. If you only clean the flat surface of your planks and never address the crevices, dirt accumulates steadily until a deep clean becomes necessary. A few extra seconds with the vacuum crevice tool during each cleaning session prevents this slow buildup.
Finally, using steel wool, metal scrapers, or abrasive pads directly on the wood can scratch the finish and create microscopic grooves where dirt embeds even more easily. Always protect the wood surface with a cloth barrier if you use any rigid scraping tool.
Frequently Asked Questions
How often should I deep clean my hardwood floor crevices?
Most homes benefit from a thorough deep clean of floor crevices every six months. However, high traffic areas, homes with pets, and households with children may need quarterly deep cleaning. Regular vacuuming and dust mopping between deep cleans will reduce the amount of effort required each time. The goal is to prevent dirt from compacting and hardening in the gaps, which makes it far more difficult to remove.
Can I use a pressure washer on my hardwood floor crevices?
No. Pressure washers deliver far too much water at too high a force for hardwood floors. The water will penetrate the wood, soak the subfloor, and cause severe warping, swelling, and potential mold growth. Even low pressure settings produce too much moisture for indoor hardwood. Stick to dry methods like vacuuming and brushing, or use only very lightly damp cloths for wet cleaning.
Is it safe to use compressed air to blow dirt out of floor crevices?
Compressed air can be useful for loosening debris in tight crevices before vacuuming. However, it blows dirt and dust into the air and across the room, which creates a mess and can aggravate allergies. If you use compressed air, hold the vacuum nozzle close to the gap at the same time to catch particles as they are dislodged. Work in small sections and be prepared to vacuum the surrounding area thoroughly afterward.
What is the best vacuum attachment for hardwood floor crevices?
A narrow crevice tool is the most effective attachment for hardwood floor gaps. Look for one that fits snugly against the gap width of your specific floor. Some homeowners find that automotive detailing attachments work better than standard vacuum accessories because they are thinner and more precise. A soft bristle attachment is also useful for general surface cleaning without scratching the finish.
Will filling the gaps in my hardwood floor prevent dirt buildup permanently?
Filling gaps significantly reduces dirt buildup but does not eliminate it permanently. Flexible fillers and oakum rope allow natural wood movement while blocking debris from entering the crevice. However, they may need replacement every two to five years as the material wears or as the wood shifts beyond the filler’s flexibility range. Regular surface cleaning is still necessary to prevent dirt from accumulating on top of the filled gaps.
Can vinegar damage my hardwood floors?
Undiluted vinegar can damage hardwood floors over time. Vinegar is acidic, and repeated use on hardwood can dull the finish, strip protective coatings, and discolor the wood. If you choose to use vinegar, always dilute it heavily with water at a ratio of one cup of vinegar per gallon of water, and use it sparingly. Many flooring professionals recommend avoiding vinegar entirely and using a pH neutral hardwood floor cleaner instead to protect your investment.
Hi, I’m Ivy! I’m a smart home enthusiast and self-proclaimed clean freak who loves testing the latest cleaning tech so you don’t have to waste your money on the wrong one. I started HomeTechClean to share honest reviews and practical advice for anyone who wants a cleaner home with less effort.