What To Do When Your Vacuum Trigger Switch Is Unresponsive?
You press the trigger on your vacuum cleaner. Nothing happens. You press it again, harder this time. Still nothing. Your vacuum sits lifeless in your hand, and a wave of frustration hits you. An unresponsive trigger switch is one of the most common problems vacuum owners face, and it can turn a quick cleaning session into a stressful ordeal.
The good news? This problem is often fixable at home without spending a fortune on professional repairs or buying a brand new machine. Whether you own a cordless stick vacuum, an upright model, or a canister unit, trigger switch failures usually come down to a handful of causes.
This guide walks you through every step of diagnosing, fixing, and preventing trigger switch problems. You will learn how to identify the root cause, test the switch with basic tools, and get your vacuum back to full working condition.
Key Takeaways
- An unresponsive vacuum trigger switch does not always mean you need a new vacuum. Many trigger problems come from simple causes like dust buildup inside the switch housing, a dislodged spring, or corroded electrical contacts. A basic cleaning or minor part replacement is often all you need to restore full function.
- Always unplug your vacuum or remove the battery before attempting any repair. Electrical safety comes first. Working on a powered vacuum can result in shock or injury, so disconnect all power sources before you open any part of the housing.
- A multimeter is your best friend for diagnosing switch problems. Testing for electrical continuity across the switch terminals tells you instantly whether the switch itself has failed or whether the issue lies elsewhere in the circuit.
- Debris and dust are the most common culprits behind sticky or unresponsive triggers. Regular cleaning of the trigger mechanism and surrounding area can prevent most switch failures before they start.
- Replacement trigger switches and assemblies are widely available and affordable. If your switch has failed completely, sourcing a compatible replacement part is straightforward for most vacuum brands and models.
- Know your limits and call a professional when needed. If the issue involves the circuit board, motor wiring, or internal components you cannot identify, a qualified repair technician can fix the problem safely and correctly.
Understanding How a Vacuum Trigger Switch Works
A vacuum trigger switch acts as the gatekeeper between your vacuum’s power source and its motor. When you press the trigger, it closes an electrical circuit that allows current to flow from the battery or power cord to the motor. When you release it, the circuit opens and the motor stops.
Most trigger switches use a small internal spring mechanism. This spring pushes a set of metal contacts together or apart depending on the trigger’s position. The contacts must touch firmly and cleanly to complete the circuit. Any interruption in this process will make the switch unresponsive.
In cordless vacuums, the trigger switch often connects directly to a small circuit board that manages power delivery. This board controls motor speed settings and battery management. In corded vacuums, the switch usually sits in a simpler series circuit between the power cord and the motor.
The physical trigger you press is typically a plastic lever. This lever pushes against the switch mechanism inside the handle housing. Over time, the plastic can crack, the spring can weaken, or the metal contacts can corrode. Each of these failures produces a different symptom, from a mushy feel to complete unresponsiveness. Understanding this basic structure helps you pinpoint exactly where the problem lies during diagnosis.
Safety First: Preparing for the Repair
Before you touch any part of your vacuum’s internal components, you must take proper safety steps. Unplug the vacuum from the wall outlet immediately. If you own a cordless model, remove the battery pack completely from the unit.
Wait at least five minutes after disconnecting power. Some vacuums have capacitors that store residual electrical charge even after you cut the main power. This brief waiting period lets any stored energy dissipate safely.
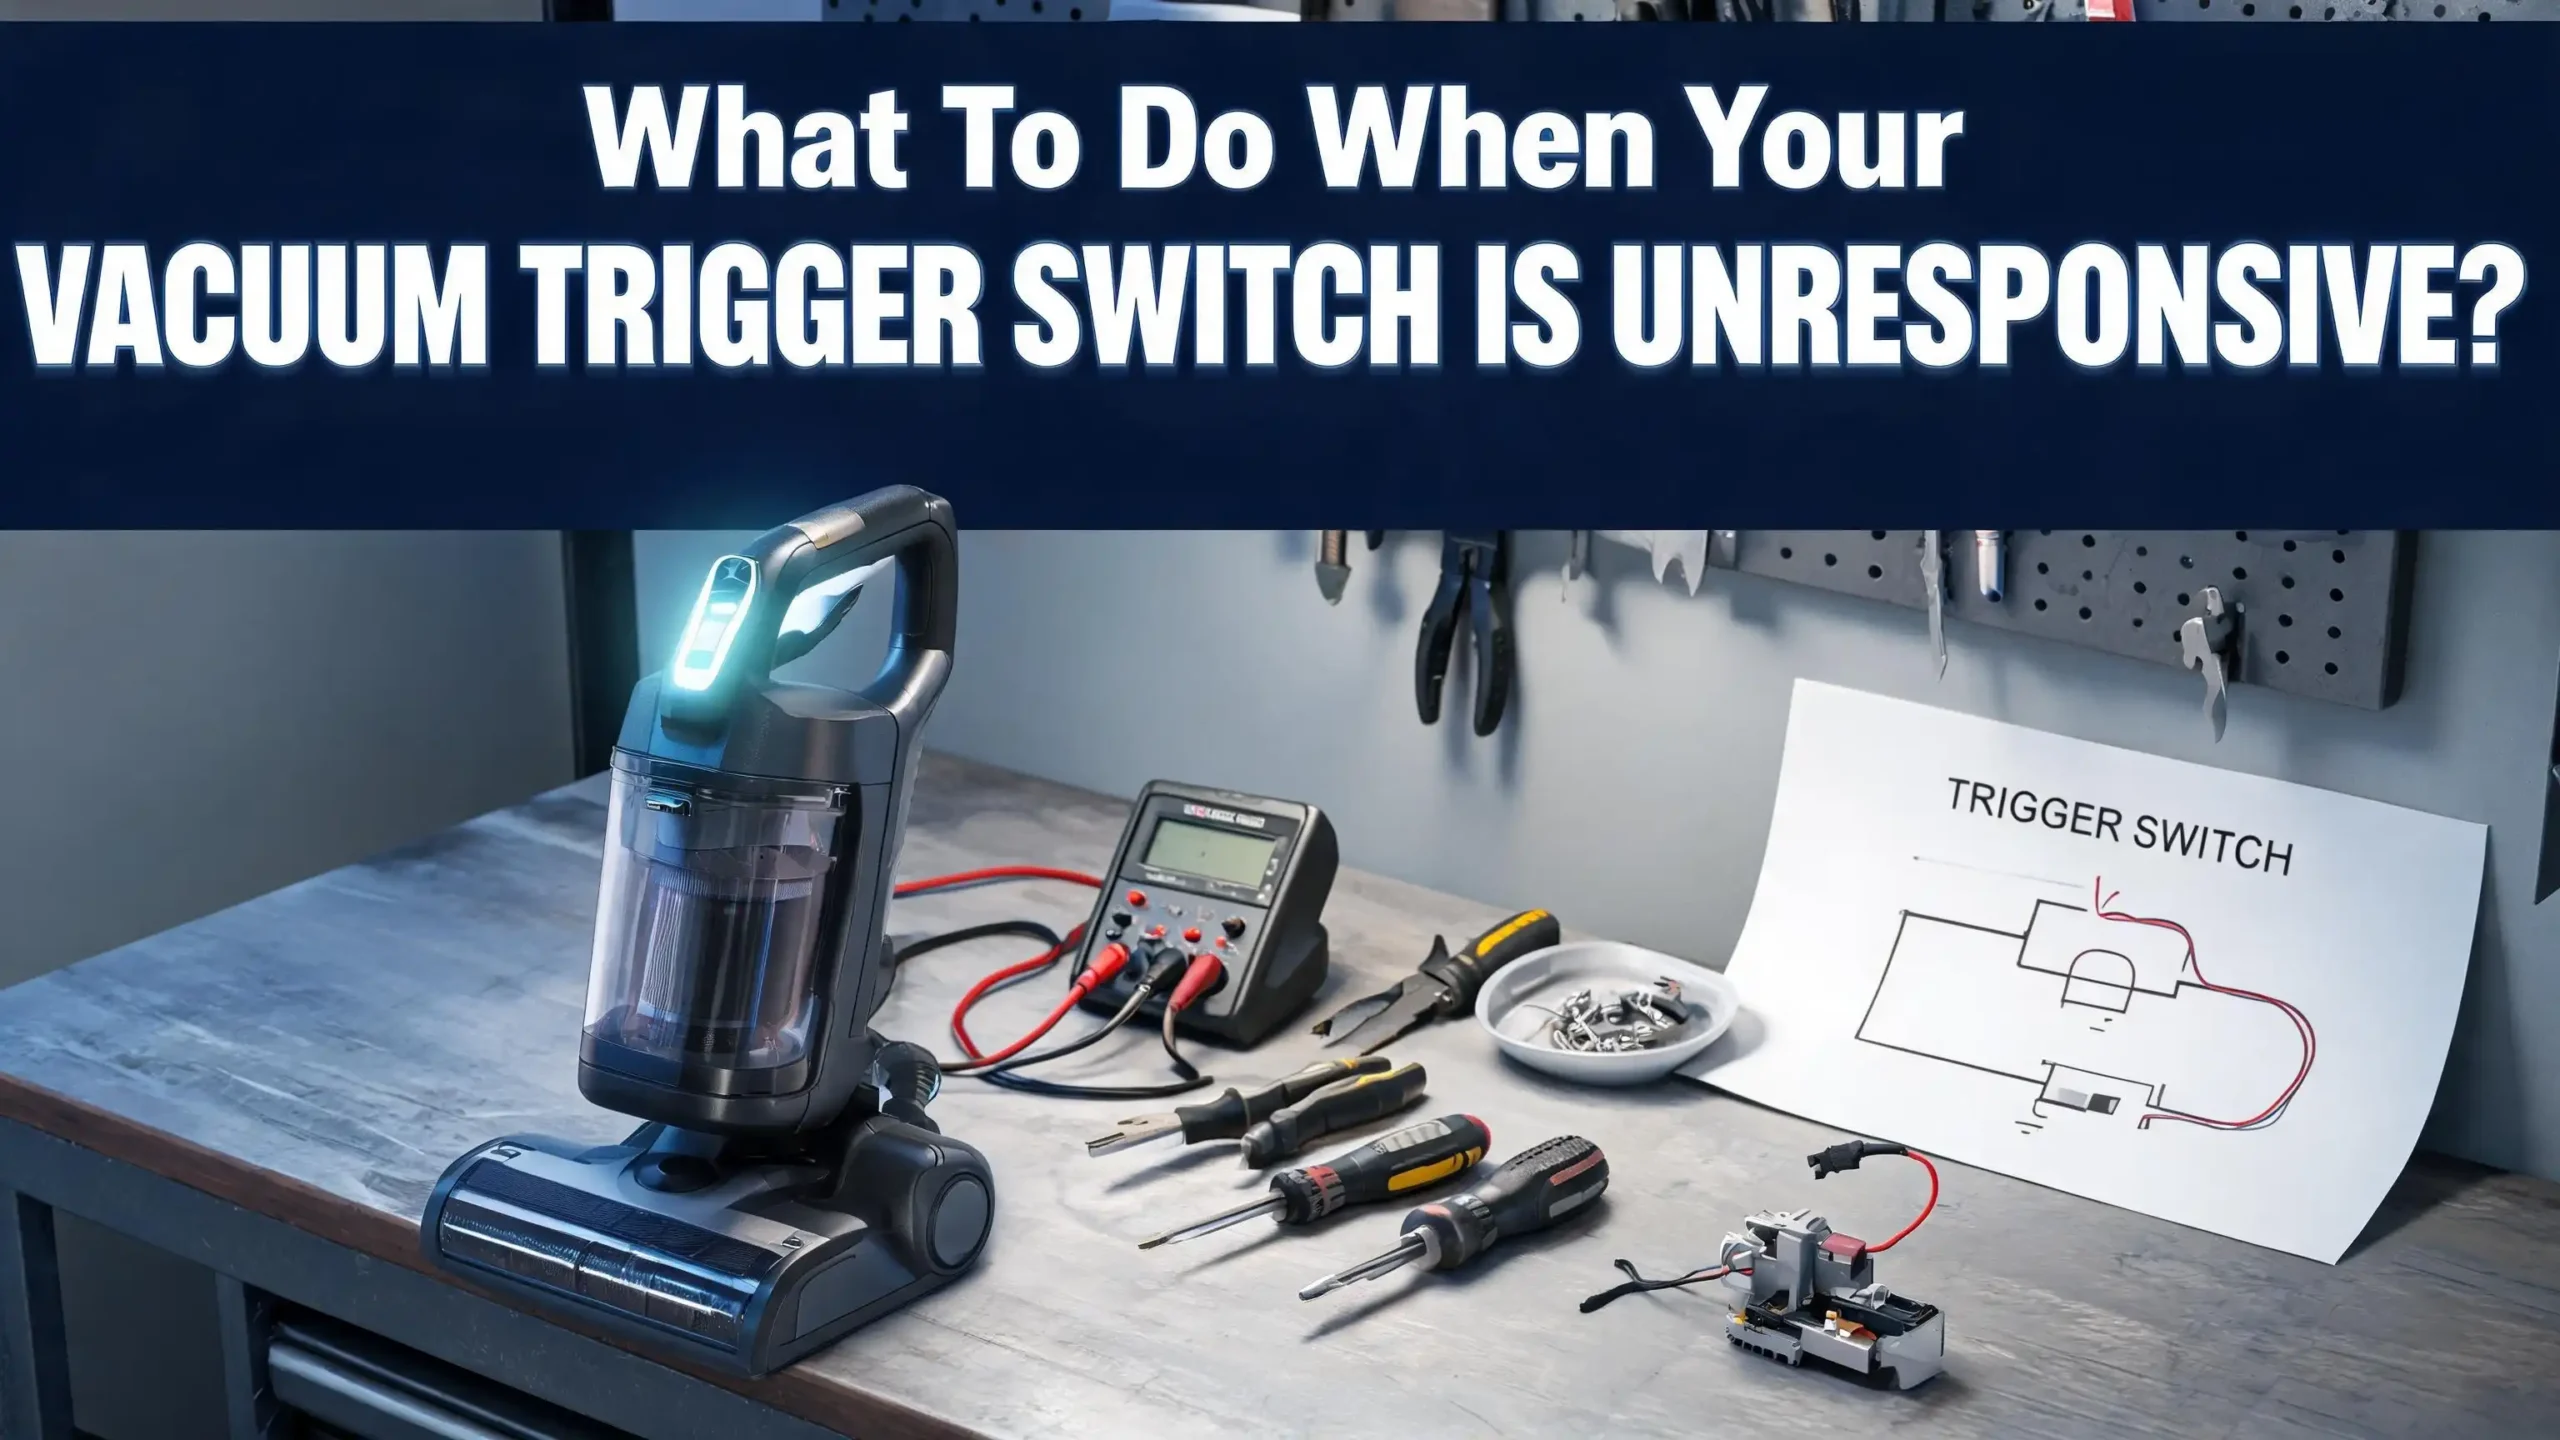
Gather your tools before you start disassembling anything. You will need a Phillips head screwdriver, a flat head screwdriver, a multimeter, a can of compressed air, and a small container to hold screws and small parts. Working on a clean, flat surface with good lighting will save you time and frustration.
Wear safety glasses if you plan to use compressed air. Dust and debris can fly out at high speed during cleaning. Keep a soft cloth nearby for wiping down components as you expose them. Take photos with your phone at each stage of disassembly. These photos serve as a reference guide when you put everything back together. Organization is essential because vacuum handles often contain many small screws of different lengths, and mixing them up can cause problems during reassembly.
Checking for Simple External Issues First
Start with the easiest possible explanations before you open anything. A surprising number of trigger switch problems have external causes that take seconds to fix.
Check your power source. Plug a different appliance into the same outlet to confirm the outlet works. For cordless vacuums, verify that the battery is fully charged. A dead or nearly dead battery can mimic the symptoms of a broken trigger switch. Place the vacuum on the charger and wait for the indicator light to confirm charging.
Inspect the trigger itself for visible damage. Look for cracks in the plastic, foreign objects wedged around the trigger, or dried cleaning product residue that might be creating a physical obstruction. Sometimes a small piece of debris lodged under the trigger prevents it from pressing down far enough to engage the switch.
Check the power cord on corded models for cuts, kinks, or fraying. A damaged cord can break the circuit before electricity ever reaches the switch. Wiggle the cord gently at both ends while pressing the trigger. If the vacuum flickers on briefly, the cord is likely the problem rather than the switch. These simple external checks eliminate the most common false alarms and save you from unnecessary disassembly.
Opening the Vacuum Handle Housing
Once you have ruled out external issues, it is time to access the trigger switch directly. Most vacuum handle housings are held together by a series of small Phillips screws located along the seam of the handle.
Start by identifying every screw on the handle. Some screws hide under stickers, rubber grips, or decorative caps. Use a flat head screwdriver or a plastic pry tool to lift these covers gently without breaking them. Place each screw in your container as you remove it, and note which screw came from which hole since they may vary in length.
Once all screws are removed, separate the two halves of the handle housing carefully. Do not pull the halves apart with force. Internal clips or snap fittings often hold the housing together even after the screws come out. Gently work around the seam with a plastic pry tool, releasing each clip one at a time.
Pay attention to any wires connecting the two housing halves. Some models have ribbon cables or wire connectors that span the housing split. Pulling the halves apart too quickly can tear these wires and create a new problem. If you feel resistance, stop and look for any remaining connections. Once open, you will see the trigger mechanism, the switch, and the wiring that connects everything to the motor circuit.
Inspecting the Trigger Mechanism for Physical Damage
With the housing open, examine the trigger assembly closely. The trigger mechanism consists of the plastic lever, a return spring, and the electrical switch itself. Each component can fail independently.
Look at the plastic trigger lever first. Check for cracks, chips, or broken tabs where the lever contacts the switch. Cordless vacuum triggers, especially on popular stick vacuum models, are known for developing hairline cracks in the plastic after extended use. A cracked trigger may not push the switch contact far enough to close the circuit.
Examine the return spring next. This small spring sits behind or beneath the trigger and pushes it back to the off position after you release it. A displaced or broken spring means the trigger cannot return to its resting position or cannot generate enough force to engage the switch contacts properly. If the spring looks deformed, stretched, or is missing entirely, it needs replacement.
Finally, look at the switch itself. Check whether the switch body is cracked, melted, or discolored. Burn marks or melted plastic around the switch indicate electrical arcing, which means the switch has failed internally and must be replaced. Note the switch type, its size, and the number of terminals so you can find an exact or compatible replacement.
Testing the Switch With a Multimeter
A visual inspection can reveal obvious damage, but many switch failures are invisible to the eye. A multimeter gives you a definitive answer about whether the switch works electrically. Set your multimeter to the continuity setting, usually indicated by a speaker or diode symbol.
Touch one multimeter probe to each terminal on the switch. With the trigger in the off position, the multimeter should show no continuity. This means the circuit is open, which is correct. Now press the trigger to the on position. The multimeter should beep or show near zero resistance, indicating a closed circuit.
If the multimeter shows no continuity in either position, the switch has failed internally. If it shows continuity in both positions, the switch is stuck closed. Both results confirm a defective switch that needs replacement.
Also test for intermittent connections. Press and release the trigger repeatedly while watching the multimeter display. A switch that flickers between continuity and no continuity has worn or dirty contacts. This type of failure often causes the vacuum to cut in and out during use. Write down your test results. They will help you decide whether a simple cleaning will fix the problem or whether you need a full switch replacement.
Cleaning Dirty Switch Contacts
Dust, dirt, and fine debris from vacuuming can work their way into the switch housing over time. Contaminated contacts are one of the most common reasons a trigger switch becomes unresponsive. Cleaning them can restore the connection without replacing any parts.
Use a can of compressed air to blow debris out of the switch housing and the surrounding area. Hold the can upright and use short bursts to avoid moisture buildup from the propellant. Direct the airflow into every gap and crevice around the switch mechanism.
For stubborn buildup on the metal contacts, use a cotton swab dipped in isopropyl alcohol (90% concentration or higher). Gently rub the contact surfaces to dissolve any oxidation or grime. Avoid using water or household cleaners, as these can leave residue that interferes with electrical conductivity.
If you can access the internal contacts of the switch, a small piece of fine emery paper can remove corrosion effectively. Fold the emery paper and slide it between the contacts, then press the contacts together and pull the paper out. This light abrasion removes the oxidation layer and exposes fresh metal underneath. Allow all components to dry completely before reassembling. Even small amounts of moisture trapped inside the switch can cause short circuits or accelerate future corrosion.
Replacing the Trigger Switch
If cleaning does not fix the problem, a full switch replacement is the next step. Start by noting the exact model number of your vacuum. This information is usually printed on a label on the vacuum body or inside the dust bin compartment.
Disconnect the wires attached to the old switch. Most vacuum switches use either spade connectors or solder joints. For spade connectors, grip the connector (not the wire) with needle nose pliers and pull straight off the terminal. For soldered connections, you will need a soldering iron to desolder the old wires and attach them to the new switch.
Remove any screws or clips holding the old switch in its mounting position. Take a photo before removal so you know exactly how the new switch should sit. Some switches simply snap into a molded pocket in the housing, while others use small fastening screws.
Install the new switch in the reverse order. Connect each wire to the correct terminal, matching the positions from your reference photos. Ensure all connections are tight and secure. A loose connection can cause intermittent operation or generate heat at the joint. Before closing the housing, do a quick continuity test on the new switch with your multimeter to confirm it works correctly. This verification step saves you from having to open the housing again if something is wrong.
Dealing With a Stuck or Jammed Trigger
Sometimes the trigger is not electrically dead but physically stuck. A jammed trigger that will not press down or will not spring back is a mechanical problem, not an electrical one. This issue is common in vacuums used in dusty environments or homes with pets.
Open the handle housing and look for debris packed around the trigger pivot point. Hair, string, and fine dust can wrap around the pivot and lock the trigger in place. Use tweezers or a small pick to remove any material wrapped around the moving parts. Clean the pivot area thoroughly with compressed air.
Check whether the trigger channel in the housing is warped or cracked. Plastic housings can deform over time due to heat or impact. A warped channel creates friction that prevents smooth trigger movement. If the deformation is minor, you can sometimes smooth it out with a fine file or sandpaper.
Apply a tiny drop of silicone lubricant to the pivot point and the surfaces where the trigger slides. Do not use petroleum based lubricants, as they can degrade plastic over time. Silicone lubricant stays effective longer and is safe for plastic components. Test the trigger movement several times by hand before reassembling. It should press smoothly and return to the resting position without hesitation.
Fixing Wiring Issues Behind the Switch
The trigger switch might test perfectly fine, yet the vacuum still does not respond. Faulty wiring between the switch and the motor or battery is a common hidden cause. Wires inside vacuum handles endure constant vibration, flexing, and heat stress during operation.
Inspect every wire visible inside the handle housing. Look for breaks, frayed insulation, burn marks, or loose connections at any terminal point. Even a single strand of broken wire can cause an open circuit that stops the vacuum from running.
Gently tug on each wire where it connects to the switch, the battery terminals, or the motor leads. A wire that pulls free easily was not making a solid connection. Reattach loose wires by crimping new spade connectors or resoldering the joint.
Check wire insulation for cracks or wear spots where two wires cross or where a wire rests against a sharp edge. Damaged insulation can cause short circuits that trip safety mechanisms or blow internal fuses. Wrap any damaged insulation with electrical tape or heat shrink tubing to restore protection. If a wire is broken in the middle, strip both ends, twist them together securely, and cover the joint with a solder connection and heat shrink tubing. Test the repaired circuit with your multimeter before closing the housing to confirm the fix is solid.
When Battery Issues Mimic a Bad Trigger Switch
In cordless vacuums, battery problems can look exactly like a trigger switch failure. A battery that cannot deliver sufficient voltage will not power the motor even if the switch circuit is perfect. Before blaming the trigger, rule out the battery.
Charge the battery fully and check whether the charger indicator light behaves normally. A light that flashes rapidly, stays orange indefinitely, or does not come on at all suggests the charger or battery has failed. Try a different charger if one is available to isolate the problem.
Use your multimeter set to DC voltage to measure the battery’s output. Compare the reading to the rated voltage printed on the battery label. A fully charged battery should read at or slightly above its rated voltage. A reading significantly below the rated voltage means the battery cells have degraded and cannot supply enough power.
Temperature also affects battery performance. Lithium ion batteries lose capacity in extremely cold environments and can refuse to operate in extreme heat as a safety measure. If your vacuum has been stored in a garage during winter or left in a hot car, bring it to room temperature before testing. Some cordless vacuums also have a battery reset procedure outlined in the user manual. Try this reset before purchasing a replacement battery, as it can recalibrate the battery management system and restore normal operation.
Reassembling Your Vacuum Correctly
Proper reassembly is just as important as the repair itself. Incorrect reassembly can create new problems, from rattling noises to electrical shorts. Take your time during this step.
Start by routing all wires back into their original channels. Make sure no wire sits in the path of the trigger mechanism or between the two housing halves. A pinched wire will either break over time or short circuit against the housing.
Align the two housing halves carefully. Press them together gently, listening for the snap of each internal clip engaging. Do not force the halves closed. If they resist, a wire or component is likely out of position. Open them again and check.
Reinstall each screw in its original hole. Remember that screws of different lengths serve different purposes. A screw that is too long can puncture internal wiring, and a screw that is too short will not hold the housing securely. Tighten each screw until snug but do not over torque. Plastic threads strip easily, and a stripped screw hole weakens the entire assembly. After all screws are in place, reconnect the battery or plug in the vacuum and test the trigger. Press it several times to confirm consistent operation across all speed settings.
Preventing Future Trigger Switch Problems
Prevention costs less than repair in both time and money. A few simple habits can keep your trigger switch responsive for years. Build these practices into your regular vacuum maintenance routine.
Clean the exterior of the trigger area after every use. Wipe down the trigger and handle with a dry cloth to remove dust and debris before they work their way inside the housing. For homes with pets, this step is especially important because pet hair can migrate into small gaps quickly.
Store your vacuum in a dry, room temperature location. Moisture accelerates corrosion on electrical contacts, and extreme temperatures can warp plastic components. Avoid hanging your vacuum by the trigger handle, as this puts constant pressure on the trigger mechanism and can weaken the return spring over time.
Empty the dustbin before it reaches full capacity. An overfull bin forces the motor to work harder, which generates more heat and vibration in the handle area. This extra stress accelerates wear on the trigger switch and its connections. Inspect the trigger mechanism during your regular filter cleaning schedule, roughly once a month for active households. A quick visual check and a burst of compressed air can prevent buildup before it becomes a problem. These simple steps can double or triple the lifespan of your trigger switch.
Knowing When To Seek Professional Help
Some problems go beyond what a home repair can safely address. If your vacuum has burn marks on its circuit board, a melted switch housing, or a motor that smells burned, stop all DIY work immediately. These symptoms indicate serious electrical issues that require professional tools and expertise.
A qualified vacuum repair technician has access to diagnostic equipment, manufacturer schematics, and replacement parts that are not always available to the general public. They can also identify secondary damage that may not be obvious to an untrained eye. A failed switch can sometimes cause damage to the circuit board or motor controller, and replacing only the switch will not fix the underlying problem.
Contact the manufacturer’s customer service if your vacuum is still under warranty. Opening the housing yourself may void the warranty on some models, so check your warranty terms before picking up a screwdriver. Many manufacturers offer mail in repair services or can direct you to an authorized service center in your area. If the repair estimate exceeds 50% of the cost of a new vacuum, consider whether replacement makes more financial sense. Older vacuums with aging motors and batteries may develop additional problems soon after one repair, making a new purchase the better long term value.
Frequently Asked Questions
Why does my vacuum trigger switch work sometimes but not always?
Intermittent trigger operation usually points to dirty or corroded electrical contacts inside the switch. Dust and oxidation create a layer that blocks the electrical connection inconsistently. Cleaning the contacts with isopropyl alcohol and fine emery paper often solves this problem. Loose wiring at the switch terminals can also cause intermittent behavior, so check all wire connections for tightness during your inspection.
Can I use any replacement switch for my vacuum?
Not every switch will work. You need a switch that matches the voltage and current rating of your vacuum’s motor. The physical size and mounting style must also fit your vacuum’s handle housing. Check your vacuum’s model number and search for a compatible replacement part. Using a switch with a lower current rating can cause overheating, and a switch that does not fit properly can rattle loose during use.
How much does it cost to have a vacuum trigger switch professionally repaired?
Professional trigger switch repair typically costs between $30 and $80, depending on the vacuum brand and the complexity of the repair. This price usually includes the replacement part and labor. Some repair shops charge a diagnostic fee that they apply to the repair cost if you proceed with the fix. Compare this cost against a new vacuum’s price to determine the most practical option.
How long does a vacuum trigger switch usually last?
A well maintained trigger switch can last five to eight years under normal household use. Heavy daily use, dusty environments, or exposure to moisture can shorten this lifespan significantly. Cordless vacuum trigger switches sometimes wear out faster because they are engaged and released constantly during every cleaning session, unlike corded models that often use a single on/off toggle.
Is it safe to bypass a broken vacuum trigger switch?
Bypassing a trigger switch is not recommended. The switch serves as an important safety control that lets you stop the motor instantly. A bypassed switch means the vacuum runs continuously whenever power is connected, which creates a safety risk. Always replace a failed switch with a proper working part rather than wiring around it.
Hi, I’m Ivy! I’m a smart home enthusiast and self-proclaimed clean freak who loves testing the latest cleaning tech so you don’t have to waste your money on the wrong one. I started HomeTechClean to share honest reviews and practical advice for anyone who wants a cleaner home with less effort.