How To Deodorize A Vacuum That Sucked Up Spilled Milk?
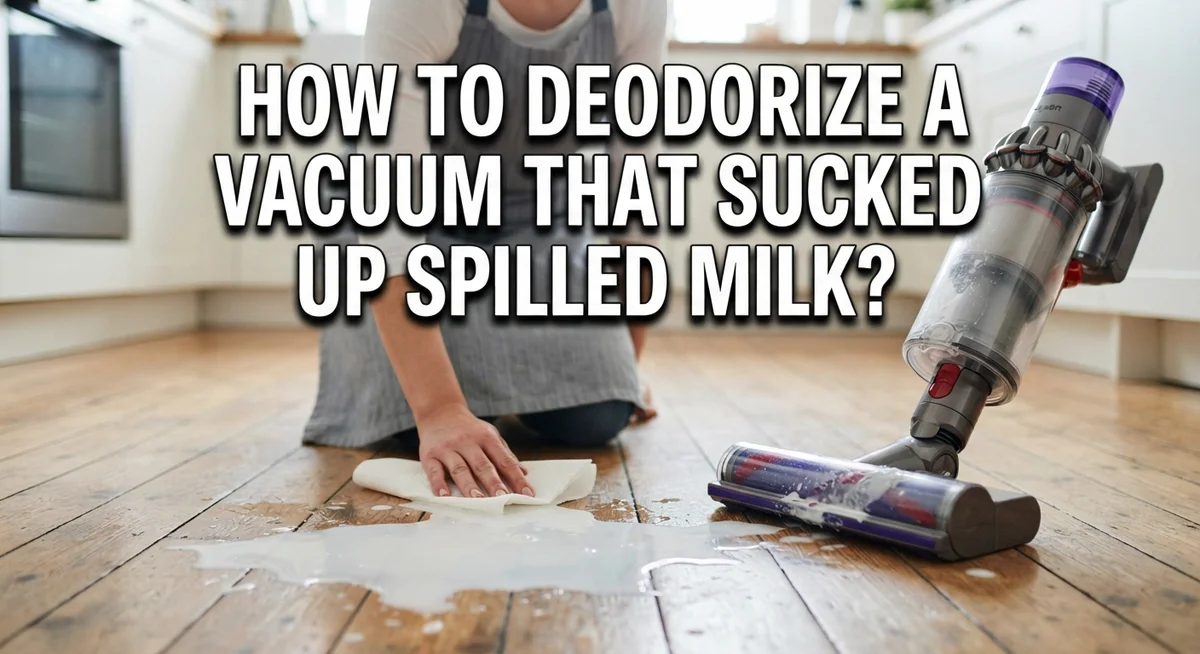
Spilled milk happens to everyone. You grab your vacuum, suck it up fast, and think the job is done.
But a few hours later, a sour smell creeps through the room. That smell comes from milk residue stuck inside your vacuum.
Milk contains sugars and proteins that ferment quickly. Once trapped in your vacuum bag or bin, bacteria start to grow. This creates that unmistakable rotten odor no one wants in their home.
The good news? You can fix this problem without buying anything new.
This guide walks you through simple steps to deodorize your vacuum after a milk spill. You will learn how to extract leftover milk properly. We will also cover why emptying your vacuum quickly matters so much.
By the end, you will know exactly how to stop that sour milk smell for good. Your vacuum will smell fresh again, and you will feel confident handling future spills too.
In a Nutshell
- Act fast. Milk left in your vacuum starts to ferment quickly. The sooner you clean it, the easier the odor goes away.
- Empty the bin right away. Bacteria grow in warm, damp spaces. Don’t let milk residue sit inside your vacuum overnight.
- Use baking soda generously. Sprinkle it over the spill area and inside the vacuum bin. It absorbs smells naturally and safely.
- Try a vinegar solution. Mix warm water, vinegar, and a bit of dish soap. This breaks down milk residue on carpets or surfaces.
- Add powder detergent to the bin. A small amount helps neutralize lingering odors inside your vacuum’s basket.
- Let everything dry completely. Moisture invites bacteria back. Give your vacuum time to air out before using it again.
Why Spilled Milk Causes Lingering Vacuum Odors
Spilled milk creates a stubborn problem inside your vacuum because of what happens after you pick it up. Milk contains sugars and proteins that break down quickly. When these substances sit in your vacuum’s bin or filter, bacteria start to grow. This bacterial growth causes fermentation, which produces that sour, unpleasant smell.
The odor develops even if you think you removed all the milk. Liquid milk seeps into carpet fibers, padding, and hard to reach spots. Some residue stays behind in your vacuum’s internal parts. Over hours and days, this hidden milk begins to decompose. The smell gets stronger as fermentation continues.
Your vacuum’s warm, moist environment speeds up this process. The bin traps moisture and creates the perfect conditions for bacteria to multiply. A sealed bag or bin without air circulation makes the problem worse. Milk residue can also cling to the filter and hose walls. These areas dry slowly and hold odor causing particles.
Temperature matters too. Warmer rooms cause faster fermentation and stronger smells. Even a small amount of milk left behind will eventually smell bad if you ignore it. This is why acting quickly makes such a big difference.
Understanding this process helps you see why immediate action prevents the worst odors. The longer milk sits, the more it breaks down and spreads throughout your vacuum. Prompt cleanup stops fermentation before it starts. Proper drying removes moisture that bacteria need to grow. These facts show why speed and thorough cleaning are your best weapons against milk odors.
Immediate Steps To Take Right After The Spill
The first few minutes after spilled milk hits your floor are critical. Act immediately because milk starts fermenting right away inside your vacuum. Speed prevents the sour smell from becoming permanent.
Start by stopping your vacuum use right now. Do not pick up anything else. The milk needs your full attention before it spreads deeper into the machine.
If you have a wet/dry vacuum available, use it to extract the spilled milk from your carpet or floor. This removes liquid before it gets sucked into your bin. Regular vacuums cannot handle wet spills, so a wet/dry model works best here. If you only have a regular vacuum, you will need to let the area dry first.
Next, empty your vacuum bin or bag immediately. This step matters more than most people realize. Milk residue trapped in your bin creates bacteria and mold growth. The warm, moist environment inside accelerates fermentation. Empty it outside to avoid spreading the smell through your home.
Check your vacuum’s filter and hose for any milk splatter. Wipe down any visible residue with a dry cloth. This prevents milk from drying and hardening inside the machine.
Open all windows in the room with the spill. Fresh air helps reduce odors naturally while you work on deeper cleaning steps.
Do not wait or procrastinate here. The longer milk sits in your vacuum, the harder it becomes to remove the smell completely. These immediate actions take only five to ten minutes but make a huge difference in your final results. You are stopping fermentation before it takes over your machine.
Step-by-Step Guide To Cleaning The Vacuum Interior
Start by removing the vacuum bin or bag and dumping all contents into a trash can. This step prevents bacteria from multiplying inside the container. Wipe down the inside of the bin with a dry cloth to catch any remaining milk residue.
Next, locate your vacuum’s filter. Milk particles often cling to filters and create odors. Tap the filter gently over a trash can to release loose debris. If your filter appears wet or sticky, rinse it with cool water and let it air dry completely before reinstalling.
Check the hose and brush roll for milk splatter. Run your fingers along the inside of the hose to feel for clumpy residue. Use a straightened wire or pipe cleaner to push out any blockages. Wipe the brush roll with a damp cloth and ensure it spins freely.
Now sprinkle baking soda generously inside the empty bin. Let it sit for several hours or overnight. Baking soda absorbs odors naturally without chemicals. Shake out the excess baking soda before reassembling your vacuum.
For extra freshness, add a small amount of powder detergent to the bin before replacing the bag or filter. When you vacuum next, the detergent will release a clean scent throughout your home.
Allow all components to dry completely before using your vacuum again. Moisture trapped inside creates more odor problems. Open your vacuum’s storage area and leave it uncovered for at least 24 hours.
These interior cleaning steps work together to eliminate milk smell at the source. Your vacuum will be ready for regular use once everything is dry and fresh smelling.
Using Baking Soda and Vinegar Solutions Effectively
Baking soda and vinegar work together as a powerful odor fighting team. These two common household items neutralize sour milk smells through different methods.
Baking soda absorbs odors rather than masking them. Sprinkle it generously inside your vacuum bin after you’ve emptied all milk residue. Let it sit for several hours or overnight. The longer it stays, the more odor it pulls from the surfaces. When you’re ready, vacuum it up or wipe it out with a damp cloth.
For the carpet or floor where milk spilled, baking soda also works wonders. Apply it to the affected area and let it dry completely. This prevents fermentation that creates the sour smell in the first place.
Vinegar solution tackles remaining odors from a different angle. Mix warm water with white vinegar and add a few drops of dish soap. The ratio should be roughly equal parts water and vinegar. Spray this mixture lightly on the spill area. Do not oversaturate, as excess moisture encourages bacterial growth. Allow everything to dry fully before vacuuming.
You can also add powder detergent to your vacuum bin. This works alongside baking soda to freshen the interior. Vacuum small amounts through your hose with detergent mixed in for extra cleaning power.
The key is timing and patience. Use baking soda first to absorb odors, then apply vinegar solution to eliminate remaining smells. Never rush the drying process. Moisture trapped inside creates the perfect environment for new odors to develop. Combined, these methods address milk smell at every level, from your carpet to your vacuum’s interior components.
Deep Deodorizing With Detergent and Hose Cleaning
Powder detergent works effectively inside your vacuum because it absorbs odors while releasing a fresh scent. Start by removing your vacuum’s bin or bag and emptying all contents completely.
Sprinkle a generous amount of powder detergent directly into the empty bin. The detergent particles will cling to the interior surfaces and trap milk odor molecules. Let this sit for several hours or overnight to maximize absorption.
Next, you’ll clean your vacuum’s hose. Detach the hose from your vacuum unit carefully. Hold it over a sink or bathtub and run warm water through it slowly. The water rinses away milk residue stuck inside the hose walls.
For stubborn milk buildup, mix warm water with a small amount of dish soap. Pour this solution through the hose while holding it at different angles. This helps the soapy water reach all interior surfaces. Let the hose drain completely and air dry standing upright for at least 24 hours.
Once your hose is clean and dry, reassemble your vacuum. Add fresh powder detergent to the bin again before inserting a clean bag or filter. This double treatment ensures maximum odor control.
Vacuum a small area of your home using this detergent treated vacuum. The powder detergent will spread throughout your home’s air and carpets, neutralizing any remaining milk smell. This method works because detergent targets odor at the molecular level rather than simply masking it.
Important reminder: Always allow all components to dry completely before reassembling. Moisture trapped inside creates conditions for bacteria growth and makes odors worse. Patience during the drying phase prevents future smell problems.
Drying and Airing Out Your Vacuum Properly
Drying your vacuum properly is essential after cleaning up spilled milk. Moisture left inside creates the perfect environment for bacteria and mold to grow. These microorganisms cause the sour smell to return even after you’ve cleaned everything.
Start by disassembling all removable parts. Take out the bin, bag, filter, and hose. Stand these pieces upright in a well ventilated area. Direct sunlight helps speed up the drying process, so place components near a window if possible.
Allow at least 24 hours for complete drying. This timeframe ensures all moisture evaporates from deep inside the hose and filter. Don’t rush this step. Reassembling wet components traps moisture and defeats your deodorizing efforts.
Position your vacuum in a dry room with good air circulation. Open windows to let fresh air flow through. If your area is humid, use a fan to move air across the parts. This accelerates evaporation significantly.
Check all crevices and corners for hidden moisture. The hose interior can hold water in pockets. Shake the hose gently and listen for water sloshing inside. If you hear it, hold the hose vertically and let gravity help drain it.
Never reassemble your vacuum until everything feels completely dry to the touch. Moisture trapped inside will generate odor again within days. Test the filter by feeling it carefully. It should feel light and dry, not damp or cool.
Once everything is dry, reassemble your vacuum slowly. Make sure each component sits properly before moving forward. Your vacuum is now ready to use without releasing any milk odors.
Common Mistakes That Make Milk Odor Worse
Spilled milk creates a tricky situation for your vacuum. The odor problem gets worse when you make certain mistakes during cleanup. Understanding these errors helps you avoid them.
Delaying vacuum emptying is the biggest mistake. When you leave milk residue sitting in your vacuum bin or bag, bacteria multiply rapidly. The longer milk sits, the more it ferments and produces that sour smell. Empty your vacuum immediately after picking up spilled milk. This single step prevents most odor problems before they start.
Incomplete milk extraction causes serious issues too. Many people vacuum the spill once and think the job is done. Milk soaks deep into carpet fibers and padding underneath. If you don’t remove all the liquid, the remaining milk continues to break down and smell bad. Use a wet and dry vacuum to extract as much liquid as possible from the affected area.
Not allowing adequate drying time is another common mistake. After you vacuum up milk, moisture remains in your vacuum’s hose and internal parts. Reassembling your vacuum too quickly traps this dampness inside. Trapped moisture creates the perfect environment for mold and bacteria growth, which makes odors worse.
Some people also skip cleaning the vacuum’s interior after milk pickup. The inside of your vacuum collects milk particles that stick to surfaces. These particles ferment just like the spill itself. Cleaning your vacuum’s internal components prevents odor development at the source.
Acting quickly is your best defense. The faster you respond to spilled milk, the fewer bacteria have time to multiply. This means less fermentation and significantly less odor in your home and vacuum.
Preventing Future Milk Spill Odors In Your Vacuum
The best way to avoid milk odor problems is to prevent spills from reaching your vacuum in the first place. Start by cleaning up spilled milk immediately with paper towels or cloth rags. Remove as much liquid as possible before it soaks into carpets or floors.
Once you’ve removed the visible milk, use a wet/dry vacuum to extract any remaining liquid. This step is crucial because it prevents milk from sitting on surfaces where bacteria can multiply. Regular vacuums aren’t designed for wet cleanup, so a wet/dry model works much better for this task.
After extracting the liquid, sprinkle baking soda generously over the affected area. Let it sit for several hours or overnight to absorb any remaining moisture and odors. Vacuum up the baking soda completely once it’s dry.
Be proactive about your vacuum maintenance too. Empty your vacuum bin or bag right after picking up any spill. Don’t wait until your next regular cleaning session. Bacteria grows rapidly in moist environments, and delaying this step allows odors to develop faster.
Store your vacuum in a dry location with good air circulation. High humidity environments encourage bacterial growth and mold formation inside the vacuum.
Consider keeping paper towels and baking soda near areas where milk spills commonly happen. Having these items readily available means you can respond faster when accidents occur.
The timing of your response makes all the difference. Quick action stops fermentation before it starts. This preventive approach protects your vacuum and keeps your home smelling fresh. Most odor problems develop because people wait too long to clean up spills properly.
Final Thoughts
Milk spills happen to everyone with a vacuum cleaner. The sour smell feels frustrating, but it does not have to last forever.
Quick action makes all the difference. The moment you notice spilled milk, grab your vacuum and start the cleanup process right away.
Remember the core steps we covered. Extract the milk fully, empty the bin fast, and apply baking soda generously to absorb odors.
Drying matters just as much as cleaning. Your vacuum needs complete dryness before you use it again or the smell will return.
Patience pays off here. Rushing through drying time invites bacteria back into your machine and creates an even worse smell.
Think of this process as simple maintenance rather than a big chore. Once you know the steps, handling milk spills becomes second nature.
Your vacuum is an investment worth protecting. Taking a few extra minutes now saves you from replacing a smelly, damaged machine later.
Keep baking soda and clean cloths within reach. Having supplies ready means you can act fast whenever accidents occur in your home.
Every household deals with spills eventually. Milk, juice, or other liquids will find their way onto your floors at some point.
The good news is that you now have a clear plan. You know exactly what to do when milk sneaks into your vacuum.
Trust this process and stay consistent. Clean thoroughly, dry completely, and your vacuum will smell fresh again in no time.
Bad odors do not have to control your cleaning routine. With the right approach, you can tackle milk spills confidently and keep your vacuum smelling clean for years to come.
Frequently Asked Questions
Why does milk smell get worse over time in my vacuum?
Milk contains proteins and fats that break down quickly. When milk sits inside your vacuum, bacteria feed on these materials and create a sour smell. This fermentation process happens fast, sometimes within hours. The smell gets stronger the longer milk stays trapped in your bin or bag.
Can I use vinegar solution to clean the spill area?
Yes, vinegar works well for this. Mix warm water with vinegar and a bit of dish soap. Apply this solution to the carpet or floor where milk spilled. Let it sit for a few minutes, then wipe it clean. Vinegar helps kill odor causing bacteria and neutralizes the sour smell naturally.
How long should baking soda sit on the affected area?
Baking soda needs time to absorb odors properly. Sprinkle it generously over the wet or damp area after you’ve extracted the milk. Let it sit for at least 30 minutes to several hours. The longer it sits, the more odor it absorbs. Make sure the area dries completely before vacuuming the baking soda up.
What happens if I don’t empty my vacuum bin right away?
Bacteria multiply rapidly in moist environments. If you leave milk residue in your bin or bag, it creates a perfect breeding ground for germs. This speeds up fermentation and makes the odor much stronger. Empty your vacuum immediately after picking up the spill to prevent this problem.
Can I add powder detergent directly to my vacuum bin?
Yes, this helps absorb odors. Sprinkle powder detergent into your empty bin or bag. Vacuum small amounts of air through the hose to distribute the detergent inside. This coating helps trap odors and freshens your vacuum’s interior.

Hi, I’m Ivy! I’m a smart home enthusiast and self-proclaimed clean freak who loves testing the latest cleaning tech so you don’t have to waste your money on the wrong one. I started HomeTechClean to share honest reviews and practical advice for anyone who wants a cleaner home with less effort.