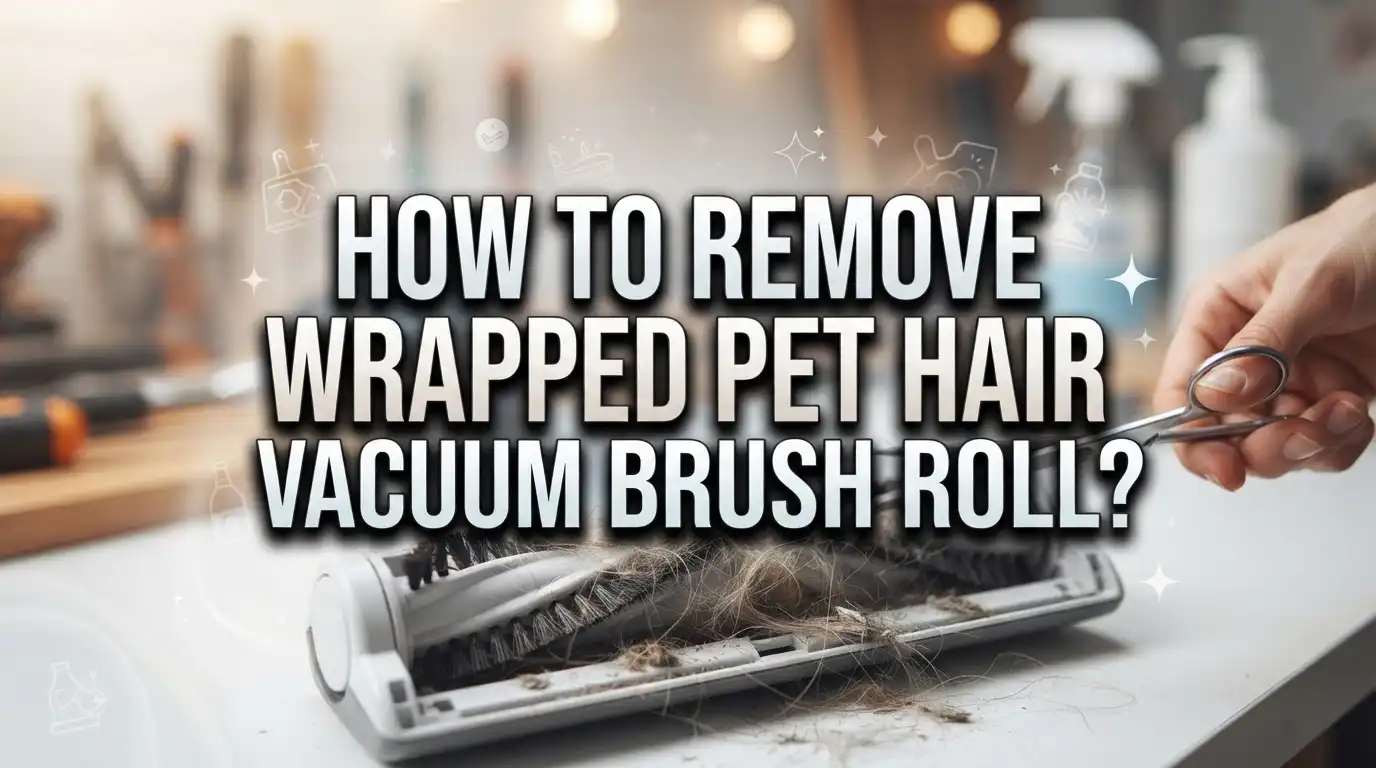
How To Remove Wrapped Pet Hair From A Vacuum Brush Roll?
Do you own a pet? Then you know how fast hair piles up on floors and furniture. Your vacuum works hard to pick it all up. But that hair does not just disappear.
It often wraps tightly around the brush roll. Over time, this buildup slows down suction. It can even damage the motor if you ignore it.
The good news? You can fix this problem yourself. You do not need special tools or expert skills. A few household items and some patience will do the job.
This guide walks you through the entire process. We cover safe removal steps that protect both you and your machine. You will learn how to detach the brush roll properly.
We also share simple tricks to cut and pull tangled hair free. Plus, we explain how to clean the roller without causing damage.
By the end, your vacuum will run smoothly again. You will also learn how often to repeat this task. Regular care keeps your brush roll spinning freely and your home fur free.
Let’s get started and restore your vacuum’s full power.
In a Nutshell
Here is a quick summary to help you clean your vacuum brush roll fast.
-
Unplug the vacuum first. This step keeps you safe while you work on the brush roll.
-
Detach the roller brush from the vacuum. Most models let you pop it out with ease.
-
Cut the tangled hair. Use scissors, a knife, or a seam ripper to slice through the wrapped strands.
-
Pull hair from the gaps. Gently tug loose strands from spaces between the roller and its supports.
-
Wash the roller with warm water and mild detergent. A soft cloth wipes away leftover grime.
-
Check the roller every 3 to 4 uses. This habit stops heavy buildup before it starts.
Skip harsh chemicals. They can damage the roller material over time.
A seam ripper or heavy duty tweezers work great for stubborn debris stuck in tight spots. With these simple steps, your vacuum brush roll stays clean and ready to pick up every bit of pet hair.
Why Pet Hair Wraps Around The Brush Roll
Pet hair wraps around your vacuum brush roll because of how the roller works. The spinning brush pulls hair from carpet and floors, but pet hair doesn’t always get sucked into the collection bin right away.
Instead, strands catch on the roller’s surface and wind tightly around it. This happens because pet hair is often longer and more slippery than regular dust or debris. The hair twists around the bristles as the brush spins, creating a tangled mess.
The problem gets worse in the gaps between the roller and its support structures. These small spaces trap hair fibers perfectly. Once hair settles there, it becomes compressed and harder to remove. The more you use your vacuum, the more hair accumulates in these tight spots.
Certain pet hair types make this worse. Long fur from dogs and cats tangles more easily than short hair. Curly or wiry fur also wraps faster than straight strands. If you have multiple pets, the buildup happens even quicker.
The shape of your brush roll matters too. Rollers with deeper grooves or bristle patterns catch more hair. Some designs have more exposed gaps where hair can slip through and get stuck.
Heat from the motor can also play a role. Warm air inside the vacuum can dry out pet hair and make it stickier. This causes it to cling more tightly to the roller surface.
Understanding why this happens helps you prevent it. Regular cleaning stops hair from building up too much. Checking your roller frequently catches problems early. When you know what causes the wrapping, you can take action before your vacuum loses suction power.
Tools You’ll Need Before You Start
Before you start removing pet hair from your vacuum brush roll, gather the right tools. Having everything nearby saves time and keeps you safe.
First, you need scissors or a small knife. These cut through wrapped hair easily. Make sure your scissors are sharp so they slice cleanly through tangled strands without tugging.
A seam ripper works wonderfully for this job. This small tool has a curved blade designed to cut fabric seams. The sharp point slides under wrapped hair without damaging the roller brush itself. Many people find this tool more effective than scissors for tight spaces.
Heavy duty tweezers or hemostats help pull hair from gaps. These tools grip loose strands and extract them from spaces between the roller and support structures. They give you control and precision in tight areas.
You’ll also need a soft cloth and warm water. After removing the hair, you want to clean the roller gently. A mild detergent mixed with water works best. Avoid harsh chemicals that can crack or discolor the brush material.
A flashlight or headlamp helps you see clearly. Pet hair hides in shadows and tight spaces. Good lighting lets you spot all the wrapped strands you need to remove.
Finally, keep a small container or trash bag nearby. Hair removal gets messy. Having a place to collect cut strands keeps your work area clean and organized.
These simple tools cost very little and last for years. Most people already own scissors and tweezers at home. Gathering them first makes the entire cleaning process faster and more efficient.
Step-By-Step: Safely Removing The Brush Roll
Now that you have your tools ready, let’s walk through the actual removal process step by step. This approach keeps your vacuum safe and your hands protected.
Start by locating the brush roll release mechanism. Most vacuum models have a simple clip, button, or latch that holds the roller in place. Check your vacuum’s manual if you’re unsure where this is. Press or slide the release, then gently pull the brush roll away from the vacuum housing.
Inspect the entire roller surface under good light. Look for wrapped hair, dust, and debris clinging to the bristles. You’ll notice some strands wind tightly around the roller while others sit loosely in the gaps.
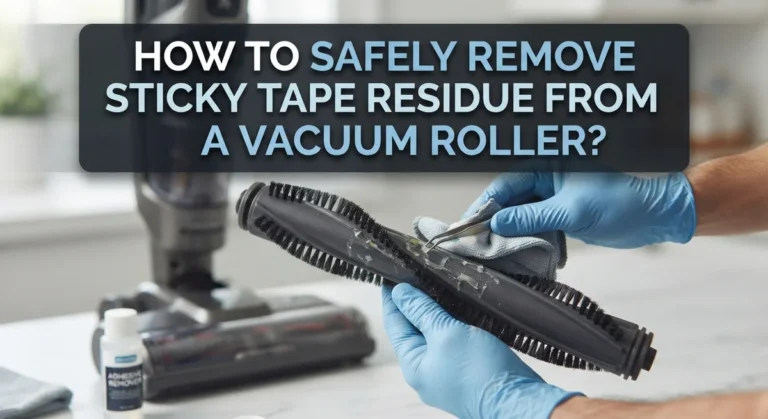
Begin cutting from one end of the roller and work your way across. Hold your scissors or seam ripper at a slight angle to the roller surface. Slice through wrapped hair carefully without pressing hard into the bristles. The seam ripper’s small hook works especially well for this because it lifts hair away from the bristles before you cut.
Pull hair from the gaps between the roller and supports. Use your tweezers or hemostats to grab loose strands. Gently wiggle and tug them free. Take your time here since forcing hair out too quickly can damage bristles.
Wipe the roller with a soft, damp cloth. Use warm water and a tiny drop of mild detergent. This removes dust and pet dander stuck to the surface. Dry it completely before reinstalling.
Reattach the brush roll securely. Make sure the latch or clip clicks into place. Your vacuum is now ready to run at full power again.
Step-By-Step: Cutting And Pulling Away Tangled Hair
Now that you have the brush roll removed and your tools ready, it’s time to cut and pull away the tangled hair. This process requires patience and care to avoid damaging the bristles.
Start by positioning the roller so you can see the wrapped hair clearly. Use your scissors or seam ripper to cut through the tangled strands. Work slowly from one end of the roller to the other. Make small cuts rather than aggressive slices to protect the bristles underneath.
Cut at a slight angle rather than straight across. This technique prevents you from accidentally snipping the actual brush bristles. Take your time with each section. Rushing through this step can cause damage that affects your vacuum’s performance.
Once you’ve cut the major wrapped sections, gently pull the loose hair away. Your tweezers or hemostats work best for this job. Grab small amounts of hair and tug steadily. Don’t yank forcefully, as this can pull bristles out of the roller.
Pay special attention to the gaps between the roller and its support structures. Hair loves hiding in these spaces. Use your tweezers to probe into these areas and extract trapped strands. A flashlight helps you see exactly where the hair sits.
Work methodically around the entire roller. Don’t skip sections just because they look clean. Even small amounts of wrapped hair reduce your vacuum’s effectiveness over time.
If you encounter stubborn hair that won’t budge, make another small cut rather than pulling harder. This prevents bristle damage. Once you’ve removed all visible hair, your brush roll is ready for cleaning or reinsertion into the vacuum.
Cleaning And Reassembling The Brush Roll
After you’ve removed all the tangled hair, it’s time to clean and reassemble your brush roll. This step keeps your vacuum working at peak performance and extends the roller’s life.
Start by wiping down the entire roller with a soft cloth dampened in warm water. Use gentle circular motions to remove dust and debris stuck to the bristles. This simple cleaning prevents buildup from hardening and becoming difficult to remove later.
For stubborn residue, add a small amount of mild detergent to your warm water. Dip your cloth in the solution and wipe the roller again. Avoid harsh chemicals or bleach, as these can damage the bristles and the roller’s material. Never soak the roller in water, as moisture can seep into the motor connections.
Pay special attention to the gaps and crevices where hair and dust collect. Use a soft brush or old toothbrush to gently scrub these tight spaces. Make sure water doesn’t pool in any areas.
Let the roller air dry completely before reassembling. Place it on a clean towel in a well ventilated area for at least 30 minutes. Check that all moisture has evaporated before moving forward.
Once dry, carefully slide the roller back into its housing. Align the ends with the support brackets first. Then push down firmly until you hear a click or feel the latch engage. Make sure the roller spins freely by turning it by hand.
Test your vacuum on a small area before full use. Listen for any unusual sounds or vibrations. A properly reassembled roller should spin smoothly and quietly.
How Often You Should Clean The Brush Roll
Pet hair wraps around your vacuum’s brush roll quickly, especially if you have shedding animals at home. The frequency of cleaning depends on how much pet hair your household produces and how often you vacuum.
Most experts recommend cleaning your brush roll every 3 to 4 uses. This prevents excessive buildup that makes your vacuum work harder and less effectively. If you have multiple pets or long haired animals, you might need to clean it more often, perhaps after every 1 or 2 uses.
Watch for these signs that your brush roll needs immediate attention. If you notice reduced suction power, your vacuum making unusual sounds, or visible hair wrapped around the bristles, it’s time to clean. Don’t wait until hair becomes severely tangled because removal becomes much harder.
The good news is that regular maintenance takes only 5 to 10 minutes. A quick inspection after each vacuuming session helps you catch wrapped hair early. This prevents the frustrating situation where hair binds so tightly you struggle to remove it.
Establish a cleaning routine that fits your schedule. Some people clean their brush roll every weekend. Others do it every few vacuuming sessions. Find what works best for your home’s pet hair volume.
Seasonal changes affect how often you clean too. During spring and fall when pets shed more heavily, increase your cleaning frequency. Winter and summer might require less frequent maintenance.
Consistent cleaning extends your vacuum’s lifespan and keeps it running at peak performance. Your vacuum will thank you with better suction and quieter operation. Plus, you’ll spend less time dealing with stubborn, dried hair that’s been sitting on the roller for weeks.
Common Mistakes That Damage The Roller Or Vacuum
Pet hair removal mistakes can seriously damage your vacuum’s brush roll. Understanding what not to do protects your investment and keeps your machine working well.
Yanking hair too hard is the biggest mistake people make. When you pull with excessive force, you can bend or crack the roller bristles. The bristles may also separate from the roller’s core. This damage reduces your vacuum’s cleaning power permanently. Always use gentle, steady pressure instead of aggressive tugging.
Using the wrong cutting tools causes problems too. Sharp knives or blades can slip and cut the roller itself, not just the hair. This creates permanent grooves in the brush. Dull scissors require more force, which leads to yanking. Stick with proper tools like seam rippers or small scissors designed for detail work.
Neglecting the gaps between the roller and supports allows hair to harden and bond to the roller. Once hair dries in these spaces, it becomes much harder to remove without damage. Clean your roller regularly before buildup gets severe.
Using harsh chemicals on the roller damages the bristles and the plastic core. Strong solvents can make bristles brittle and cause discoloration. Stick with warm water and mild detergent only.
Letting hair wrap around the roller for too long creates another problem. Extended buildup means more material to remove, which increases damage risk. Hair can also transfer moisture that causes rust or mold inside the roller housing.
Skipping the drying step before reassembly traps moisture inside your vacuum. This moisture promotes mold growth and electrical issues. Always let the roller air dry completely.
Regular maintenance prevents all these mistakes. Clean your roller every 3 to 4 uses to keep problems from developing.
Troubleshooting Persistent Hair Buildup
Pet hair buildup happens fast when you have shedding animals. Hair wraps tightly around the brush roll and gets stuck in the gaps between the roller and its supports. This creates stubborn tangles that simple pulling won’t fix.
Persistent hair buildup occurs when you skip cleanings for too long. The hair hardens and bonds to the roller surface. Dust and debris mix with the hair, making removal harder. Your vacuum loses suction power and the motor works overtime.
Start by unplugging your vacuum completely. Safety comes first when working with mechanical parts. Remove the brush roll according to your vacuum’s manual. Most models let you detach it easily by twisting or pressing release buttons.
Use the right tools for cutting tangled hair. Scissors work well for loose strands. A seam ripper excels at picking out stubborn knots without damaging bristles. Hemostats or heavy duty tweezers help you grip and pull hair from tight gaps. Avoid yanking hard, which can bend or break the bristles.
Work slowly through the entire roller. Pay special attention to the spaces where the roller connects to its supports. Hair loves hiding in these areas. Gently pull each strand free after cutting it loose.
Once you’ve removed all visible hair, wipe the roller with a damp cloth. Use warm water and a tiny bit of mild detergent. Let it dry completely before reinstalling.
Prevention beats removal every time. Clean your brush roll every 3 to 4 uses. This stops hair from hardening and bonding. Your vacuum will perform better and last longer with consistent care.
Final Thoughts
Removing wrapped pet hair from your brush roll does not need to feel hard. With the right tools and a little patience, you can finish the job quickly.
Regular cleaning makes the biggest difference. A few minutes every few uses keeps your vacuum running well and saves you from bigger headaches later.
Remember to unplug your vacuum first. Safety always comes before speed when working with any vacuum part.
Take your time when cutting away tangled hair. Rushing this step often leads to damaged bristles or a nicked roller surface.
Gentle pulling works better than yanking. Hair comes free more easily when you ease it out of the gaps instead of forcing it.
Cleaning the roller with warm water and mild detergent removes leftover residue. This step also helps get rid of odors trapped in the fibers.
Avoid harsh chemicals during this process. They can weaken the bristles and shorten the life of your brush roll.
Think of this task as part of normal vacuum care. Just like changing a filter, it keeps your machine working at its best.
Pet owners especially benefit from staying on top of this chore. Shedding animals create buildup fast, and skipping cleanings only makes future removal harder.
A clean brush roll means better suction and a healthier home. Dust and allergens get picked up more effectively when hair does not block the bristles.
Small efforts now prevent bigger problems later. A well maintained brush roll keeps your vacuum efficient for years to come.
With these simple techniques, pet hair removal becomes a quick task instead of a frustrating chore. Your vacuum will thank you with better performance every time you use it.
Frequently Asked Questions
Why does pet hair wrap so tightly around the brush roll?
Pet hair wraps around the roller because it gets caught between the spinning bristles and the roller’s core. As the vacuum runs, hair tangles tighter with each rotation. The gaps between the roller and its support structures trap hair strands. Long fur from dogs and cats wraps especially fast.
Hair bonds to the roller over time. Moisture and dust create a sticky buildup. This makes removal harder if you wait too long between cleanings.
What tools work best for cutting away tangled hair?
Scissors cut through most tangled hair easily. A seam ripper works great for stubborn strands stuck in tight spots. Heavy duty tweezers or hemostats let you grab and pull hair from narrow gaps.
Avoid using knives or sharp objects that might scratch the roller. Dull scissors sometimes work better than sharp ones because they grip hair instead of slipping. Pick tools that give you good control and precision.
How often should I clean the brush roll?
Clean your roller every 3 to 4 vacuuming sessions if you have pets. Homes with heavy shedding need more frequent cleaning. Check the roller visually each time you vacuum.
Regular cleaning prevents hair from hardening and bonding to the bristles. It keeps suction strong and your vacuum working efficiently.
Can I use cleaning products on the roller?
Use only warm water and mild detergent for cleaning. Harsh chemicals damage the bristles and plastic core. Avoid bleach, solvents, or abrasive cleaners completely.
Wipe the roller gently with a soft cloth after washing. Let it dry completely before putting it back in your vacuum.

Hi, I’m Ivy! I’m a smart home enthusiast and self-proclaimed clean freak who loves testing the latest cleaning tech so you don’t have to waste your money on the wrong one. I started HomeTechClean to share honest reviews and practical advice for anyone who wants a cleaner home with less effort.