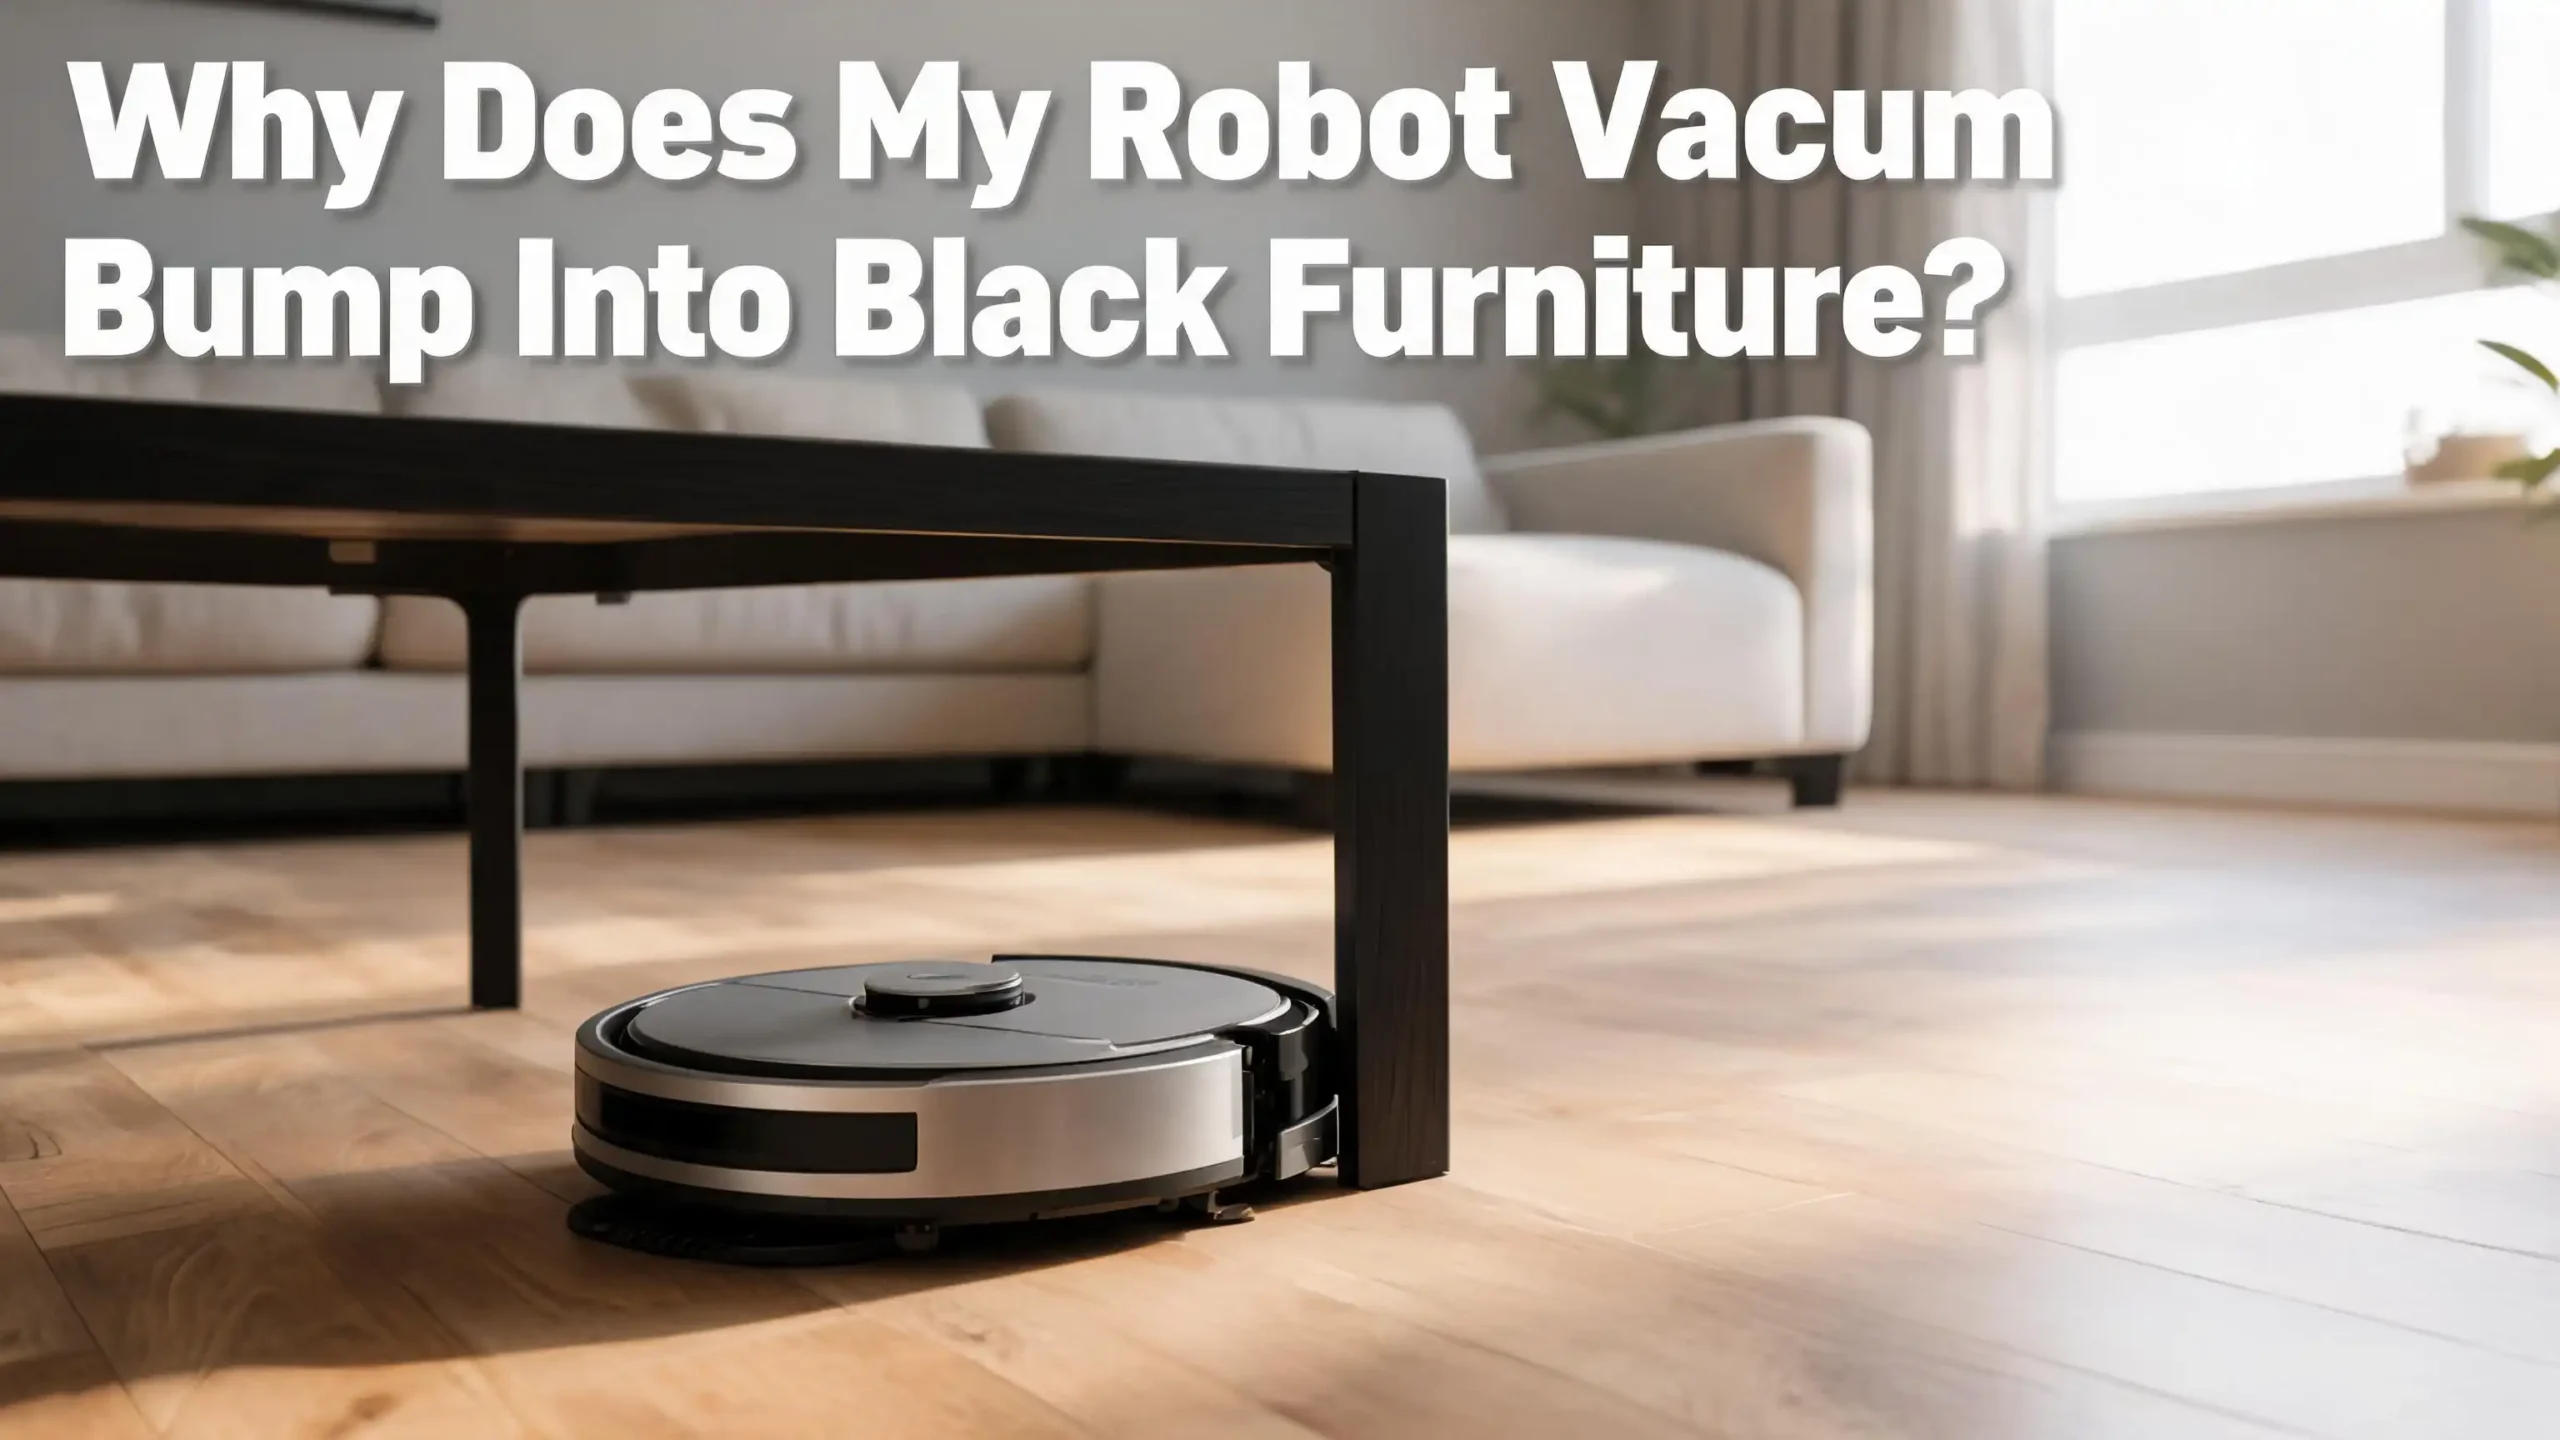
Why Does My Robot Vacuum Bump Into Black Furniture?
Your robot vacuum glides across the floor like a tiny genius. Then it slams straight into your black coffee table. Again. And again. You start to wonder if the machine has a personal grudge against your dark sofa.
The truth is simpler and far less dramatic. Robot vacuums struggle with black furniture because of how their sensors read light. Dark surfaces absorb the signals these robots use to see the world. So your vacuum cleaner literally cannot detect the obstacle in front of it.
This guide breaks down the science, the fixes, and the smart upgrades that solve this issue. You will learn why it happens, how to stop the bumping, and which methods work best for your home. Let us get your vacuum back on track.
Key Takeaways
- Infrared sensors fail on dark surfaces because black materials absorb the light beams instead of bouncing them back. Your robot sees empty space where your furniture stands.
- LiDAR navigation works far better with black objects than older infrared systems. If your robot uses basic IR sensors, the bumping is normal and expected.
- Quick fixes include reflective tape, boundary strips, and no go zones set through the companion app. These solutions cost little and take minutes to apply.
- Cleaning the sensor windows regularly helps the robot see better, even on tricky surfaces. Dust buildup makes a weak sensor even weaker.
- Upgrading to a vacuum with dToF LiDAR or vSLAM offers the most permanent solution. Newer models handle dark furniture with much higher accuracy.
- Software updates and proper lighting also play a role. A bright room and updated firmware can reduce collisions without buying anything new.
How Robot Vacuum Sensors Actually Work
Robot vacuums use sensors to map your home and avoid crashing into things. The most common sensor type is infrared, also called IR. This sensor sends out a beam of light and waits for it to bounce back from nearby objects.
The robot measures how long the bounce takes. That timing tells the machine how far away an object sits. Light surfaces reflect the beam quickly and clearly. The robot reads the signal and steers around the object.
Other vacuums use LiDAR, which stands for light detection and ranging. LiDAR uses laser pulses instead of standard infrared light. Some models combine cameras with software called vSLAM to build a visual map of your room.
Each sensor type has strengths. IR is cheap and fast. LiDAR is accurate and works in low light. Cameras add depth and recognize specific objects like shoes or pet bowls. But all of these systems share one weakness, and that weakness is the color black.
When you understand how the sensors work, the bumping problem makes sense. Your robot is not broken. It simply cannot see what is in front of it.
Why Black Surfaces Confuse Robot Vacuums
Black objects absorb light. This is basic physics, and it applies to everything from your t shirt to your robot vacuum. When the IR beam hits a dark surface, the light gets soaked up instead of reflecting back to the sensor.
The robot waits for a return signal. No signal arrives. So the vacuum assumes nothing is there and keeps driving forward. The next thing you hear is a soft thud as it hits your black ottoman.
This is why dark furniture, dark rugs, and even shiny black floors give robot vacuums so much trouble. The darker and more matte the surface, the more light it absorbs. Glossy black materials sometimes reflect light at strange angles, which confuses the sensor in a different way.
Cliff sensors face the same problem. These small sensors point downward to keep the robot from tumbling off stairs. When they pass over dark carpet or black flooring, the robot reads it as a cliff and stops moving. Your vacuum is not stupid. It is reacting to faulty data.
Knowing the cause changes how you solve the issue. You are not fighting a defect. You are working with a known limitation of light based sensors.
Check If Your Vacuum Uses Infrared Or LiDAR
Before you fix anything, find out which navigation system your robot uses. This step saves you time and helps you choose the right solution. Open your robot vacuum manual or look up the model online.
Older budget vacuums almost always use infrared bump sensors. These models bounce around your home in a semi random pattern. They rely heavily on physical contact to learn where walls and furniture sit.
Mid range and premium models often use LiDAR or dToF LiDAR. You can spot these by the small turret on top of the robot. That turret spins quickly and shoots laser beams in all directions. LiDAR vacuums create accurate maps and rarely bump into objects.
Some vacuums use vSLAM with cameras. These models have a camera lens on the front or top. They use computer vision to recognize your space.
Pros of knowing your sensor type include better troubleshooting and smarter purchase decisions later. Cons include the time it takes to research older models. If you cannot find the answer, contact the manufacturer directly. The customer support team can confirm the exact sensor setup.
Clean The Sensors Before Trying Anything Else
Dirty sensors make a weak system even weaker. Dust, pet hair, and grease build up on the small sensor windows over time. This buildup blocks the IR beams or scatters the laser pulses.
Flip your robot upside down and look for small clear panels around the edges. These are your cliff sensors and obstacle sensors. You will also see a small lens on the front bumper area.
Use a soft microfiber cloth to wipe each sensor gently. Do not use water, alcohol, or harsh cleaners. A dry cloth works best. For stubborn dirt, lightly dampen the cloth with distilled water and dry the area right away.
Also check the LiDAR turret on top if your robot has one. Spin it gently with your finger to make sure nothing blocks its rotation. Pet hair often wraps around the base of the turret and slows it down.
Pros of this method include zero cost and immediate results in many cases. Cons include the need to repeat the cleaning every few weeks. Make sensor cleaning part of your monthly maintenance routine. This simple habit prevents many navigation issues, including bumps with dark furniture.
Use Reflective Tape On Furniture Legs
Reflective tape is a cheap and easy fix for IR based vacuums. The tape bounces light back to the sensor, which makes the dark furniture visible to your robot. You can find this tape at hardware stores or online.
Cut small strips of reflective tape. Stick one strip on each leg of your black furniture, near the bottom where the sensor scans. Aim for the height that matches your robot’s sensor band, usually about two inches off the floor.
Test the result by running a cleaning cycle. Watch how the robot reacts when it approaches the taped legs. In most cases, the robot slows down and steers around the obstacle. If it still bumps, add more tape or use a wider strip.
Pros include low cost, fast setup, and no app or settings needed. The tape is also easy to remove without damaging your furniture. Cons include the visible silver strips that may not match your decor. Some people find the tape looks ugly on stylish black furniture.
You can also use white or light colored tape if you want something less shiny. Plain masking tape often works just as well as reflective tape. The key is giving the sensor something light to bounce off.
Set Up No Go Zones In The App
Most modern robot vacuums come with a companion app. The app lets you draw invisible boundaries on your saved map. These boundaries are called no go zones or virtual walls.
Open the app and find your home map. Look for an option labeled no go zone, restricted area, or forbidden area. Drag a box around the spots where your robot keeps bumping into black furniture.
Save the changes and start a new cleaning cycle. The robot will avoid the marked areas completely. This solution works perfectly for problem zones like a corner with a black bookshelf or a spot near a dark sofa.
Pros include precise control, no physical accessories, and easy adjustment. You can move the zones any time. No go zones also work for keeping the robot away from pet bowls or cable nests.
Cons include the need for a robot that supports app mapping. Older models without this feature cannot use no go zones. You also lose some cleaning area, since the robot skips those zones entirely. Use this method for the worst spots and combine it with other fixes for full coverage.
Try Magnetic Boundary Strips
Magnetic boundary strips are physical barriers your robot detects through magnetic sensors. They look like thin black strips of magnetic tape. You lay them on the floor in front of black furniture or under the edge of a couch.
Check if your robot model supports magnetic strips before buying. Some brands like older Roomba and Neato models support them, while newer LiDAR robots often do not. Read the manual or product page to confirm compatibility.
Place the strip about two inches in front of the furniture. The robot detects the magnetic field and turns around without crossing the line. You can cut the strip to any length, which makes it flexible for different rooms.
Pros include no batteries, no app needed, and a simple plug and play setup. The strips last for years if you keep them flat. They also work in homes without WiFi or smart features.
Cons include the visible black line on your floor. The strips can also lift at the edges and trip people if not pressed down well. Some users tape the strips under a rug or runner to hide them. This method works great for older robots that lack app based virtual walls.
Update Your Robot’s Firmware
Firmware updates often improve sensor performance and navigation logic. Manufacturers release these updates to fix bugs and add features. Many people forget to check for updates and miss out on better obstacle detection.
Open your robot’s app and find the device settings menu. Look for a section labeled firmware, software, or system update. Tap the update button if a new version is available.
The update process usually takes ten to twenty minutes. Keep the robot on its charging dock during the update and do not unplug it. A failed update can brick the device, so let it finish without interruption.
Pros include free improvements and possible fixes for known dark surface issues. Some brands have released specific updates that improved black furniture detection. You also get new features like better mapping or quieter cleaning modes.
Cons include the time required and the small risk of update errors. Always check user forums after a major update to see if others report new bugs. If your robot acts worse after an update, contact support and ask about rolling back to the previous version.
Improve Room Lighting For Camera Based Robots
Vacuums with cameras and vSLAM need good light to navigate well. In dim rooms, the camera struggles to see anything, including black furniture. Adding more light fixes this problem fast.
Open the curtains during scheduled cleaning times. Turn on overhead lights or floor lamps in rooms with dark furniture. Aim for bright, even light without strong shadows.
Schedule cleaning during the brightest part of the day. Most robots let you set cleaning times in the app. Run the vacuum between ten in the morning and three in the afternoon when natural light peaks.
Pros include zero cost and instant results. Better lighting also helps the camera build more accurate maps. Your robot remembers your home better and plans smarter routes.
Cons include higher energy bills if you keep extra lights on. The fix also does nothing for IR or LiDAR vacuums, which work fine in the dark. Check your robot’s specs to confirm whether it relies on a camera before changing your lighting setup.
This method works best as a small adjustment combined with other fixes. Even a small boost in light can reduce bumping by half on camera based models.
Upgrade To A LiDAR Or dToF Robot Vacuum
If nothing else works, consider upgrading your hardware. Robot vacuums with dToF LiDAR handle black furniture far better than IR models. The laser pulses detect dark objects with high accuracy, even in low light.
dToF stands for direct time of flight. It measures how long each laser pulse takes to return with extreme precision. This system works on nearly any surface color, including matte black. Premium brands now use dToF as the standard navigation method.
Look for these features when shopping. A spinning turret or a flat dToF array on top signals advanced navigation. Models with AI obstacle avoidance combine LiDAR with cameras for the best results.
Pros include accurate mapping, smooth navigation, and far fewer collisions. These vacuums also clean faster because they plan smarter routes. Many models work well in completely dark rooms, which is great for nighttime cleaning.
Cons include the higher price tag. Premium LiDAR vacuums often cost two or three times more than basic IR models. Repairs also cost more if the LiDAR turret breaks, since the part is complex and expensive.
If you have many black furniture pieces, the upgrade pays off in saved time and fewer scuffs. Read reviews from users with similar furniture before you buy.
Add Bumper Pads To Protect Your Furniture
Sometimes you cannot stop the bumping completely. In that case, protect your furniture instead. Bumper pads, felt strips, and corner guards absorb the impact and prevent dents or scratches.
Stick adhesive felt pads on the corners of your black coffee table or sofa legs. Choose pads that match the furniture color so they blend in. Felt also softens the noise, so the bumps become quieter.
For metal or hard plastic legs, use silicone bumper caps. These slip over the leg and add a soft outer layer. Foam tape works well for long edges like the bottom of a TV stand.
Pros include cheap protection and a quick install. The pads also protect the robot’s bumper from wear. You stop worrying about scratches every time the robot starts cleaning.
Cons include the visual change to your furniture. Some pads stick out and look messy. Adhesive can leave residue when removed, especially on wood or painted surfaces.
This method does not stop the bumping itself. It just makes the bumps harmless. Pair it with reflective tape or no go zones for the best results.
Disable Cliff Sensors For Black Floors
If your robot stops on black flooring or dark rugs, the cliff sensors may be the issue. Some users disable these sensors to fix the problem. This trick works but comes with real safety risks.
The fix usually involves placing reflective tape or a small piece of light colored material over the cliff sensor. The tape tricks the sensor into thinking the floor is always close. The robot then drives over black surfaces without stopping.
Some newer models detect this hack and refuse to start. Others let you adjust cliff sensor sensitivity in the app. Check the settings menu for an option labeled cliff detection or carpet boost.
Pros include full cleaning of dark carpets and black floors. The robot stops getting stuck and finishes its routes. Many users with black carpet rely on this fix daily.
Cons include the danger of falls. If you have stairs in your home, never disable the cliff sensors. The robot will tumble down the steps and break.
Only use this fix in single level homes or rooms blocked off from stairs. Test the robot carefully after the change. Watch the first few cleaning cycles to make sure it stays safe.
Use Physical Barriers Like Rugs Or Boxes
Sometimes the simplest fix is a physical barrier. Place a light colored rug in front of dark furniture to give the sensor something to read. Set a small box or basket as a temporary block while the robot cleans.
Light rugs reflect IR beams well. The robot detects the rug edge and steers around it. This works especially well in front of a black sofa or entertainment center.
Pros include no tech setup and full flexibility. You can rearrange the barriers any time. Rugs also add style and warmth to the room.
Cons include the extra furniture and the need to adjust often. The rug edges can also catch on the robot’s wheels. Choose flat woven rugs without thick fringe or curling corners.
This method is a quick fix while you wait for a better solution. Combine it with reflective tape for stronger results. The goal is to give the robot multiple visual cues, so it makes the right choice every time.
When To Contact The Manufacturer
If you have tried everything and the robot still bumps hard into black furniture, the issue may be a defect. Sensors can fail or come from the factory misaligned. A faulty unit is not your problem to fix alone.
Contact the manufacturer’s support team. Describe the issue with details, including which furniture causes the most trouble. Send a short video if possible, since visual proof speeds up the support process.
Most brands offer a one or two year warranty. Replacement parts or a full unit swap may be free during this period. Keep your purchase receipt and order number ready.
Pros include free repairs and expert advice. Support teams know common issues and may share fixes you have not tried. Some brands also offer firmware patches for specific complaints.
Cons include long wait times and shipping hassles. You may lose the robot for a week or two during the repair. Some support teams push generic advice before agreeing to a real fix.
Be polite but firm. Explain what you have tested and what failed. Ask for an escalation if the first response does not solve the problem. Most companies want to keep customers happy and will help if you push.
Frequently Asked Questions
Why does my robot vacuum keep hitting my black couch?
Your robot vacuum hits your black couch because the sensors cannot detect dark surfaces well. Black absorbs the infrared light the robot uses to see. The sensor gets no return signal and assumes the path is clear. Use reflective tape, no go zones, or upgrade to a LiDAR model to fix the issue.
Do all robot vacuums struggle with black furniture?
No, not all robot vacuums struggle with black furniture. Older IR based models have the most trouble. Newer LiDAR and dToF vacuums detect dark objects with much higher accuracy. Camera based vSLAM models perform well in good lighting but struggle in dim rooms.
Will reflective tape damage my furniture?
Reflective tape usually does not damage furniture. Most tapes use a mild adhesive that peels off cleanly. Test a small area first to be safe. For delicate finishes like leather or polished wood, use removable painter’s tape instead.
Can I train my robot vacuum to recognize black furniture?
Some advanced models with AI cameras learn from past cleaning runs. They build maps and remember problem spots. Standard IR vacuums cannot learn or adapt this way. Check your app for a training mode or smart map feature to see if your model supports learning.
Is it bad for the robot to bump into furniture?
Light bumps are normal and safe. Robot vacuums have padded bumpers built for contact. Hard repeated impacts can wear down the bumper over time and damage your furniture. Adding felt pads or fixing the navigation issue protects both the robot and your home.
Hi, I’m Ivy! I’m a smart home enthusiast and self-proclaimed clean freak who loves testing the latest cleaning tech so you don’t have to waste your money on the wrong one. I started HomeTechClean to share honest reviews and practical advice for anyone who wants a cleaner home with less effort.